
Did you know that a leaking toilet can waste up to 200 gallons of water per day?
As a plumbing expert, I understand the frustration and urgency that comes with a toilet leaking from the bottom.
In this article, I will guide you through the step-by-step process of fixing this common issue.
From identifying the source of the leak to inspecting and replacing the wax ring, I will provide you with the knowledge and expertise needed to solve this problem efficiently.
Let’s get started and put an end to that pesky toilet leak!
Key Takeaways
- Identify the source of the leak by checking the base of the toilet and inspecting for water or moisture.
- Shut off the water supply to the toilet by turning off the valve located behind the toilet.
- Remove the toilet tank and inspect its components for any signs of damage or wear.
- Replace the wax ring by disconnecting the water supply line, lifting the toilet bowl, removing the old wax ring, and installing a new one for a watertight seal.

Brondell Bidet Toilet Seat Non-Electric Swash Ecoseat, Fits Elongated Toilets, White - Dual Nozzle System, Ambient Water Temperature - Bidet with Easy Installation
CLEAN AND REFRESHING: With Brondell’s Ecoseat 101 Bidet, you’ll experience a soothing, freshwater wash that leaves you feeling...
As an affiliate, we earn on qualifying purchases.
Identifying the Source of the Leak
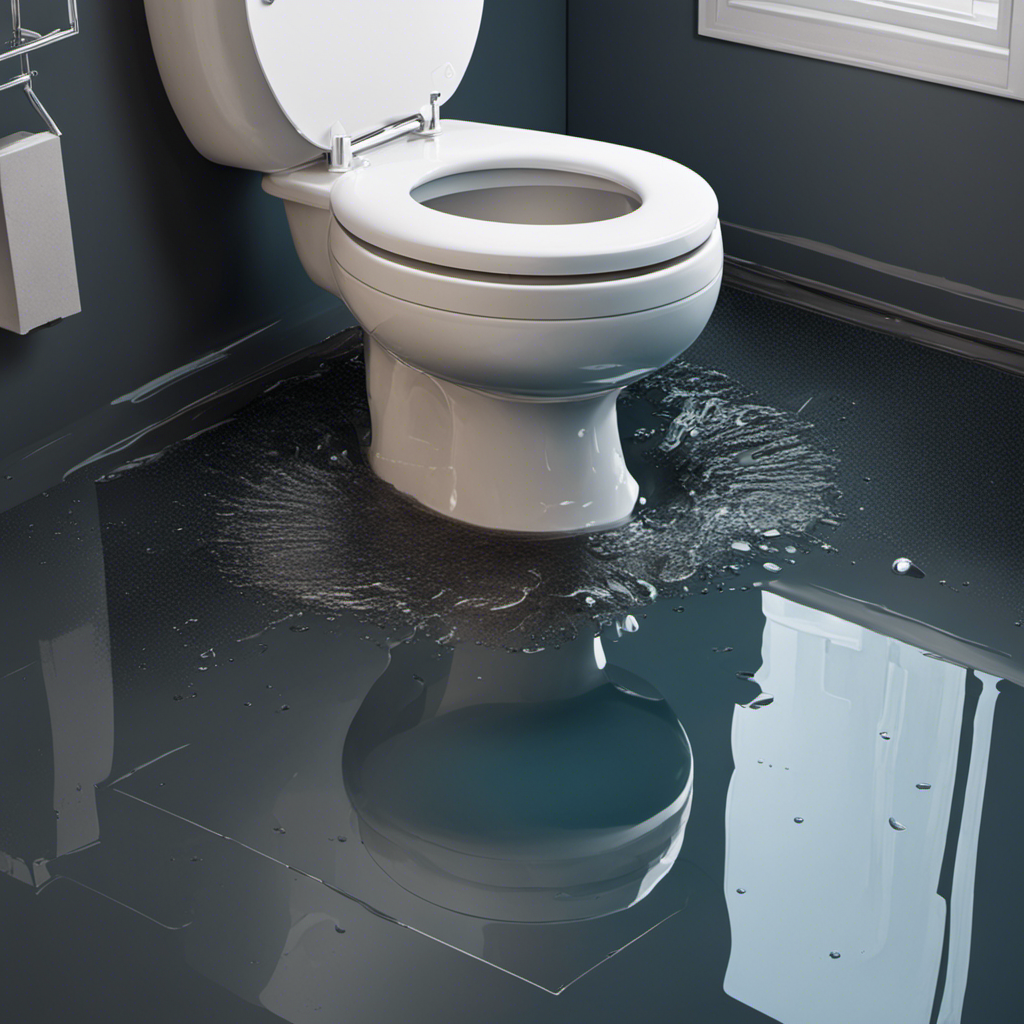
You can start by checking if the leak is coming from the base of the toilet.
To do this, first, turn off the water supply to the toilet by shutting off the valve located behind the toilet.
Next, dry the area around the base of the toilet with a towel.
Once the area is dry, inspect the base of the toilet for any signs of water or moisture.
If you notice water pooling or dampness around the base, it is likely that the toilet seal is leaking.
This seal, also known as the wax ring, is responsible for creating a watertight seal between the toilet and the floor.
Repairing a leaking toilet seal involves removing the toilet, replacing the wax ring, and reinstalling the toilet.
Troubleshooting common toilet leaks is essential to prevent further damage and water wastage.

BIGCOW Ultra-Slim Bidet Attachment for Toilet - Dual Nozzle (Frontal & Rear Wash) with Adjustable Cold Water Pressure and Stainless Steel Inlet - Hygienic Solution for Fresh Cleanliness, Silver 1 Pcs
【Dual Spraying Modes】- This toilet bidet offers both rear wash for thorough cleaning and a specially designed frontal...
As an affiliate, we earn on qualifying purchases.
Shutting Off the Water Supply
To avoid any further damage, it’s important to shut off the water supply to the toilet. Here are the steps to shut off water for toilet leak repair:
-
Locate the water shut-off valve: It is usually located on the wall behind the toilet or under the toilet tank.
-
Turn off the water supply: Rotate the valve clockwise until it is fully closed. This will stop the flow of water to the toilet.
-
Flush the toilet: This will drain the remaining water in the tank and bowl.
-
Check for any residual water: Use a towel or sponge to soak up any remaining water in the tank and bowl.
By following these steps, you will successfully shut off the water supply to the toilet and prevent any further leaks.
Now, let’s move on to the next step of removing the toilet tank.

LUXE Bidet NEO 120 - Single Nozzle, Self-Cleaning, Non-Electric Bidet Attachment for Toilet Seat, Adjustable Water Pressure, Rear Wash (Blue)
THE ULTIMATE VALUE – With a sleek design and high-quality parts, Our Bidet Attachment will give your bathroom...
As an affiliate, we earn on qualifying purchases.
Removing the Toilet Tank
Once the water supply is shut off, it’s time to remove the toilet tank. This step is crucial in order to access the inner components and identify the cause of the leak. To remove the tank, follow these step-by-step instructions:
- Start by disconnecting the water supply line from the bottom of the tank using an adjustable wrench.
- Next, locate the tank bolts on either side of the tank and remove the nuts securing them using a wrench or pliers.
- Carefully lift the tank straight up, taking care not to damage any nearby fixtures or the toilet bowl itself.
- Place the tank on a flat, stable surface.
- Finally, inspect the tank and its components for any signs of damage or wear, such as cracks or worn-out gaskets.
By removing the toilet tank, you can effectively assess the condition of the inner components, identify any issues, and perform necessary repairs or replacements.
Regular toilet tank maintenance is important to prevent leaks and ensure the proper functioning of your toilet. Common causes of toilet leaks include worn-out flapper valves, faulty fill valves, and loose or damaged tank bolts. By addressing these issues promptly, you can avoid further damage and maintain a leak-free toilet.

LUXE Bidet NEO 120 - Single Nozzle, Self-Cleaning, Non-Electric Bidet Attachment for Toilet Seat, Adjustable Water Pressure, Rear Wash (White)
THE ULTIMATE VALUE – With a sleek design and high-quality parts, Our Bidet Attachment will give your bathroom...
As an affiliate, we earn on qualifying purchases.
Inspecting and Replacing the Wax Ring
When inspecting and replacing the wax ring, it’s important to carefully lift the toilet bowl off the floor to access the old wax ring and replace it with a new one. Here are the steps to follow:
- Start by turning off the water supply valve and flushing the toilet to empty the tank and bowl.
- Use a wrench to disconnect the water supply line from the bottom of the toilet tank.
With caution, lift the toilet bowl straight up and place it on a towel or cardboard to prevent any damage.
- Remove the old wax ring from the toilet flange and clean any residue.
- Install the new wax ring by aligning it with the flange and gently pressing it down until it forms a watertight seal.
Carefully lower the toilet bowl back onto the wax ring, making sure it is centered over the flange.
- Reconnect the water supply line and turn on the water.
- Finally, test the toilet for any leaks.
Checking and Tightening the Toilet Bolts
Checking and tightening the toilet bolts is an important step in ensuring the stability and proper function of the toilet. Loose bolts can lead to leaks and wobbling, causing damage to the floor and potentially leading to more serious plumbing issues.
To prevent leaks and maintain a secure toilet, follow these steps:
- Use a wrench to check the tightness of the bolts located at the base of the toilet.
- If the bolts are loose, tighten them clockwise until they are snug. Be careful not to overtighten, as this could crack the toilet.
- Inspect the bolt caps or covers and make sure they are properly in place to provide a finished look.
- Check for any water leakage around the base of the toilet after tightening the bolts. If there is still a leak, it may indicate a problem with the wax ring or another issue that requires further attention.
- Regularly inspect and tighten the toilet bolts to prevent leaks and maintain the stability of your toilet.
Examining and Repairing the Flush Valve
To ensure proper function, regularly inspect and repair the flush valve to prevent leaks and maintain the efficiency of your toilet. The flush valve is a critical component of the toilet that controls the flow of water during flushing. If it is not functioning correctly, it can lead to issues such as weak flushes or continuous running water.
Here are some steps to examine and repair the flush valve:
- Remove the tank lid and locate the flush valve at the bottom center of the tank.
- Check for any visible signs of damage or wear, such as cracks or mineral deposits.
- If there are leaks, tighten the bolts connecting the flush valve to the tank and the water supply line.
- If tightening the bolts does not resolve the issue, you may need to replace the flush valve or its components.
Reassembling the Toilet and Testing for Leaks
After reassembling the toilet, you can test for leaks by turning on the water supply and observing for any signs of water escaping from the tank. To do this, follow these steps:
-
Ensure that the water supply valve is fully open.
-
Carefully inspect the tank and the area around the base of the toilet for any signs of water leakage.
-
If you notice any water escaping, it may indicate a problem with the toilet’s seals or connections.
-
If there are no visible leaks, you can further test by checking the water pressure. Attach a pressure gauge to the water supply line and turn on the water. The ideal water pressure for a toilet is between 20 and 80 psi.
-
If the water pressure is too high or too low, you may need to adjust the water supply valve or consider installing a pressure regulator.
-
Finally, using a toilet repair kit, inspect and repair any faulty components such as the fill valve, flapper, or flush valve.
Frequently Asked Questions
Can I Use Any Type of Wax Ring to Replace the Old One?
Yes, you can use any type of wax ring to replace the old one. Choosing the right wax ring is crucial for preventing leaks. It creates a watertight seal between the toilet and the floor.
Is It Necessary to Remove the Toilet Tank in Order to Fix a Leaking Toilet?
No, removing the toilet tank is not always necessary to fix a leaking toilet. There are alternative methods and quick fixes that can be tried before resorting to tank removal.
How Often Should I Check and Tighten the Toilet Bolts?
I check and tighten toilet bolts every six months to prevent leaks. Signs of loose toilet bolts include wobbling or shifting when sitting. Use a wrench to tighten them, but be careful not to overtighten and crack the porcelain.
What Should I Do if the Toilet Continues to Leak After Replacing the Wax Ring?
If your toilet continues to leak after replacing the wax ring, it may be due to a faulty toilet flange. To fix this, you’ll need to perform a toilet flange repair. Troubleshooting toilet leaks can be complex, but with the right knowledge and tools, you can resolve the issue.
Are There Any Common Mistakes to Avoid While Reassembling the Toilet After Fixing a Leak?
Common mistakes to avoid when reassembling a toilet after fixing a leak include not properly aligning the wax ring, over-tightening bolts, and forgetting to reconnect water supply lines. Pay attention to these details for a successful repair.
Conclusion
In conclusion, I hope this guide has provided you with the knowledge and expertise needed to fix a toilet leaking from the bottom.
By identifying the source of the leak, shutting off the water supply, inspecting and replacing the wax ring, checking and tightening the toilet bolts, and examining and repairing the flush valve, you can successfully resolve this issue.
Remember to reassemble the toilet and test for any remaining leaks.
With this problem-solving approach and technical expertise, you’ll have your toilet back in working order in no time.