As a seasoned plumber, I’ve encountered my fair share of leaky toilet seals. They’re like the silent assassins of the bathroom, wreaking havoc and causing water damage without warning.
But fear not, because I’m here to share my expertise on how to fix a faulty toilet seal.
In this guide, I’ll walk you through the steps, provide helpful tips, and troubleshoot common issues along the way.
So grab your tools and let’s dive into the world of toilet seal repair.
Key Takeaways
- Water pooling around the base of the toilet is a sign of a faulty toilet seal.
- Age, wear, and improper installation are common causes of toilet seal damage.
- Tools and materials needed for fixing a toilet seal include an adjustable wrench, putty knife, wax ring, and rubber gloves.
- Proper steps for removing and replacing a toilet seal include turning off the water supply, loosening the bolts, removing the old wax ring, placing the new wax ring, and lowering the toilet back onto the flange.
Common Signs of a Faulty Toilet Seal
If you notice water pooling around the base of your toilet, it’s likely that you have a faulty seal. A faulty toilet seal can lead to water leakage and potential damage to your bathroom floor.
As an experienced plumber, I have come across this issue numerous times. One of the common causes of toilet seal damage is age and wear. Over time, the seal can deteriorate and lose its effectiveness.
Another cause is improper installation, where the seal may not have been placed correctly or tightly enough. Additionally, if the toilet is constantly rocking or shifting, it can cause the seal to break or become misaligned.
In any case, when faced with a faulty seal, it is crucial to address the issue promptly to prevent further damage. Toilet seal replacement is the best solution, ensuring a tight and secure seal to prevent leaks and maintain the integrity of your bathroom.
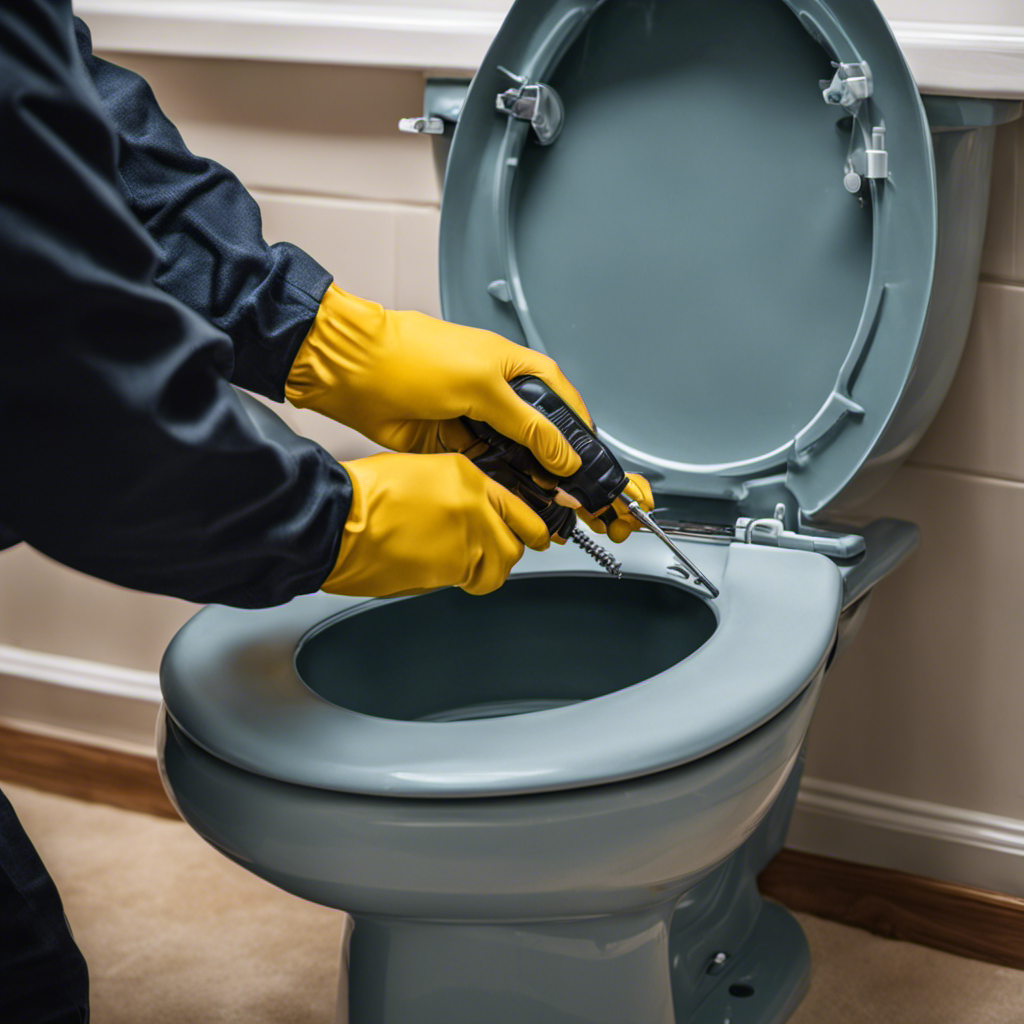
Tools and Materials Needed for Fixing a Toilet Seal
You’ll need a few tools and materials to properly repair the toilet seal. Here’s everything you’ll need for the job:
- Adjustable wrench: This tool will help you loosen and tighten the bolts that hold the toilet in place.
- Putty knife: Use this to scrape off the old wax ring and any residue left on the floor or toilet base.
- Wax ring: A good quality wax ring is essential for creating a watertight seal between the toilet and the floor.
- Rubber gloves: To protect your hands from any mess during the repair process.
Maintaining a good toilet seal is important to prevent leaks and water damage. A faulty seal can lead to costly repairs and even potential health hazards.
Now that you have the necessary tools and materials, let’s move on to the step-by-step guide to removing and replacing a toilet seal.
Step-By-Step Guide to Removing and Replacing a Toilet Seal
Now that you have all the necessary tools and materials, it’s time to start removing and replacing the toilet seal.
The toilet seal plays a crucial role in preventing leaks and odors from escaping into your bathroom. If you notice any signs of damage or leakage around the base of your toilet, it’s important to address the issue promptly.
To begin, turn off the water supply to the toilet and flush to empty the tank. Next, loosen the bolts securing the toilet to the floor and carefully lift it off the flange. Remove the old wax ring and clean the flange thoroughly.
Now, it’s time for the toilet seal installation. Place the new wax ring on the flange, ensuring it is centered. Lower the toilet back onto the flange and press down firmly to create a watertight seal.
Tips for Ensuring a Proper Seal and Preventing Future Leaks
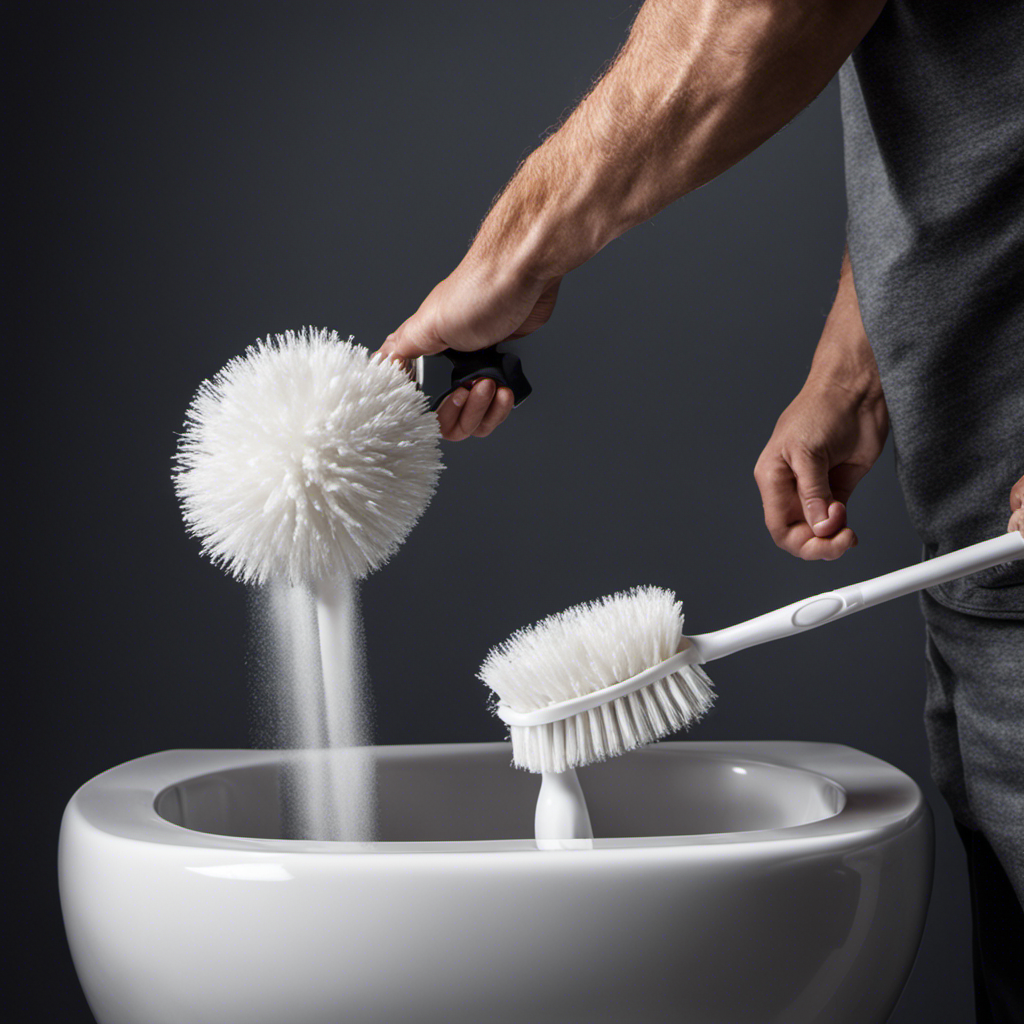
To prevent future leaks and ensure a proper seal, it’s important to thoroughly clean the flange before installing the new wax ring. Here are some tips for maintaining your toilet seal and preventing water damage:
-
Inspect the flange regularly: Check for any signs of wear or damage, such as cracks or corrosion. Replace the flange if necessary.
-
Clean the flange and surrounding area: Use a mild detergent and a brush to remove any debris, dirt, or old wax residue. Make sure the surface is clean and dry before installing the new wax ring.
-
Use a high-quality wax ring: Invest in a reliable wax ring that provides a tight seal. This will help prevent leaks and water damage.
-
Check the toilet bolts: Ensure that the bolts holding the toilet to the flange are secure. Tighten them if necessary to maintain a proper seal.
Troubleshooting Common Issues When Fixing a Toilet Seal
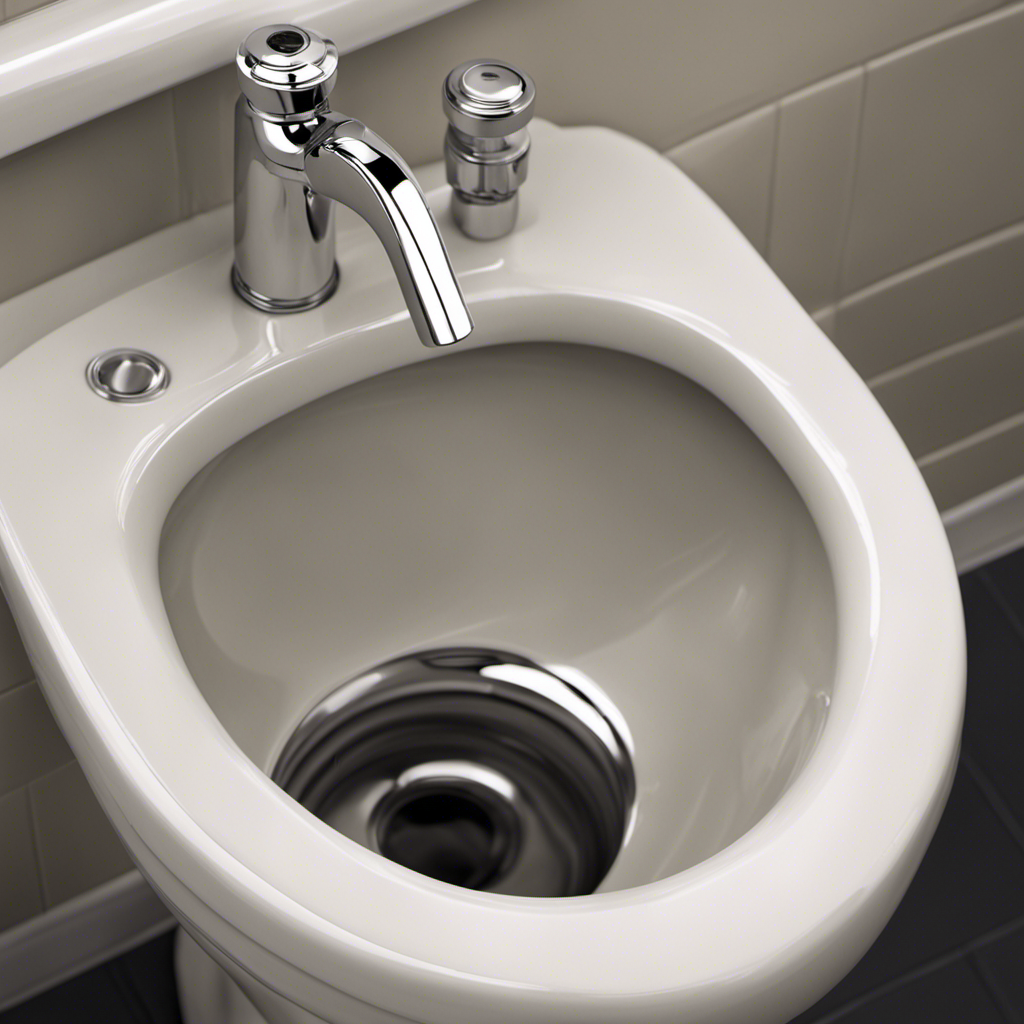
When troubleshooting common issues with fixing a toilet seal, it’s important to check for any signs of wear or damage on the flange.
The flange is a crucial part of the toilet seal system as it provides a secure connection between the toilet and the floor.
If the flange is cracked, broken, or worn out, it can lead to leaks and improper sealing. In such cases, the flange should be replaced before proceeding with the toilet seal repair.
Additionally, choosing the right sealant is essential for a successful repair. Silicone-based sealants are commonly used for toilet seal repairs as they provide a durable and waterproof seal.
It’s important to follow the manufacturer’s instructions when applying the sealant to ensure a proper and long-lasting seal.
Frequently Asked Questions
How Often Should a Toilet Seal Be Replaced?
Toilet seals should be replaced every 5-10 years, depending on usage and maintenance. Signs of a worn-out seal include water leaks around the base of the toilet, foul odors, and a rocking toilet.
Can a Faulty Toilet Seal Cause Water Damage to the Floor or Surrounding Areas?
A faulty toilet seal can cause water damage akin to a leaky faucet, seeping into the floor and surrounding areas. Regular toilet seal maintenance is crucial to prevent costly repairs and protect your home.
Are There Any Temporary Fixes for a Faulty Toilet Seal Until It Can Be Replaced?
Temporary fixes for a faulty toilet seal can include using a wax ring or silicone caulk to create a temporary seal. However, these are not long-term solutions and should only be used until the seal can be properly replaced.
What Are Some Common Mistakes to Avoid When Removing and Replacing a Toilet Seal?
When it comes to toilet seal installation, it’s important to avoid common mistakes. I’ve learned from experience that rushing the process or not properly aligning the seal can lead to leaks and other problems.
How Long Does It Typically Take to Remove and Replace a Toilet Seal?
Removing and replacing a toilet seal typically takes about 1-2 hours. It’s important to have the right tools and follow proper installation tips. Signs of a damaged toilet seal include water leaks and foul odors.
Conclusion
Well, congratulations! You’ve successfully learned how to fix a faulty toilet seal. Now you can proudly add ‘plumber’ to your list of skills.
Who needs professionals when you can take matters into your own hands, right? Just remember, when the next leaky toilet comes your way, don’t hesitate to whip out your trusty tools and show that seal who’s boss.
Because nothing says ‘expert’ like a DIY plumbing job.
Happy fixing!

With an impeccable eye for detail and a passion for bathroom-related, Ava leads our editorial team gracefully and precisely.
Under her guidance, Best Modern Toilet has flourished as the go-to resource for modern bathroom enthusiasts. In her free time, you might find Ava exploring antique shops and looking for vintage bathroom fixtures to add to her collection.