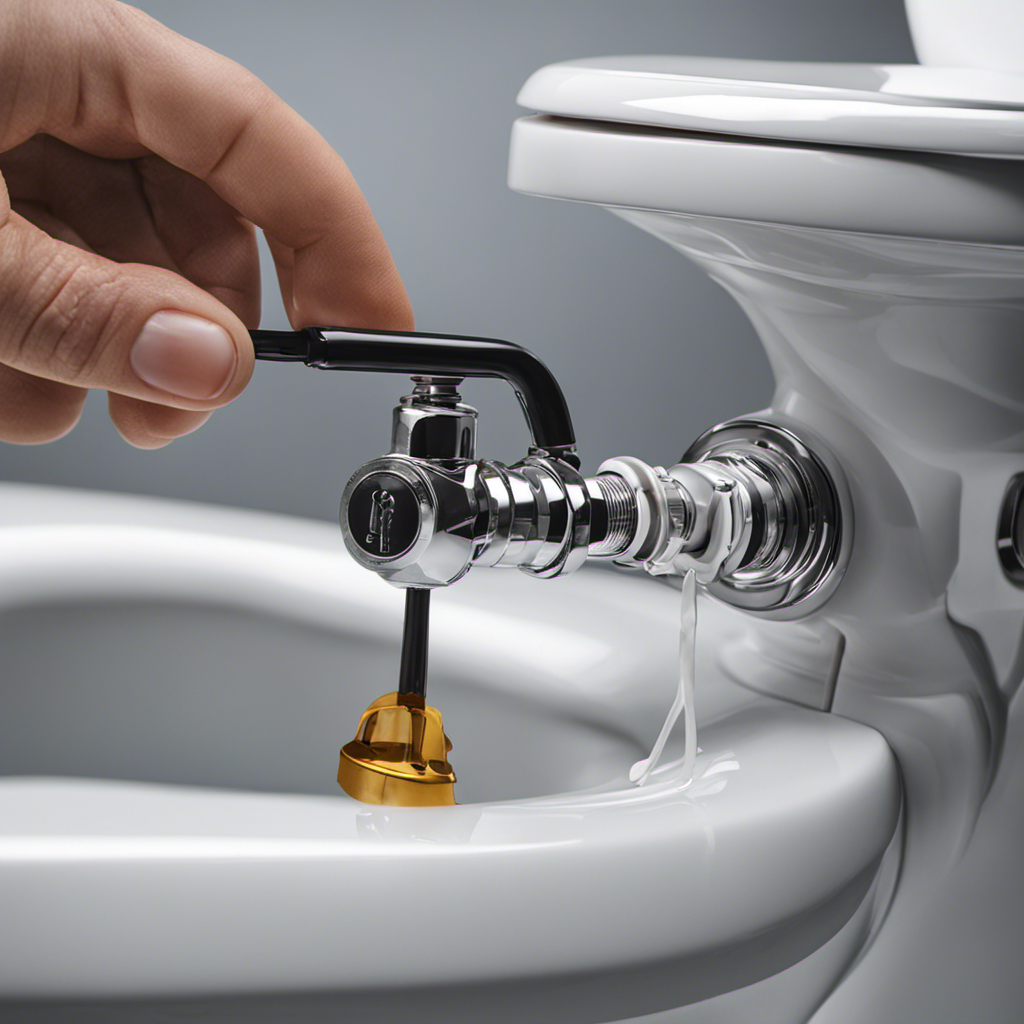
Did you know that a broken toilet seat lid is one of the most common household problems? Well, fear not! I’m here to guide you through the process of fixing it yourself, saving you time and money.
In this article, I will walk you through the steps of:
- Assessing the problem
- Gathering the necessary tools
- Removing the old toilet seat lid
- Installing the new one
By the end, you’ll be equipped with the knowledge and confidence to tackle this DIY project like a pro.
Let’s get started!
Key Takeaways
- Checking for cracks or wear on the toilet seat lid is essential before proceeding with any repairs or replacements.
- Having the appropriate tools for the specific type of toilet seat lid is crucial for an efficient and successful fix.
- Removing the old toilet seat lid involves unscrewing the screws near the hinges and lifting it off the toilet bowl.
- Installing the new toilet seat lid requires proper alignment with the hinges, securely tightening the bolts, and ensuring the seat height is adjusted if necessary.
Assessing the Problem
First, you’ll want to check if the toilet seat lid is loose or broken before attempting to fix it. Evaluating the damage is the first step in determining the cause of the problem.
Start by gently lifting the lid and checking for any visible cracks or signs of wear. If the lid feels loose when you sit on it, it may just need to be tightened. Grab a screwdriver and locate the screws underneath the seat. Tighten them by turning them clockwise until they are secure.
However, if you notice any cracks or breaks in the lid, it will need to be replaced. Take measurements of the lid and search for a suitable replacement that matches the dimensions. Make sure to follow the manufacturer’s instructions when installing the new lid to ensure a proper fit.
Gathering the Necessary Tools
Before you start, make sure you’ve got all the tools you’ll need.
Proper maintenance of your toilet seat lid is essential to ensure its longevity and functionality.
When it comes to fixing or replacing a toilet seat lid, it’s important to have the right tools at hand.
The tools you’ll need may differ depending on the type of toilet seat lid you have. There are various types available, including plastic, wood, and cushioned seats.
Each type requires different tools for removal and installation. For example, a plastic seat may require a screwdriver, while a wood seat may need a wrench.
Removing the Old Toilet Seat Lid
To start removing the old toilet seat lid, you’ll need to locate the screws holding it in place. These screws are typically located at the back of the toilet seat, near the hinges. Once you’ve located the screws, use a screwdriver to unscrew them counterclockwise. Once the screws are removed, you can lift the old lid off the toilet bowl.
Before replacing the hinges or installing a new toilet seat lid, it’s a good idea to clean the surface of the toilet bowl. Use a mild cleaner and a soft cloth to wipe away any dirt or grime. Make sure to dry the surface thoroughly before proceeding with the installation.
To make the process easier, here’s a helpful table outlining the steps to remove the old toilet seat lid:
| Steps to Remove Old Toilet Seat Lid |
|---|
| Locate screws holding the lid in place |
| Unscrew the screws counterclockwise |
| Lift the old lid off the toilet bowl |
Installing the New Toilet Seat Lid
Now that you’ve removed the old toilet seat lid, you can proceed with installing the new one. To ensure a successful installation, it’s important to follow these steps carefully.
First, gather the necessary tools and hardware, including a screwdriver and the new seat lid.
Next, position the lid over the toilet bowl, making sure it aligns properly with the hinges.
Then, insert the bolts through the hinge holes and tighten them securely using the screwdriver.
Once the hardware is in place, adjust the seat height to your desired level. Some seat lids may have adjustable hinges that allow you to raise or lower the seat as needed.
Finally, double-check that everything is secure and tighten any loose screws if necessary.
With these simple steps, you can easily install a new toilet seat lid and enjoy a comfortable and functional bathroom fixture.
Troubleshooting and Final Touches
Once you’ve completed the installation, make sure to check for any potential issues and add any final touches to ensure everything is working properly.
Start by cleaning and disinfecting the toilet seat lid. Use a mild cleaner and a soft cloth to remove any dirt or stains. This will not only improve the appearance but also maintain hygiene.
Next, check if the hinges are properly adjusted for a better fit. Sometimes, the seat may become loose or uneven due to frequent use. To fix this, tighten the screws or adjust the hinges as needed.
Ensure that the seat is stable and secure before finishing up. Finally, double-check that the lid opens and closes smoothly without any resistance.
Taking these steps will ensure your toilet seat lid is clean, secure, and functioning optimally.
Frequently Asked Questions
Can I Use the Same Tools for Removing the Old Toilet Seat Lid and Installing the New One?
Yes, you can use the same tools for removing the old toilet seat lid and installing the new one. Here’s a step by step guide on how to do it properly.
How Long Does It Usually Take to Complete the Entire Process of Fixing a Toilet Seat Lid?
How long does it usually take to measure for a new toilet seat lid and explore the different types available? It depends on your familiarity with the process and the options you consider.
Are There Any Specific Safety Precautions That Should Be Followed While Fixing a Toilet Seat Lid?
When it comes to toilet seat lid installation, it’s important to prioritize safety. Always use the proper tools for toilet seat lid repair to avoid any accidents or damage.
What Are Some Common Mistakes to Avoid When Removing or Installing a Toilet Seat Lid?
When removing or installing a toilet seat lid, it’s important to avoid common mistakes. Be careful to correctly align the hinges and avoid overtightening the bolts. These simple steps can save you from future issues.
Can the Same Troubleshooting Steps Be Applied to Different Types of Toilet Seat Lids?
Yes, the same troubleshooting steps can be applied to different types of toilet seat lids. It’s important to understand the unique troubleshooting steps for each type and to properly maintain and care for them.
Conclusion
In conclusion, fixing a toilet seat lid is a simple task that can be easily accomplished with the right tools and knowledge.
By assessing the problem, gathering the necessary tools, removing the old lid, and installing the new one, you can quickly restore functionality to your toilet seat.
It is important to note that 80% of toilet seat lid problems can be fixed without the need for professional assistance. With a little DIY know-how, you can save both time and money by tackling this task on your own.


