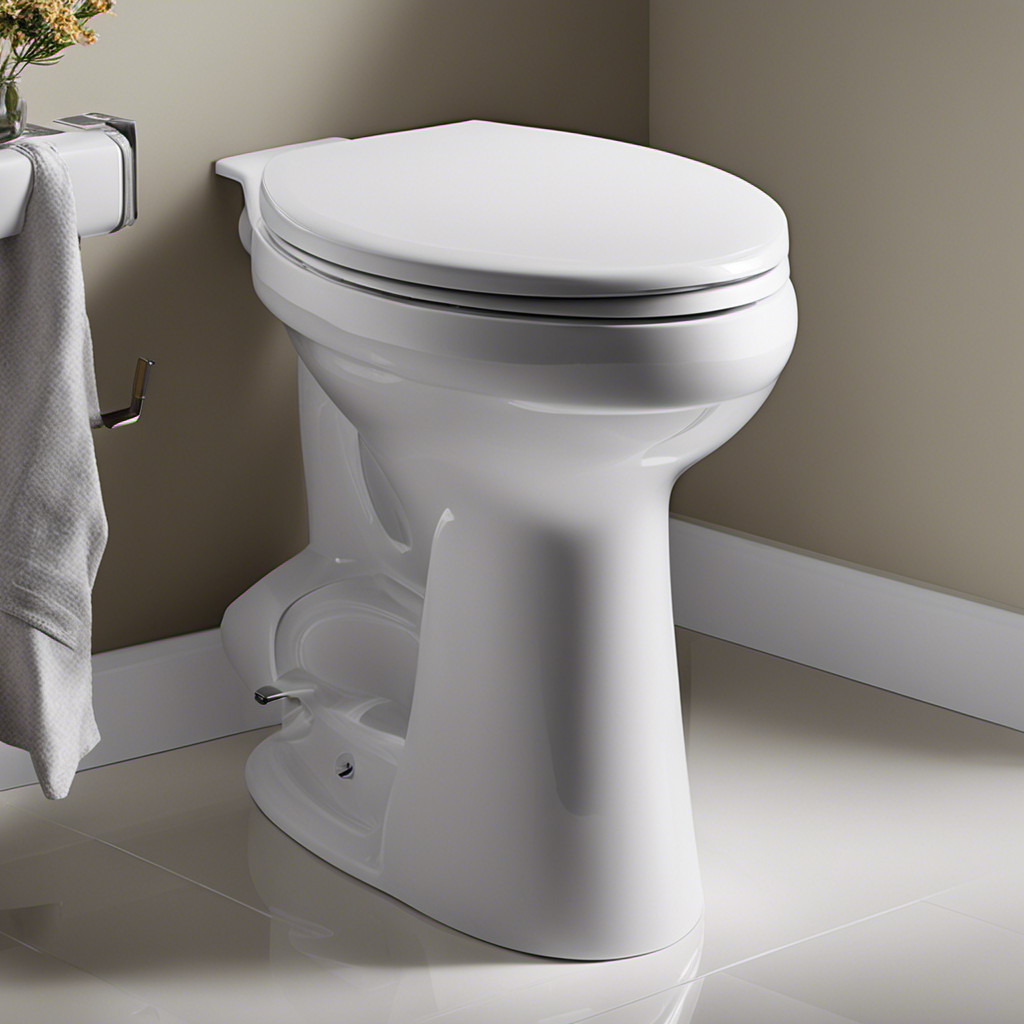
Imagine stepping into a bathroom oasis, where every flush is a symphony of efficiency and style. Now, picture yourself as the master of this sanctuary, confidently installing a Kohler toilet with ease.
In this article, we will guide you through the step-by-step process of installing a Kohler toilet. From gathering the necessary tools to troubleshooting the installation, you’ll become a plumbing virtuoso in no time.
So, roll up your sleeves and let’s dive into this transformative journey of toilet installation.
Key Takeaways
- Choose the right toilet model based on style and dimensions.
- Take accurate measurements of the rough in distance.
- Thoroughly clean the bathroom floor to remove dirt and debris.
- Use a level to properly align and level the toilet.
Gathering the Necessary Tools and Materials
Before you start installing the Kohler toilet, make sure you have all the necessary tools and materials. It is crucial to choose the right toilet model that suits your bathroom’s style and dimensions. Consider factors such as bowl shape, flushing mechanism, and water efficiency.
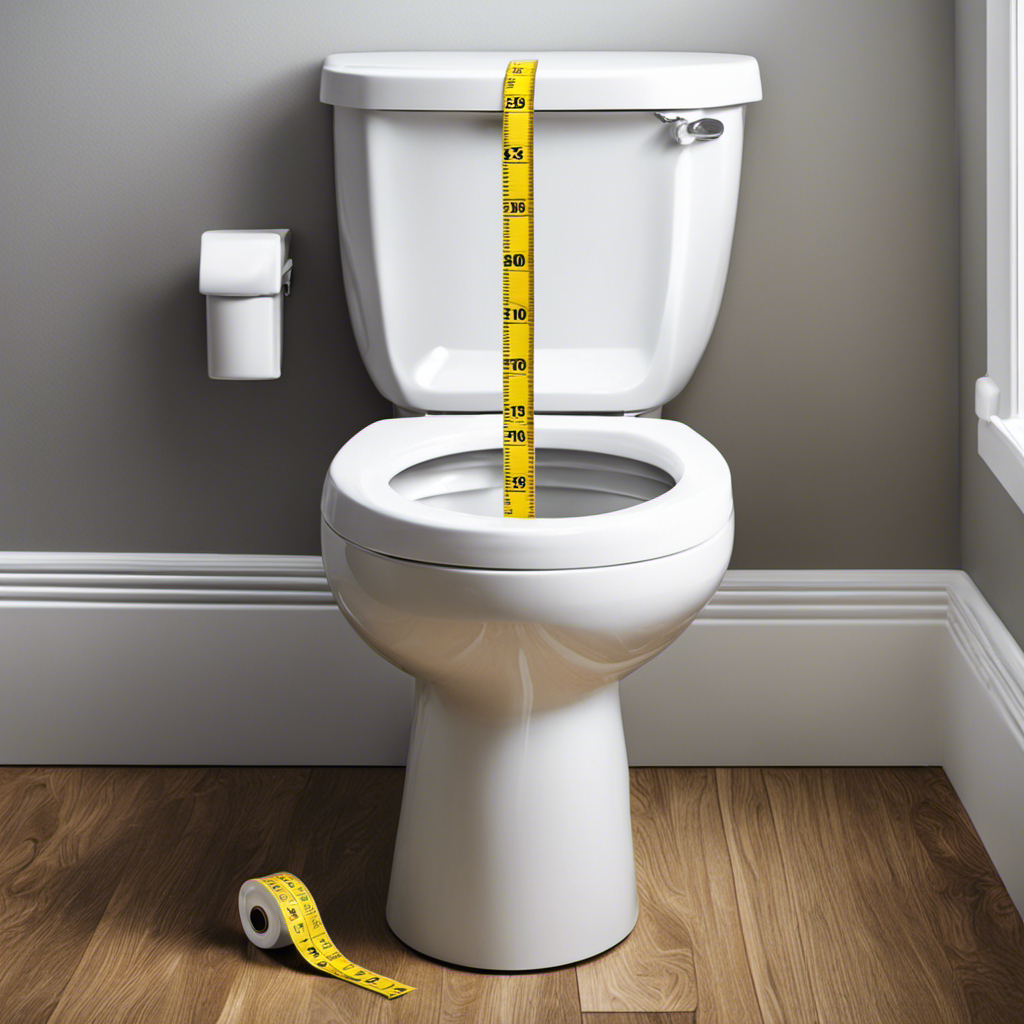
Once you have selected the ideal model, take accurate measurements of the rough in distance. This distance refers to the space between the wall and the center of the sewer drainpipe. It is essential to measure this distance accurately, as it determines the toilet’s fit and alignment. Use a tape measure to determine the rough in distance, ensuring you measure from the finished wall and not the baseboard.
Preparing the Bathroom for Installation
Make sure you’ve cleared the bathroom of any obstacles or clutter to prepare for the installation. This step is crucial to ensure a smooth and efficient installation process.
Here is a step-by-step guide to help you prepare the bathroom for the installation:
-
Remove any rugs or mats: Clear the bathroom floor of any rugs or mats to provide a clear workspace and prevent tripping hazards.
-
Clean the floor: Thoroughly clean the bathroom floor to remove any dirt, dust, or debris that may interfere with the installation or cause damage to the toilet flange.
-
Inspect the toilet flange: Check the condition of the toilet flange to ensure it is in good shape. Replace it if necessary to avoid any leaks or instability.
-
Check for water leaks: Look for any signs of water leaks around the existing toilet flange or on the bathroom floor. Repair any leaks before proceeding with the installation.
Removing the Old Toilet
To remove the old toilet, you’ll need to disconnect the water supply and unscrew the bolts securing it to the floor.
Start by shutting off the water supply valve located behind the toilet. Flush the toilet to remove any remaining water from the tank and bowl. Use a wrench to loosen and disconnect the water supply line from the bottom of the toilet tank.
Next, remove the plastic caps covering the bolts at the base of the toilet. Use a wrench to unscrew the nuts securing the bolts to the floor. Once the nuts are removed, carefully lift the toilet straight up and off the floor. Be cautious as it can be heavy.
Before disposing of the old toilet, check with your local waste management guidelines for proper toilet disposal methods.
Installing the Kohler Toilet Bowl
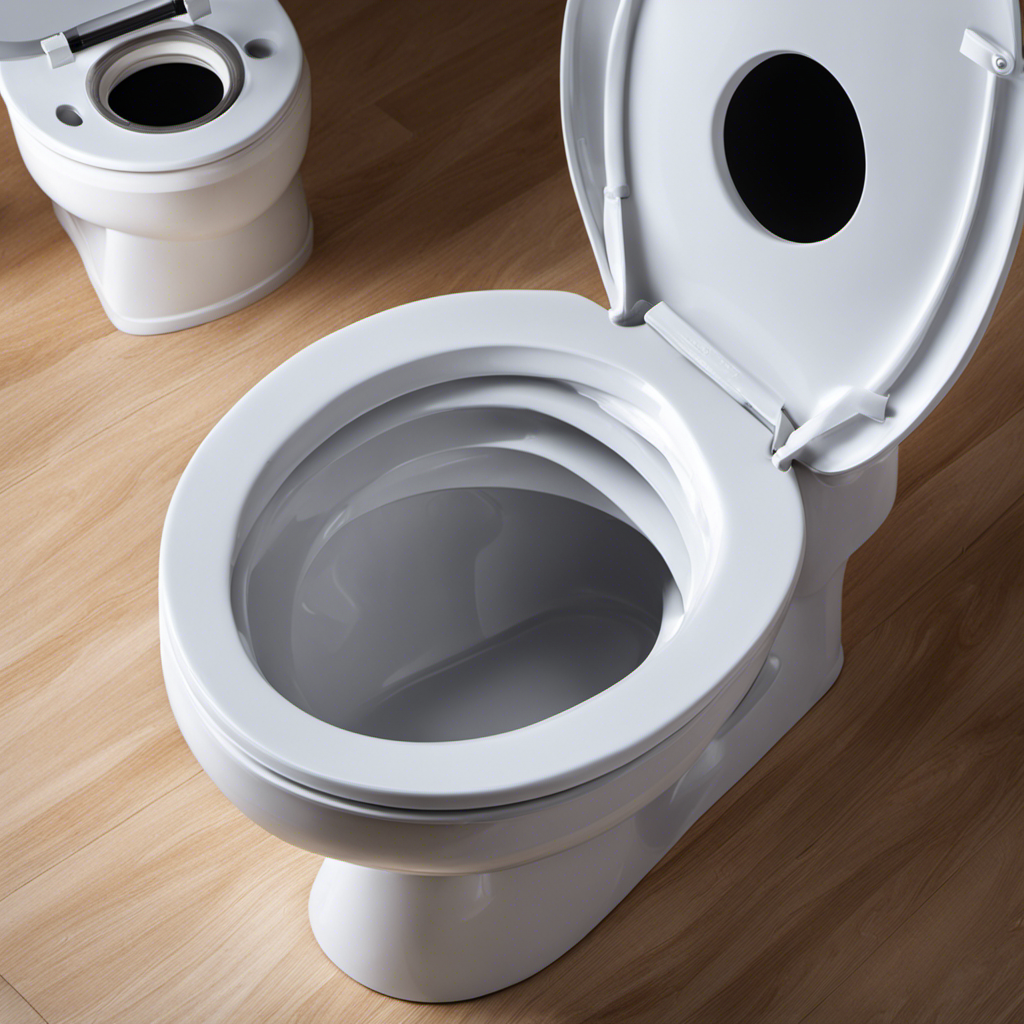
When installing the Kohler Toilet Bowl, proper alignment and leveling are crucial for a secure and functional installation. This ensures that the bowl sits evenly on the floor and prevents any potential leaks or wobbling.
Additionally, securing the toilet securely is essential to avoid any accidents or damage to the bowl and floor.
Proper Alignment and Leveling
Ensure that you’re using a level to properly align and level the Kohler toilet during installation. Proper alignment techniques are crucial for a stable and functional toilet.
Here are some important tips to follow:
- Start by placing the toilet bowl on the flange and check if it sits evenly.
- Use leveling tools, such as a bubble level, to ensure that the toilet is perfectly level from front to back and side to side.
- Adjust the toilet’s position by adding or removing shims, if necessary, to achieve proper alignment.
- Double-check the level after tightening the bolts to make sure the toilet hasn’t shifted.
By taking these steps, you’ll ensure that the toilet is properly aligned and level, providing optimal performance and preventing any potential leaks.
Now that the toilet is aligned, it’s time to move on to securing it securely.
Securing the Toilet Securely
Now that the toilet is properly aligned and level, it’s important to secure it securely.
To do this, you need to secure the toilet bolts and anchor the toilet base.
Start by placing a washer onto each bolt, followed by a nut. Use a wrench to tighten the nuts, making sure not to overtighten them as it could crack the toilet.
Once the bolts are secure, it’s time to anchor the toilet base. Apply a bead of waterproof silicone caulk around the base of the toilet where it meets the floor. This will create a watertight seal and prevent any leaks.
Press the toilet firmly onto the wax ring and the caulk, ensuring it is evenly and firmly seated. This will anchor the toilet in place.
With the toilet securely in position, you can now move on to connecting the water supply.
Connecting the Water Supply
When connecting the water supply to your toilet, it’s important to ensure a proper pipe connection to prevent any leaks or water damage. This involves using the correct size and type of pipe, as well as securely fastening it with appropriate fittings and seals.
Additionally, installing a shut-off valve is crucial for easy maintenance and repairs. It allows you to shut off the water supply to the toilet when needed. This can be helpful when fixing any issues or replacing parts.
Lastly, it is essential to consider the water pressure in your home and adjust it accordingly. This helps prevent any issues with flushing or filling the toilet bowl. Adjusting the water pressure can ensure that the toilet functions properly and efficiently.
Proper Pipe Connection
To properly connect the pipes, make sure you use the appropriate fittings. Pipe connection techniques are crucial to ensure a secure and leak-free installation. Here are some common pipe connection issues to be aware of:
-
Incorrect fitting size: Using fittings that are too small or too large for the pipes can result in leaks or pipe damage. Always check the specifications and match the fitting size with the pipe size.
-
Improper tightening: Over-tightening or under-tightening the fittings can cause leaks. Use a wrench or pliers to tighten the fittings just enough to create a watertight seal without damaging the pipes.
-
Lack of thread sealant: Applying thread sealant to the fittings helps prevent leaks at the connection points. Make sure to use the appropriate sealant for the type of pipes and fittings being used.
-
Incorrect pipe alignment: Proper alignment of the pipes before connecting them is essential. Misaligned pipes can cause leaks or restricted water flow. Ensure the pipes are straight and properly aligned before connecting them with fittings.
Shut-Off Valve Installation
The first step in shut-off valve installation is identifying the appropriate location for the valve. This is crucial for ensuring easy access and proper operation. Start by locating the main water supply line and determining where the valve will be most convenient.
Once the location is determined, turn off the main water supply and drain any remaining water from the pipes. Next, carefully cut the pipe using a pipe cutter or hacksaw. Make sure the cut is clean and smooth.
Install the new shut-off valve by connecting it to the pipe using compression fittings or soldering. Finally, turn on the main water supply and check for any leaks.
Regular valve maintenance is essential for its longevity and functionality. If the valve shows signs of damage or wear, it may need to be replaced to ensure proper water flow control.
Water Pressure Considerations
If you notice low water pressure in your home, you may need to adjust the shut-off valve. Water pressure regulation is crucial for proper toilet performance. Here are some key considerations:
-
Check the shut-off valve: Ensure that it is fully open to allow maximum water flow to the toilet.
-
Inspect the water supply line: Look for any kinks or obstructions that may be limiting water flow.
-
Test the pressure from other fixtures: Check the water pressure in other faucets or showers to determine if the issue is isolated to the toilet.
-
Consider installing a pressure regulator: If your water pressure is consistently high or low, a pressure regulator can help maintain a steady flow to your toilet.
Proper water pressure regulation is essential to ensure your toilet performs optimally and avoids issues like weak flushes or incomplete refilling.
Securing the Toilet Tank
Make sure you’ve securely fastened the toilet tank to the bowl before moving on to the next step.
Proper toilet tank maintenance is essential for the overall functionality of your toilet.
To ensure a secure connection, start by placing the rubber gasket onto the flush valve opening at the bottom of the tank.
Next, lower the tank onto the bowl, aligning the bolt holes on the tank with the corresponding holes on the bowl.
Insert the bolts through the holes and tighten the nuts by hand.
Use a wrench to further tighten the nuts, ensuring a snug fit.
To enhance the stability of the tank, you can also consider installing toilet tank accessories such as anti-slip tank pads or tank stabilizers.
These accessories provide additional support and help prevent any potential movement or leaks.
Testing and Troubleshooting the Installation
Once you’ve finished securing the toilet tank, it’s important to test and troubleshoot the installation to ensure everything is working properly. Follow these steps to test and troubleshoot your Kohler toilet installation:
-
Check for leaks: Inspect the area around the base of the toilet and the water supply connection for any signs of water leakage. Tighten any loose connections or replace faulty parts.
-
Test the water flow: Flush the toilet several times and observe the water flow. It should be consistent and strong. If the water flow is weak or irregular, check the water supply valve and adjust it if necessary.
-
Ensure proper flushing: Make sure the toilet flushes properly and all waste is flushed away. If the toilet doesn’t flush properly, check the flapper valve and adjust the chain if needed.
-
Verify the tank fill: After flushing, the tank should refill quickly and to the correct water level. If the tank takes too long to fill or overflows, adjust the fill valve or replace it if necessary.
Conclusion
Congratulations on successfully installing your new Kohler toilet!
By following the step-by-step instructions and using the right tools, you have transformed your bathroom into a beautiful and functional space.
Remember to regularly check for any leaks or issues to ensure the longevity of your toilet.
With this simple yet effective installation process, you can now enjoy the convenience and comfort that a Kohler toilet brings.
So sit back, relax, and revel in the remarkable results of your hard work!
