Are you tired of dealing with a wobbly toilet or persistent leaks? Did you know that a faulty toilet flange is often the culprit? In fact, a staggering 80% of toilet installation problems can be traced back to a faulty flange.
But don’t worry, installing a new toilet flange is easier than you might think. With the right tools and materials, you can tackle this DIY project and ensure a secure and leak-free toilet.
Follow these step-by-step instructions to learn how.
Key Takeaways
- Consider the size and material of the toilet flange before installation.
- Gather the necessary tools and materials such as a wrench, pliers, hacksaw, putty knife, and screwdriver.
- Remove the old toilet flange using a wrench, pliers, putty knife, and scraper.
- Prepare the floor for installation by checking the condition of the existing flange, leveling the subfloor, and cleaning the surface thoroughly.

One N Done Toilet Flange Repair Kit – Toilet Kit For Low or Broken Flange. Toilet Wax Ring Replacement Kit W/Toilet Flange Extender Kit, Easy Toilet Bolts, & Toilet Caps For Bottom of Toilet. (1 Ea.)
Save Time & Money | No wax ring for toilet required. The One N Done toilet flange repair…
As an affiliate, we earn on qualifying purchases.
As an affiliate, we earn on qualifying purchases.
Selecting the Right Toilet Flange
When selecting the right toilet flange, it’s important to consider the size and material of the flange. Toilet flange installation tips are crucial to ensure a proper fit and prevent leaks or damage.
There are different types of toilet flanges available in the market, including PVC, cast iron, and brass. PVC flanges are lightweight and easy to install, while cast iron flanges are durable and can withstand heavy loads. Brass flanges are corrosion-resistant and provide a secure connection.
The size of the flange should match the size of the toilet drain pipe to ensure a tight seal. It’s recommended to consult the manufacturer’s guidelines or seek professional advice to determine the appropriate flange for your specific toilet installation.

Oatey 4 in. PVC closet flange replacement
Use as a replacement flange for broken toilet flanges
As an affiliate, we earn on qualifying purchases.
As an affiliate, we earn on qualifying purchases.
Gathering the Necessary Tools and Materials
Before you begin your project to install a new toilet flange, it’s important to gather all the essential tools needed for the job. These tools include a wrench, pliers, a hacksaw, a putty knife, and a screwdriver.
Additionally, you’ll need to have a required materials checklist, which includes a new toilet flange, wax ring, bolts, and a flange repair kit.
Essential Tools Needed
To install a new toilet flange, you’ll need a few essential tools. These tools are necessary for a successful toilet flange installation or replacement. Here are the tools you’ll need:
| Tools | Purpose |
|---|---|
| Adjustable wrench | Used to tighten or loosen nuts and bolts |
| Screwdriver | Used to remove screws or pry off old flange |
| Hacksaw | Used to cut through old flange or pipe if necessary |
| Plunger | Used to unclog any blockages in the toilet |
The adjustable wrench is crucial for tightening the bolts that secure the flange to the floor. The screwdriver is needed to remove any screws holding the old flange in place. In some cases, the hacksaw may be necessary to cut through the old flange or pipe. Lastly, the plunger is handy for unclogging the toilet or removing any blockages before installing the new flange. Having these tools ready will ensure a smooth and successful toilet flange installation or replacement.
Required Materials Checklist
The checklist of required materials includes an adjustable wrench, screwdriver, hacksaw, and plunger. Before diving into the toilet flange installation steps, make sure you have these essential tools at hand. Here’s a breakdown of the materials you’ll need:
-
Adjustable wrench: This versatile tool will help you tighten and loosen the nuts and bolts during the installation process, ensuring a secure fit.
-
Screwdriver: A screwdriver is necessary for removing and installing screws that hold the toilet and the flange in place. Make sure to have both a flathead and a Phillips head screwdriver on hand.
-
Hacksaw: In case the existing flange is damaged or needs to be replaced, a hacksaw will come in handy for cutting through any stubborn pipes or bolts.
Having these materials ready will ensure a smooth and efficient installation process. However, if you encounter any common issues like leaks or unstable fittings, troubleshooting techniques will be required.
Stay tuned for our next subtopic where we’ll discuss troubleshooting common toilet flange installation issues.
Gathering Everything Beforehand
Make sure you’ve got all the required materials in order to successfully complete the toilet flange installation. Before beginning the installation process, it is important to gather everything you will need. Here are some tips to help you along the way and troubleshoot any common issues that may arise.
First, ensure that you have a new toilet flange, wax ring, and closet bolts. These are essential components for a proper installation. Additionally, you will need a wrench, screwdriver, and a level to ensure that the flange is installed correctly.
When troubleshooting common issues, such as a wobbly toilet or leaks, it is crucial to check the flange for any cracks or damage. If the flange is damaged, it should be replaced before continuing with the installation. Additionally, double-check the alignment and tightness of the closet bolts to prevent any movement or leaks.

Flange-Off Toilet Flange Removal Tool
For professional use only to safely remove a toilet flange
As an affiliate, we earn on qualifying purchases.
As an affiliate, we earn on qualifying purchases.
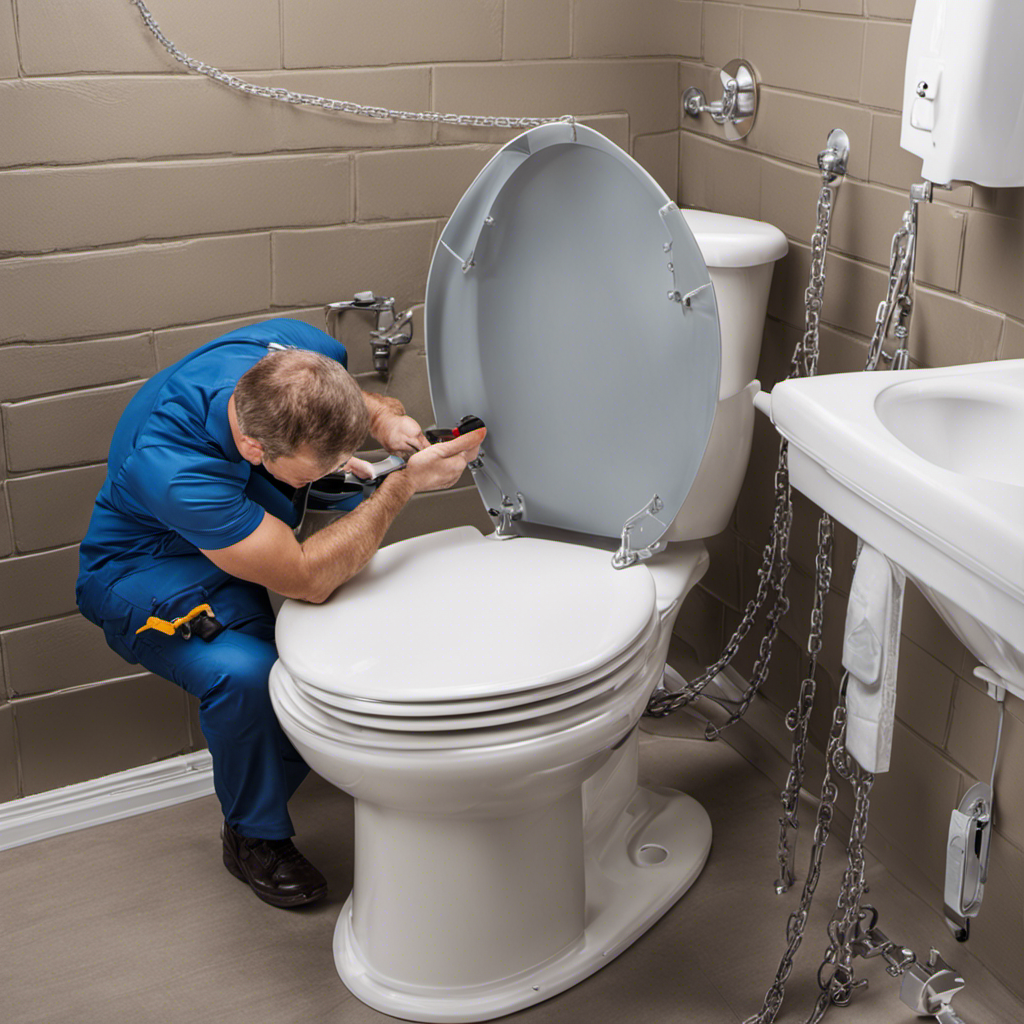
Removing the Old Toilet Flange
When it comes to removing an old toilet flange, it’s important to follow proper removal techniques to ensure a successful and efficient process.
Avoiding common mistakes can save you from potential damage and additional repairs.
To accomplish this task, you’ll need a few essential tools such as a wrench, pliers, a putty knife, and a scraper.
Proper Removal Techniques
To properly remove the old toilet flange, you’ll need to unscrew the bolts securing it to the floor. Follow these steps for a successful removal:
- Start by locating the bolts that secure the flange to the floor. They are usually located at the base of the toilet.
- Use a wrench or pliers to loosen and remove the bolts. Be careful not to damage the surrounding area.
- Once the bolts are removed, carefully lift the old flange out of its position.
If you’re repairing a broken flange, it’s important to consider toilet flange alternatives. Some options include using a repair plate or a wax ring with an integrated flange. These alternatives can provide a sturdy and secure connection for your toilet, ensuring a leak-free and long-lasting installation.
Avoiding Common Mistakes
If you’re not careful, you could accidentally damage the surrounding area while removing the old flange.
To avoid common mistakes when installing a new toilet flange, follow these tips and tricks for a successful installation.
First, ensure that the floor is clean and free from any debris or old wax rings. This will provide a smooth and secure surface for the new flange.
Next, make sure to align the flange properly with the toilet drain. Use a level to ensure that it is perfectly horizontal. Additionally, be sure to tighten the bolts evenly to prevent any leaks.
Finally, use a high-quality wax ring to create a watertight seal between the toilet and the flange.
Tools Needed for Removal
You’ll need a few tools for the removal process. Before you begin, it’s important to take some precautions to ensure a smooth removal. Here are some troubleshooting tips to keep in mind:
-
Safety goggles: Protect your eyes from any debris or particles that may fly during the removal process. Safety should always be your top priority.
-
Adjustable wrench: This versatile tool is essential for loosening and tightening the bolts that hold the toilet flange in place. Make sure to choose the right size for a secure grip.
-
Putty knife: Use this handy tool to scrape off any old wax or adhesive residue from the flange. A clean surface will ensure a proper seal when you install the new flange.

Eastman 40007 Toilet Bowl Wax Ring Set, 4 inch x 3 inch
✅NO LEAK- With a reinforced wax ring, and a pair of brass bolts that secure the ring in…
As an affiliate, we earn on qualifying purchases.
As an affiliate, we earn on qualifying purchases.
Preparing the Floor for Installation
First, check the condition of the existing toilet flange before proceeding with the installation. Once you have determined that it needs to be replaced, it is important to prepare the floor for the new flange.
Start by preparing the subfloor to ensure a stable base for the flange. Remove any old flooring material and clean the surface thoroughly.
Next, check the levelness of the floor. Use a level to determine if there are any high or low spots. If necessary, use a self-leveling compound to even out the floor. This will prevent any rocking or instability once the toilet is installed.
Take your time during this step to ensure a proper installation and to avoid any future issues with your new toilet flange.
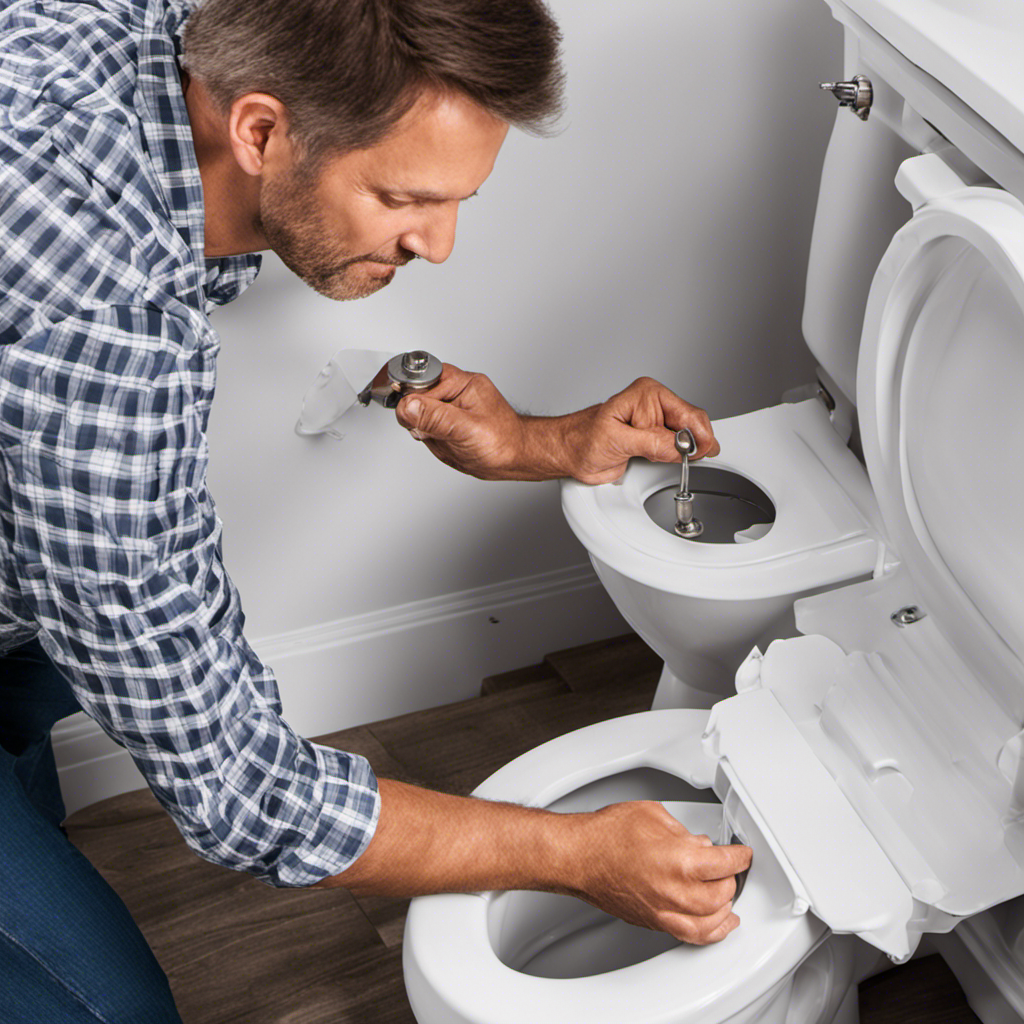
Installing the New Toilet Flange
Now that you’ve prepared the floor, it’s time to attach the replacement flange securely. Follow these steps to ensure a successful installation:
-
Troubleshooting common installation issues
- Check for any obstructions or debris in the pipe before attaching the flange.
- Ensure that the flange is level and properly aligned with the toilet drain.
- Use a wax ring to create a watertight seal between the flange and the toilet.
-
Tips for a secure and long-lasting toilet flange installation
- Use stainless steel screws to secure the flange to the floor, avoiding rust and corrosion.
- Apply a generous amount of plumber’s putty around the base of the flange to prevent leaks.
- Double-check the tightness of the screws to ensure the flange is securely attached.
By following these troubleshooting tips and installation techniques, you can ensure a secure and long-lasting toilet flange installation.
Happy plumbing!
Connecting the Toilet to the Flange
To connect the toilet properly, ensure that the wax ring is positioned securely between the base of the toilet and the flange. This is a crucial step in the installation process as it ensures a watertight seal and prevents any leaks.
Begin by placing the wax ring on the flange, making sure it is centered and level. Then, carefully lower the toilet onto the wax ring, aligning the bolts with the holes on the flange. Apply downward pressure to compress the wax ring and create a tight seal.
Testing and Checking for Leaks
Once the toilet is connected, it’s important to test for leaks by flushing and checking for any water seepage around the base. This step is crucial to ensure that the installation is successful and that there are no hidden leaks that could cause damage over time.
To help you with the leak detection process, here are three key things to keep in mind:
-
Listen attentively: After flushing the toilet, listen for any unusual sounds, such as hissing or dripping, which could indicate a leak.
-
Visual inspection: Carefully examine the area around the base of the toilet for any signs of water seepage or puddles. Even a small amount of water can be an indication of a leak.
-
Paper test: Place a few sheets of toilet paper on the floor around the base of the toilet. If the paper becomes wet or discolored, it suggests a leak.
Conclusion
Congratulations! You’ve successfully installed a new toilet flange, ensuring a sturdy and leak-free connection for your toilet. Just like a well-fitted puzzle piece, the new flange fits perfectly into place, providing a reliable foundation for your toilet.
With the right tools and materials, a bit of preparation, and careful installation, you’ve created a seamless connection that will withstand the test of time. Now, you can enjoy a functional and efficient toilet without any worries.
Happy flushing!