I’ve always been intrigued by the inner workings of RVs and the DIY projects that come along with them. Installing a new RV toilet might seem like a daunting task, but with the right tools and materials, it can be a straightforward process.
In this step-by-step guide, I’ll walk you through how to remove the old toilet, install the new one, and connect the necessary water supply and sewage lines.
Let’s dive in and get your RV bathroom up and running in no time!
Key Takeaways
- Select the right RV toilet based on size, water usage, and ease of cleaning
- Regularly clean the toilet bowl and tank to prevent odor and bacteria buildup
- Use RV-specific toilet paper to avoid clogs
- Connect the water supply line to the toilet’s water inlet valve using a flexible hose
Gather the Necessary Tools and Materials
You’ll need to gather the necessary tools and materials for installing your RV toilet. First, make sure you select the right RV toilet for your needs. Consider factors such as size, water usage, and ease of cleaning. Once you have chosen the toilet, gather the following tools and materials:
- A wrench
- A screwdriver
- A level
- A wax ring
- Bolts
- A water supply line
These items will ensure a smooth installation process.
Now, let’s talk about some tips for maintaining your RV toilet. Regularly clean the toilet bowl and tank to prevent odor and bacteria buildup. Use RV-specific toilet paper to avoid clogs. To keep the seals lubricated, add a small amount of mineral oil to the toilet bowl periodically. Additionally, be mindful of what you flush down the toilet, as certain items can cause damage.
With the necessary tools and materials gathered and some maintenance tips in mind, you are now ready to remove the old RV toilet.
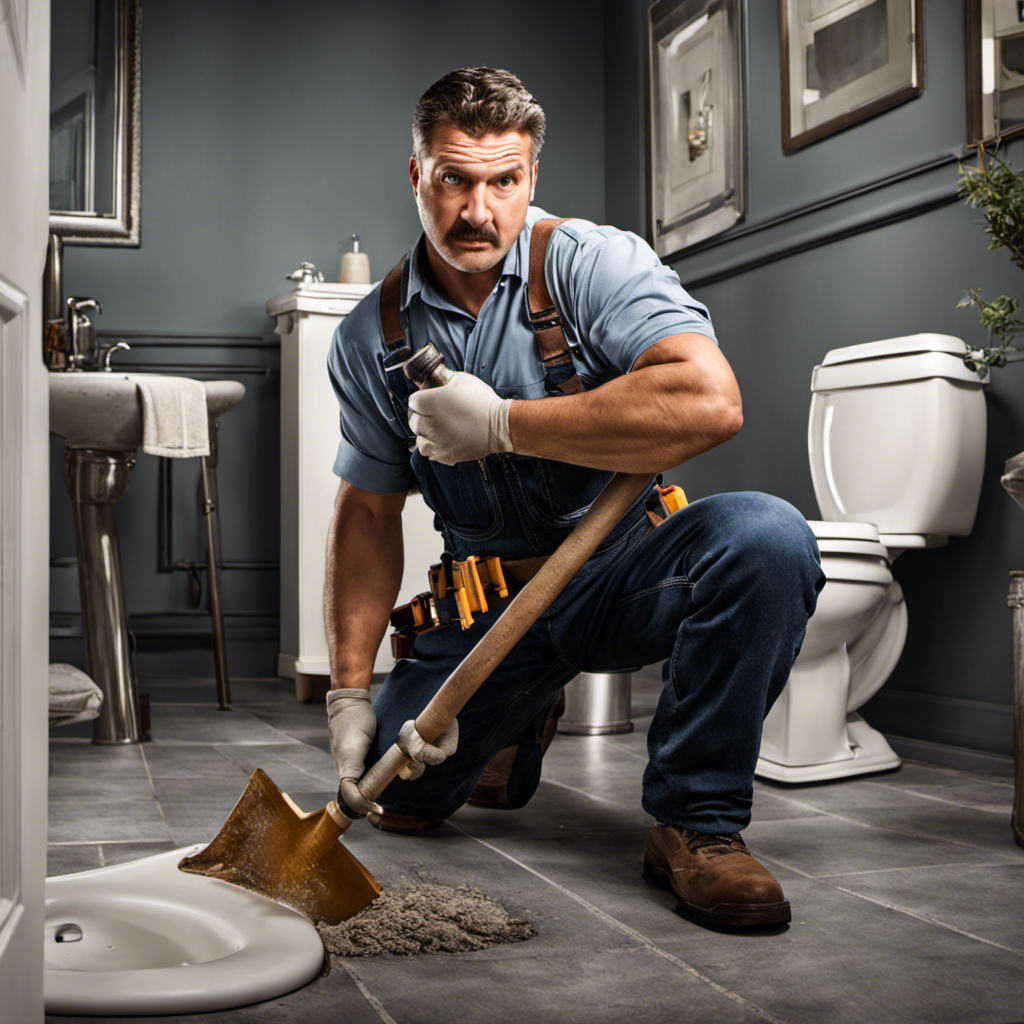
Remove the Old RV Toilet
To properly remove the old RV toilet, it’s important to first turn off the water supply. Here are the steps to follow:
- Turn off the water supply valve located near the toilet.
- Flush the toilet a few times to drain any remaining water in the tank and bowl.
- Disconnect the water supply line from the toilet using a wrench.
Next, you’ll need to remove the toilet from its mounting flange. This can be done by:
- Removing the plastic caps covering the bolts at the base of the toilet.
- Unscrewing the nuts holding the toilet to the flange using a wrench.
- Lifting the toilet straight up to detach it from the flange.
Remember to properly dispose of the old RV toilet according to local regulations.
Common problems encountered when removing an RV toilet include corroded or stuck bolts and difficulty in accessing the water supply valve.
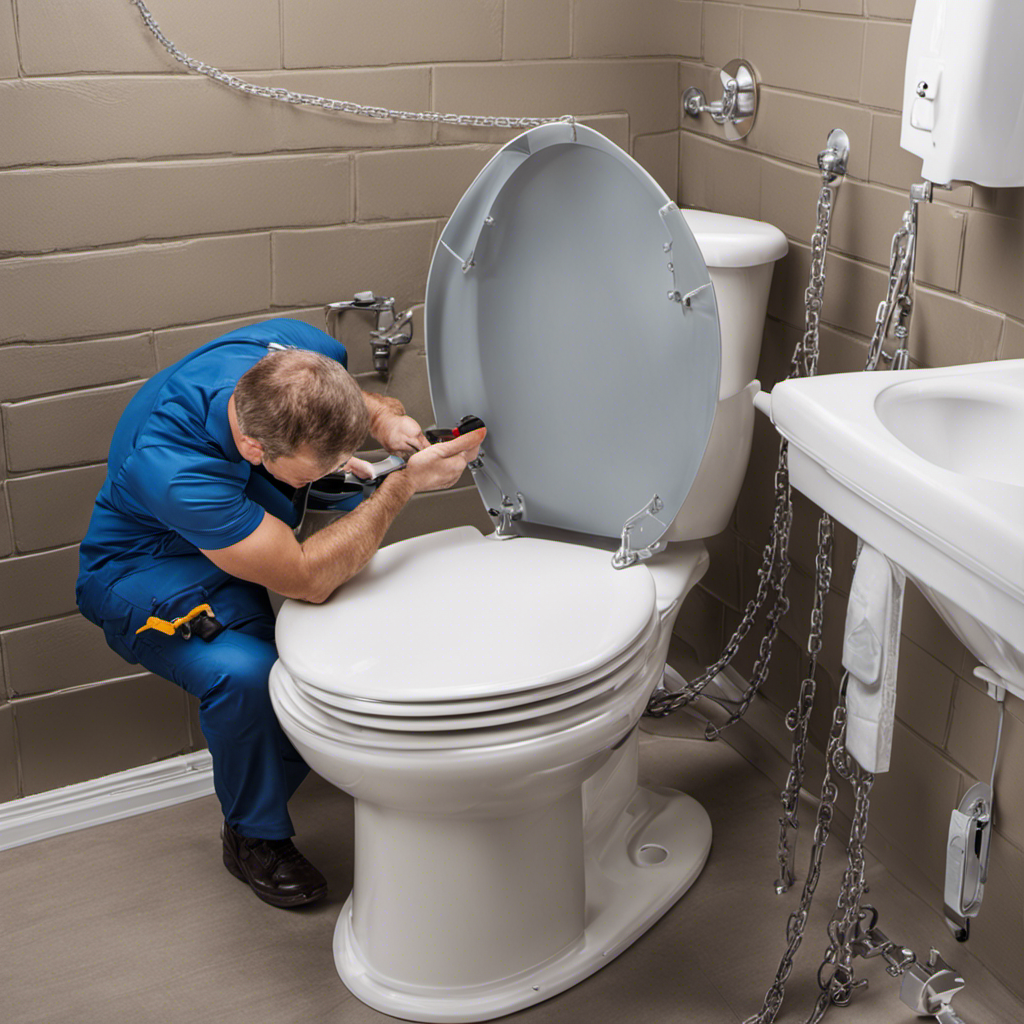
Install the New RV Toilet
Once the old RV toilet has been successfully removed, it’s time to prepare for the installation of the new one. Before starting the installation process, it’s important to consider proper maintenance of an RV toilet and choosing the right type for your needs.
To ensure proper maintenance, regularly clean the toilet bowl and valve seals with mild soap and water. Avoid using harsh chemicals that can damage the seals. Additionally, inspect the seals for any signs of wear or damage and replace them if necessary.
When choosing a new RV toilet, consider factors such as size, flush mechanism, and water usage. There are three main types of RV toilets: gravity flush, macerating, and composting. Each type has its own advantages and disadvantages, so choose the one that best suits your needs.
To install the new toilet, follow these step-by-step instructions:
- Place a new wax seal onto the toilet flange.
- Carefully lower the toilet onto the flange, making sure it aligns with the bolts.
- Secure the toilet by tightening the nuts onto the bolts.
Remember to follow the manufacturer’s instructions for your specific RV toilet model to ensure a proper installation.
Connect the Water Supply and Sewage Lines
After securing the toilet onto the flange, it’s time to connect the water supply and sewage lines. Here’s how to do it:
-
Water Supply Connection:
Connect the water supply line to the toilet’s water inlet valve using a flexible hose. Tighten the connection with a wrench to ensure a secure fit. Turn on the water supply and check for any leaks. If there are any, tighten the connection further or replace the hose if necessary. -
Sewage Line Connection:
Attach the sewage line to the toilet’s waste outlet using a rubber seal or gasket. Ensure a proper seal by tightening the connection with a clamp or twist-on connector. Test the connection by flushing the toilet and checking for any leaks or connectivity issues.
Test and Troubleshoot the RV Toilet Installation
Before testing and troubleshooting the installation of my RV toilet, I always make sure all connections are secure and properly sealed to avoid any potential issues. Here are some troubleshooting tips and common installation mistakes to be aware of:
-
Water leaks: Check all connections and fittings for any signs of water leakage. Tighten any loose fittings or replace faulty parts.
-
Flushing problems: If the toilet doesn’t flush properly or the water doesn’t flow smoothly, check the water supply valve and make sure it is fully open. Also, inspect the flush mechanism for any clogs or obstructions.
-
Odor issues: If there is a persistent odor coming from the toilet, it may be due to an improperly sealed sewage line. Inspect the seals and gaskets and replace if necessary.
-
Uneven seating: If the toilet bowl is not level or wobbles, check the mounting bolts and tighten them as needed.
Conclusion
In conclusion, installing an RV toilet may seem like a daunting task, but with the right tools and materials, it can be a straightforward process. By following the step-by-step instructions, you can easily remove the old toilet and install the new one.
Remember to connect the water supply and sewage lines properly for optimal functionality. Once everything is in place, test the toilet and troubleshoot any issues that may arise.
With a little patience and attention to detail, you’ll have a fully functioning RV toilet in no time. Happy camping!

With an impeccable eye for detail and a passion for bathroom-related, Ava leads our editorial team gracefully and precisely.
Under her guidance, Best Modern Toilet has flourished as the go-to resource for modern bathroom enthusiasts. In her free time, you might find Ava exploring antique shops and looking for vintage bathroom fixtures to add to her collection.