Did you know that a leaking toilet can waste up to 200 gallons of water per day?
That’s why it’s crucial to know how to install a toilet fill valve properly.
In this article, I will guide you through the step-by-step process of replacing your old fill valve with a new one.
By following these instructions, you’ll not only save water but also ensure the proper functionality of your toilet.
So let’s get started and make your bathroom more efficient!
Key Takeaways
- Gather the necessary tools and materials for the installation, such as pliers, screwdriver, adjustable wrench, bucket, and towel.
- Shut off the water supply to the toilet by locating and turning the shut-off valve clockwise.
- Remove the old fill valve by loosening the nut connecting it to the water supply line and pulling it out of the tank.
- Install the new fill valve by placing a rubber washer on the bottom, inserting it into the tank, securing it with a nut, and attaching the water supply line. Adjust the water level and float for optimal performance.
Gathering the Necessary Tools and Materials
You’ll need a pair of pliers to disconnect the water supply line.
Choosing the right fill valve is crucial for a smooth installation of your toilet. There are several factors to consider when selecting the fill valve.
Firstly, check the size and type of your toilet tank to ensure compatibility.
Secondly, consider the water pressure in your area and choose a fill valve that can handle it.
Additionally, opt for a fill valve that has adjustable settings to control the water level in the tank.
Tips for a smooth installation include turning off the water supply before starting, draining the tank completely, and following the manufacturer’s instructions carefully.
With the right fill valve and proper installation techniques, you’ll have a functioning toilet in no time.
Shutting off the Water Supply to the Toilet
To successfully shut off the water supply to the toilet, it is important to know the key points: turning off the water supply, locating the shut-off valve, and shutting off the water.
First, locate the water supply valve, typically located near the base of the toilet.
Then, turn the valve clockwise to shut off the water flow.
Turning off Water Supply
First, make sure you’ve shut off the water supply before proceeding with the installation of the toilet fill valve. This step is crucial to prevent any potential issues with the water supply during the installation process.
Here are a few key points to keep in mind when turning off the water supply:
-
Locate the shut-off valve: The shut-off valve is typically located near the base of the toilet, either on the wall or the floor. It is usually a small lever or knob that you can turn to stop the flow of water.
-
Turn off the valve: To shut off the water supply, simply turn the valve clockwise until it is fully closed. This will ensure that no water is flowing into the toilet tank.
-
Test the water supply: Once you have turned off the valve, check the toilet to confirm that the water supply has been successfully shut off. This will prevent any unexpected water flow during the installation process.
By following these steps, you can ensure a smooth and hassle-free installation of the toilet fill valve.
It is also important to note that in case of any issues with the water supply, finding alternative water sources such as nearby faucets or water containers can be helpful.
Locating Shut-Off Valve
Once you’ve located the shut-off valve, simply turn it clockwise to stop the flow of water. Finding the shut off valve is crucial for any plumbing task. It is typically located near the toilet or in the basement. If you’re having trouble locating it, check near the water meter or in a utility room. To help you visualize, here’s a table that outlines the common locations of shut-off valves:
| Location | Description | Common Issues |
|---|---|---|
| Near Toilet | Usually located on the wall behind the toilet | Valve may be stuck or hard to turn |
| Basement | Found near the main water supply line | Valve may be old and prone to leaks |
| Utility Room | Typically found on a pipe near the water heater | Valve may be corroded or need replacement |
Shutting off Water
When shutting off the water, make sure to turn the shut-off valve clockwise to stop the flow. This step is crucial in order to safely work on your toilet fill valve.
Regular toilet maintenance is important to ensure the efficient and proper functioning of your toilet. Neglecting maintenance can lead to costly repairs and water wastage.
Here are some common signs of a faulty toilet fill valve:
- Continuous running water in the toilet bowl
- Slow filling or insufficient water in the tank
- Loud noises or vibrations during the filling process
If you notice any of these signs, it is likely that your toilet fill valve needs to be replaced or repaired.
Regularly inspecting and maintaining your toilet fill valve will help prevent these issues and keep your toilet working smoothly.
Removing the Old Fill Valve
To start removing the old fill valve, you’ll need to shut off the water supply to the toilet. This step is crucial to avoid any water leakage during the process.
Common problems with the old fill valve include constant running water or inadequate water flow. Troubleshooting tips include checking for any obstructions in the fill valve or adjusting the float level.
Once the water supply is turned off, locate the fill valve underneath the toilet tank. Use pliers to loosen the nut connecting the fill valve to the water supply line.
Remove the old fill valve by pulling it out of the tank.
With the old fill valve removed, you are now ready to install the new fill valve and restore proper functioning to your toilet.
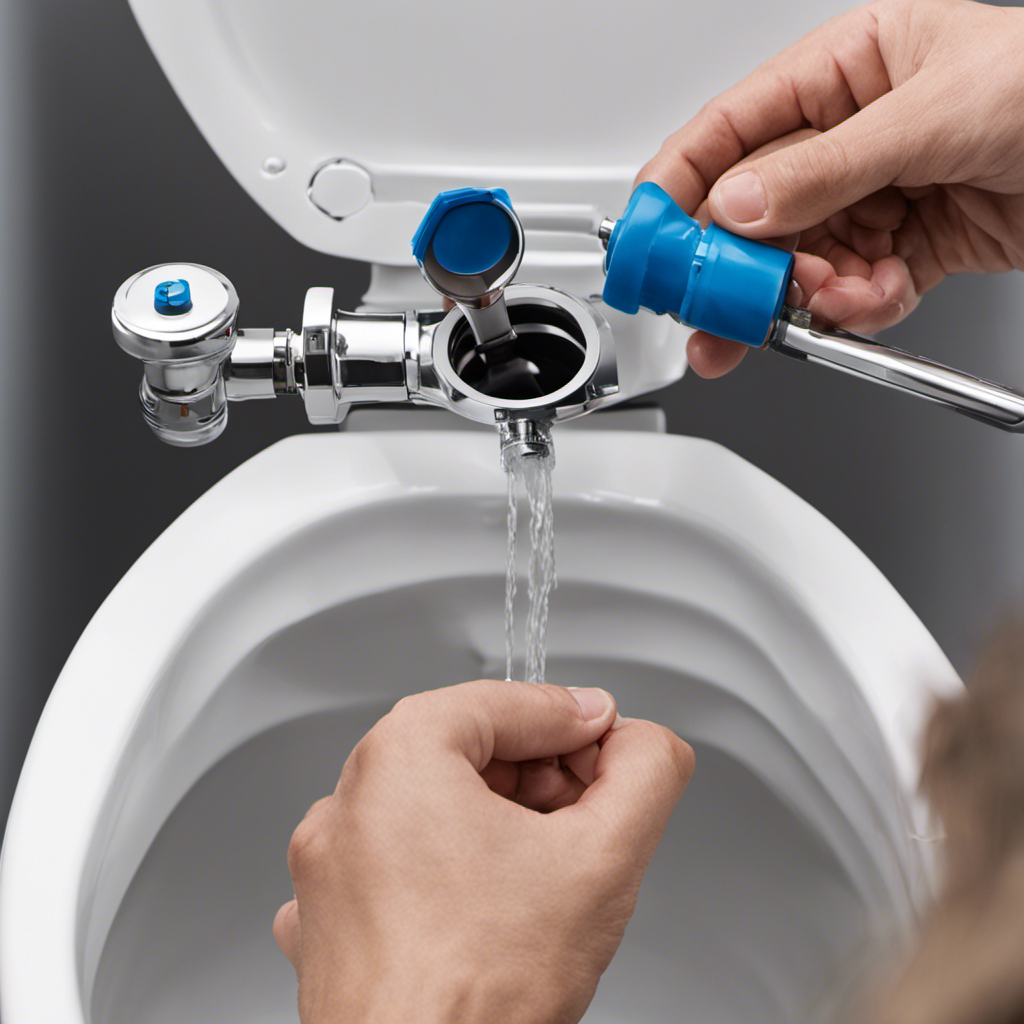
Installing the New Fill Valve
Start by placing the rubber washer onto the bottom of the new fill valve. This is an important step to ensure a proper seal and prevent any leaks.
Once the washer is in place, insert the fill valve into the bottom opening of the toilet tank. Make sure it is positioned straight and secure it using the provided nut.
Tighten the nut with a wrench until it is snug, but be careful not to overtighten and risk damaging the valve or tank.
After the fill valve is securely installed, attach the water supply line to the valve and tighten the nut.
Adjusting the Water Level and Float
Once the rubber washer is in place, I adjust the water level and float to ensure proper functioning of the toilet. Troubleshooting common issues with toilet fill valves is an important skill to have.
If the water level is too high or too low, it can lead to problems like constant running or insufficient flushing. By adjusting the water level, you can prevent these issues and maintain optimal performance.
The float is responsible for controlling the water level in the tank. Understanding the different types of toilet fill valves and their benefits is also crucial. There are ballcock valves, diaphragm valves, and even newer types like the dual flush valve. Each has its own advantages, such as water-saving features or quieter operation.
Testing the New Fill Valve for Proper Functionality
After installing the new fill valve, it’s important to test its functionality to ensure it is working properly. To do this, follow these steps:
-
Flush the toilet and observe if the tank refills properly. If the water doesn’t refill or fills too slowly, there may be an issue with the fill valve.
-
Check for any leaks around the fill valve and connections. Leaks can indicate a faulty installation or a problem with the valve itself.
-
Adjust the water level using the adjustment screw on the fill valve. Ensure that the water level is at the recommended mark on the overflow tube.
Troubleshooting common issues with toilet fill valves involves identifying problems such as inadequate water flow or leaks. Comparing different types of fill valves for toilets can help you choose the best one for your needs, considering factors like durability, ease of installation, and water-saving capabilities.
Frequently Asked Questions
How Often Should I Replace My Toilet Fill Valve?
I replace my toilet fill valve every 5-7 years or if I notice signs of a faulty valve such as water constantly running or inconsistent water levels. Regular maintenance ensures optimal performance and prevents potential leaks.
Can I Use Any Type of Fill Valve for My Toilet?
Yes, you can use different types of fill valves for your toilet. However, it’s important to consider compatibility issues with your toilet system. Make sure to choose a fill valve that is compatible with your toilet’s specifications.
What Should I Do if I Accidentally Break the Water Supply Line While Removing the Old Fill Valve?
If I accidentally break the water supply line while removing the old fill valve, I should immediately shut off the water supply and assess the damage. I can then repair the water damage and find a temporary solution until the line is fixed.
Is It Necessary to Shut off the Main Water Supply to the House Before Replacing the Fill Valve?
No need to call a pro or dismantle the tank! Just shut off the main water supply, remove the old fill valve, and replace it with a shiny new one. Easy-peasy DIY fix!
How Can I Tell if the Water Level in the Toilet Tank Is Set Correctly After Installing the New Fill Valve?
After installing the new fill valve, I can determine if the water level in the toilet tank is set correctly by adjusting the water level using the adjustment screw on the fill valve. If there are any issues, troubleshooting the fill valve installation may be necessary.
Conclusion
In conclusion, installing a toilet fill valve is like giving your toilet a fresh breath of life. With the right tools and materials, shutting off the water supply, removing the old fill valve, and installing the new one can be done with ease.
Adjusting the water level and float ensures optimal functionality. By following these steps, you’ll have a toilet that fills efficiently and effectively, leaving you with peace of mind.
So grab your tools and get ready to give your toilet a much-needed makeover!