I’ve got a theory for you: installing a toilet flapper doesn’t have to be a daunting task. In fact, with a few simple steps, you can have your toilet functioning like new again.
So grab your tools, shut off the water supply, and let’s get started. In this article, I’ll guide you through the process of removing the old flapper, cleaning the surrounding area, and installing a shiny new flapper.
Get ready to become an expert in toilet maintenance!
Key Takeaways
- Choose a flapper that matches the make and model of your toilet.
- Turn off the water supply to the toilet before starting the installation.
- Inspect the old flapper for wear, cracks, or discoloration.
- Clean the flapper seat using a soft brush or toothbrush.
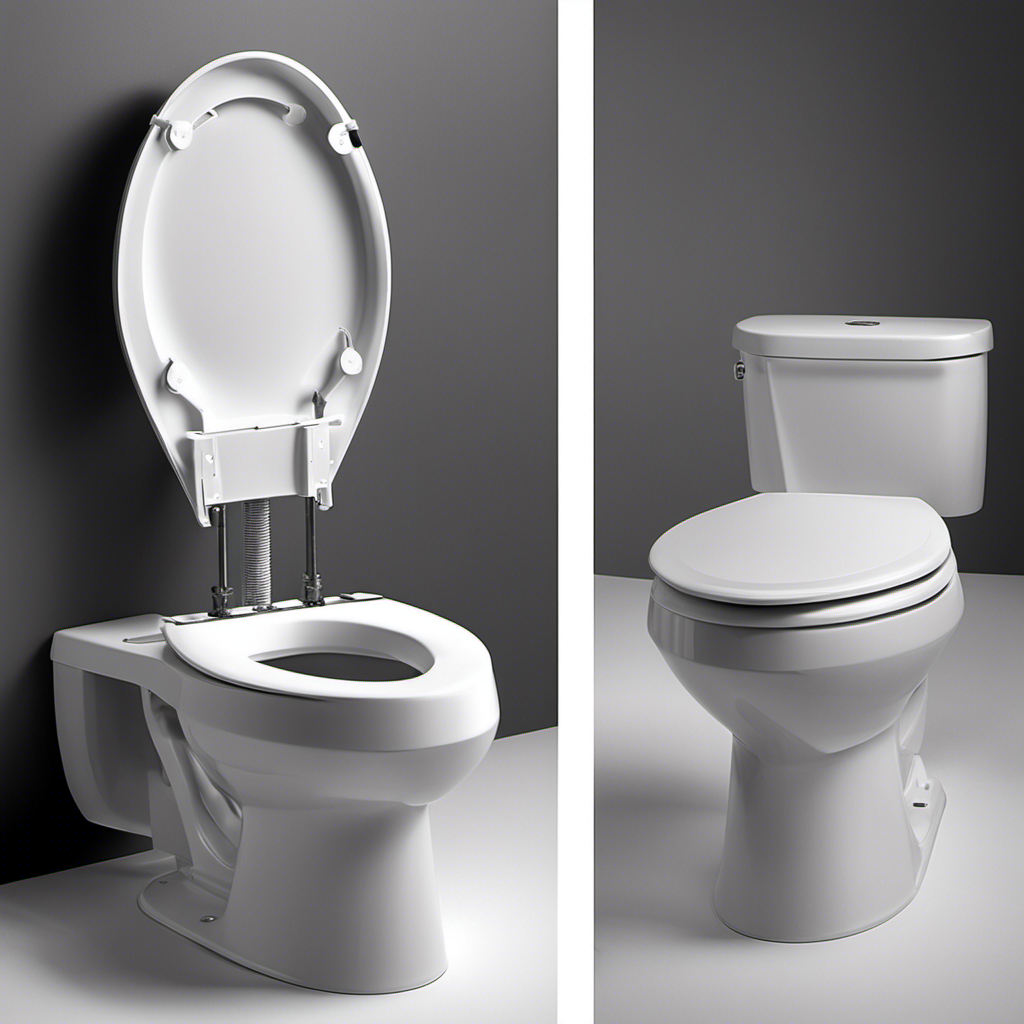
Gathering the Necessary Tools and Materials
Before you start installing the toilet flapper, make sure you have all the necessary tools and materials.
Choosing the right flapper is crucial for a proper installation. Look for a flapper that matches the make and model of your toilet.
Common mistakes during installation include using the wrong size flapper or failing to properly align it with the flush valve. To avoid these errors, measure the size of your existing flapper or consult the manufacturer’s instructions.
Additionally, ensure that the flapper is compatible with your toilet’s flushing mechanism.
It is advisable to turn off the water supply to the toilet before beginning the installation process.
Shutting off the Water Supply to the Toilet
To prevent any water flow, make sure you’ve shut off the water supply valve to the toilet. This is an important step in troubleshooting flapper issues.
Here are three reasons why shutting off the water supply is crucial:
-
Avoiding water damage: By shutting off the water supply, you prevent any potential leaks or bursts in the plumbing system. This helps you avoid costly repairs and water damage to your property.
-
Ensuring safety: Shutting off the water supply reduces the risk of accidents while working on the toilet. Water can be slippery, and electrical components near the toilet may pose a danger if water comes into contact with them.
-
Facilitating repairs: By shutting off the water supply, you create a controlled environment for troubleshooting flapper issues. This allows you to focus on identifying and resolving the problem without any distractions or interruptions.
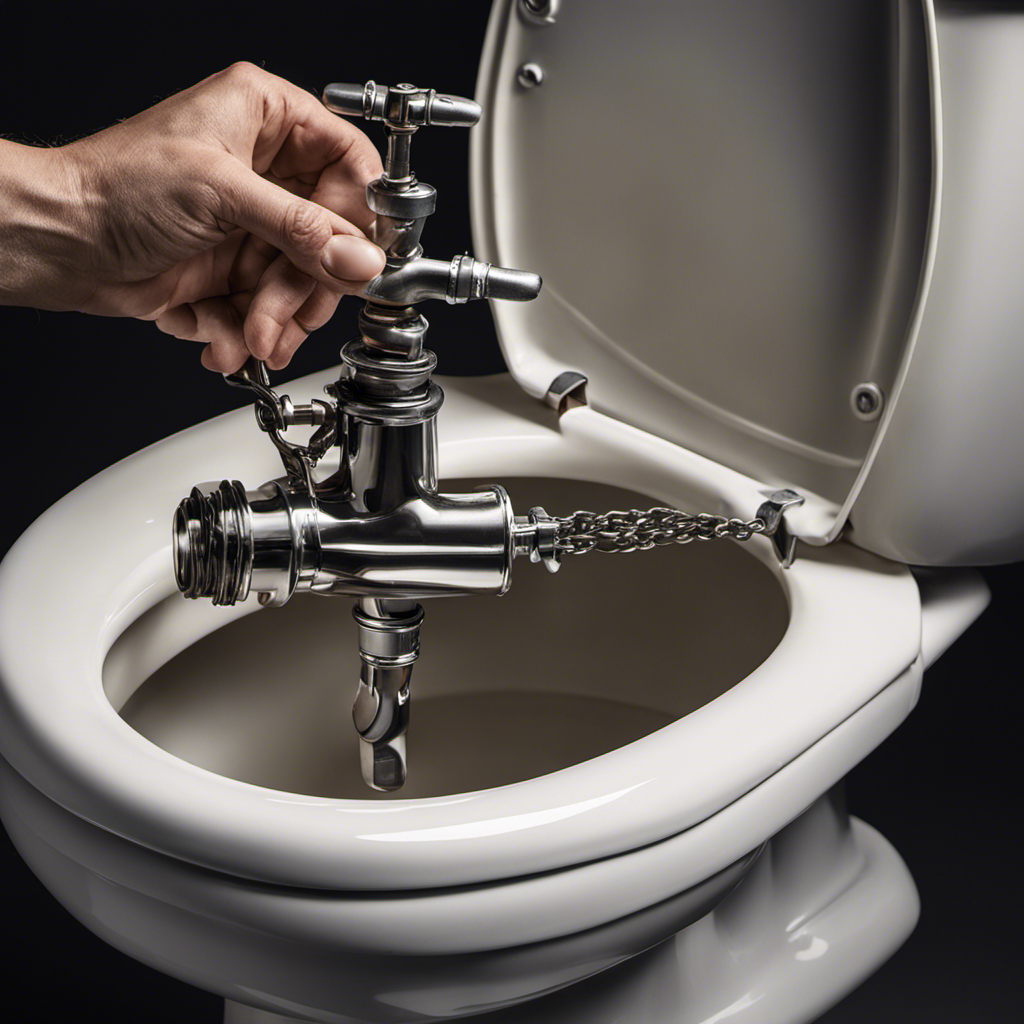
Removing the Old Flapper
When it comes to replacing a flapper in a toilet, there are several key steps that need to be followed.
First, it is important to identify common flapper problems such as leaks or a deteriorated seal.
Once the problem is identified, the necessary tools for removal, such as pliers and a screwdriver, will be needed to properly remove the old flapper.
Flapper Replacement Steps
First, you’ll need to turn off the water supply to the toilet before replacing the flapper. Here are the steps to follow for flapper replacement:
-
Inspect the flapper: Check for any signs of wear, such as cracks or discoloration. This is crucial for troubleshooting any issues with your toilet’s flushing mechanism.
-
Remove the old flapper: Disconnect the chain from the flush handle and carefully slide the old flapper off the flush valve. Be gentle to avoid damaging any surrounding components.
-
Install the new flapper: Align the new flapper with the flush valve opening and slide it on. Make sure it fits securely. Reconnect the chain to the flush handle, ensuring proper tension.
Common Flapper Problems
If you’re experiencing issues with your toilet’s flushing mechanism, some common problems that could be affecting the flapper include cracks, discoloration, or a loose chain.
Flapper maintenance is crucial to ensure proper functioning of your toilet. Cracks in the flapper can cause water leakage, leading to inefficiency and higher water bills. Discoloration of the flapper may indicate deterioration and reduced sealing ability. A loose chain can prevent the flapper from closing tightly, resulting in constant water flow.
To troubleshoot these issues, inspect the flapper for cracks or discoloration, and replace it if necessary. Additionally, check the chain tension and adjust it to ensure proper closure.
Regular flapper maintenance and troubleshooting can prevent further damage and keep your toilet running smoothly.
Tools Needed for Removal
Now that we have discussed common flapper problems, let’s move on to the tools needed for flapper removal. As a professional plumber, I have encountered various flapper issues and have found that having the right tools can make the process much easier.
Here are the essential tools you will need:
-
Adjustable wrench: This versatile tool is crucial for loosening and tightening nuts and bolts. It will be necessary for removing the flapper’s mounting nut.
-
Screwdriver: A flat-head or Phillips screwdriver will be needed to remove any screws holding the flapper in place.
-
Pliers: Pliers can be handy for gripping and maneuvering small parts, such as the chain or linkage, during the removal process.
Cleaning the Flapper Seat and Surrounding Area
To ensure a proper seal, you’ll want to clean the flapper seat and the area around it. Cleaning the flapper seat is essential for maintaining the functionality of your toilet.
First, turn off the water supply to the toilet and flush to drain the tank. Next, remove the flapper by unhinging it from the flush valve.
Inspect the flapper seat for any dirt, grime, or mineral deposits. Use a soft brush or toothbrush to gently scrub the seat, removing any buildup. For stubborn stains, you can use a mixture of vinegar and water or a mild detergent.
Once the seat is clean, wipe down the surrounding area to remove any debris.
Troubleshooting tip: If the flapper seat is damaged or worn, it may need to be replaced to ensure a proper seal.
Installing the New Flapper
Before installing the new flapper, make sure the flapper seat is clean and free of any debris.
Now, let’s move on to installing the new flapper correctly. Follow these steps to ensure a proper installation and avoid any potential issues:
-
Position the flapper over the flapper seat, making sure it sits securely and aligns with the flush valve opening. Ensure that the flapper chain is properly connected to the flush lever.
-
Adjust the chain length so that there is a slight amount of slack, allowing the flapper to fully close without being too tight. This will prevent water from continuously running into the toilet bowl.
-
Perform a test flush to check if the flapper closes and seals properly. If you notice any leaks or the flapper doesn’t close tightly, you may need to make adjustments or troubleshoot any potential issues with the flapper or flush valve.
Adjusting the Chain Length
Make sure the chain length has a slight amount of slack to allow the flapper to fully close without being too tight. Adjusting chain tension is crucial to ensure proper functioning of the toilet flapper.
If the chain is too tight, the flapper may not close completely, causing water to continuously leak into the bowl. On the other hand, if the chain is too loose, the flapper may not open fully, resulting in weak flushing or incomplete bowl refill.
To troubleshoot common chain problems, start by locating the chain attached to the flush handle. Then, carefully adjust the chain length by either shortening or lengthening it. It is important to find the right balance where the chain has a slight slack, allowing the flapper to close tightly and open fully.
Once the chain tension is adjusted, move on to testing the flapper for proper functioning.
Testing the Flapper for Proper Functioning
Now it’s time to check if the flapper is functioning properly. Here are three testing methods you can use to troubleshoot any issues:
-
Visual Inspection: Look for any signs of damage or wear on the flapper, such as cracks or tears. This could indicate that it needs to be replaced.
-
Water Leakage Test: Fill a bucket with water and pour it into the toilet tank until it reaches the overflow tube. Observe if there is any water leaking past the flapper. If there is, it means the flapper is not sealing properly.
-
Dye Test: Add a few drops of food coloring to the toilet tank and wait for about 15 minutes. If the colored water seeps into the toilet bowl without flushing, it means the flapper is not closing tightly.
Frequently Asked Questions
How Long Does It Typically Take to Install a Toilet Flapper?
It typically takes about 10-15 minutes to install a toilet flapper. Troubleshooting common issues with toilet flappers involves checking for leaks or blockages. You can purchase a toilet flapper at most hardware stores or online.
Can I Use Any Type of Flapper for My Toilet?
I can use various types of flappers for my toilet, depending on its compatibility options. There are alternative flapper choices available that I can consider for installation.
What Should I Do if I Accidentally Break the Flapper Seat?
If I accidentally break the flapper seat, I would first turn off the water supply to the toilet. Then, I would remove the broken seat and inspect it for any damage. If it’s beyond repair, I would search for a suitable replacement flapper.
Are There Any Safety Precautions I Should Take When Shutting off the Water Supply?
When shutting off the water supply, it is important to take safety precautions. Make sure to locate the water shut-off valve, turn it clockwise to shut off the water flow, and use caution to prevent any water damage or accidents.
How Often Should I Replace My Toilet Flapper?
I replace my toilet flapper every 3-5 years to ensure proper functioning. Signs of a faulty flapper include water leaks, inconsistent flushing, and a constantly running toilet. If I encounter these issues, I call a professional plumber for assistance.
Conclusion
In conclusion, installing a toilet flapper is a relatively simple task that can be done with a few basic tools and materials. By following the steps outlined in this article, you can ensure that your toilet flapper is functioning properly and preventing any water leakage.
Remember to shut off the water supply before starting the installation process and clean the flapper seat and surrounding area for optimal performance.
One hypothetical example of the importance of a functioning flapper is when a family goes on vacation and comes back to find their bathroom flooded due to a faulty flapper. By regularly inspecting and replacing the flapper when needed, you can avoid such inconveniences and costly repairs.

With an impeccable eye for detail and a passion for bathroom-related, Ava leads our editorial team gracefully and precisely.
Under her guidance, Best Modern Toilet has flourished as the go-to resource for modern bathroom enthusiasts. In her free time, you might find Ava exploring antique shops and looking for vintage bathroom fixtures to add to her collection.