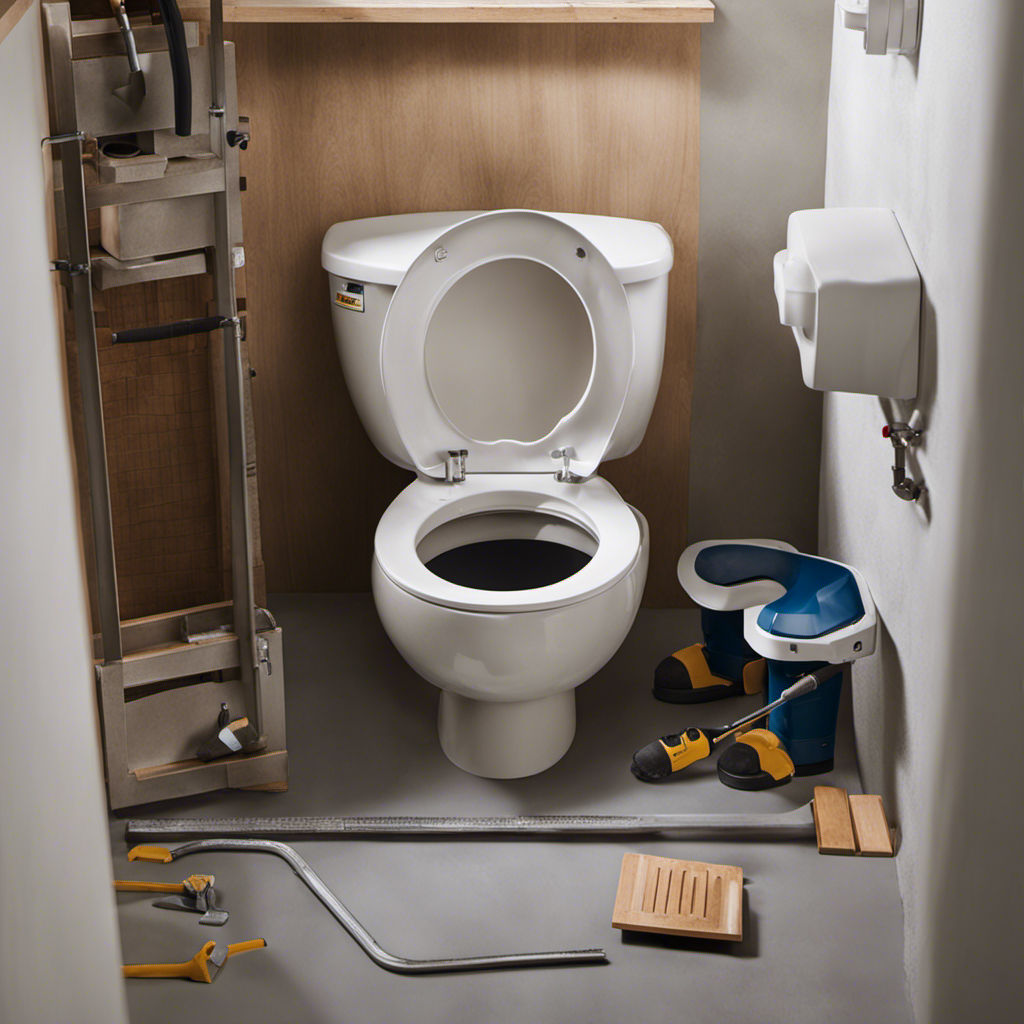
Installing a toilet in the basement is like solving a puzzle – it requires careful planning, precise measurements, and the right tools.
In this article, I will guide you through the step-by-step process of installing a toilet in your basement, from assessing the plumbing to testing the final installation.
With my detailed instructions and expert tips, you’ll be able to tackle this project with confidence and ensure a successful and functional addition to your basement bathroom.
Let’s get started!
Key Takeaways
- Check for leaks and water damage in the basement plumbing
- Measure the distance between existing plumbing lines and desired toilet location
- Gather necessary tools and materials such as a wax ring and flange
- Ensure a level, dry, and smooth surface for installation
Assessing the Basement Plumbing
Before you begin installing a toilet in the basement, it’s important to assess the existing plumbing.
Evaluating the existing drainage system is crucial to ensure proper functioning of the toilet. Start by checking for any leaks in the basement plumbing. Look for water stains, moisture, or any signs of water damage. If you notice any leaks, it’s important to fix them before proceeding with the installation.
Additionally, measure the distance between the existing plumbing lines and the desired location for the toilet. This will help determine if any adjustments or additional piping is needed.
Gather the necessary materials, including a wax ring, bolts, and a flange, as well as the required tools such as a wrench and pliers.
Gathering the Necessary Tools and Materials
Once you’ve got everything you need, it’s time to start the installation process. Before you begin, it’s important to consider some plumbing considerations and explore the various basement toilet options available.
Here’s what you’ll need to get started:
-
A toilet flange: This is a crucial component that connects the toilet to the drain pipe. Ensure it is the correct size and properly secured.
-
Wax ring: This creates a watertight seal between the toilet and the flange. Choose a high-quality wax ring to prevent leaks.
-
Water supply line: This connects the toilet to the water supply. Measure the distance from the water supply valve to the toilet to ensure you have the correct length.
Preparing the Basement Floor for Installation
To properly prepare your basement floor for installation, make sure to clean it thoroughly and ensure it is level and dry. Begin by removing any debris or dirt from the floor using a broom or vacuum. Next, inspect the floor for any cracks or uneven areas that may need to be addressed before installation. Floor leveling may be necessary to create a smooth and even surface. Additionally, it is crucial to check the basement drainage system to ensure it is functioning properly. This will help prevent any potential water damage or flooding issues in the future. To engage the audience, here is a table summarizing the steps for preparing the basement floor:
| Steps for Preparing the Basement Floor |
|---|
| 1. Clean the floor thoroughly |
| 2. Inspect for cracks or uneven areas |
| 3. Perform floor leveling if necessary |
| 4. Check basement drainage system |
Installing the Toilet Flange and Wax Ring
When installing a toilet in the basement, proper flange alignment is crucial to ensure a secure and leak-free connection. To achieve this, it is important to align the flange with the toilet drain and ensure it is level and centered.
The next step is to install the wax ring, which provides a watertight seal between the toilet and the flange. It is essential to choose a high-quality wax ring and properly position it on the flange before lowering the toilet onto it.
Lastly, flange sealing techniques play a vital role in preventing any leaks or odors. Using a flange sealant or plumber’s putty can help create a tight seal between the toilet and the flange, ensuring a reliable and long-lasting installation.
Proper Flange Alignment
Make sure you’re correctly aligning the flange with the floor before securing it in place. Proper flange alignment is crucial for a successful basement toilet installation. Here are some important steps to follow:
- Start by measuring the distance between the center of the flange and the finished wall. This will help you position the toilet correctly.
- Use a level to ensure the flange is perfectly horizontal. Adjust as necessary to achieve proper alignment.
- Double-check the alignment by placing the wax ring on the flange and setting the toilet in place without attaching it. Make sure it sits evenly on the flange.
Maintaining the flange alignment is essential for preventing leaks and ensuring the toilet functions properly. Regularly inspect the flange for any signs of movement or damage. If you notice any issues, such as a loose or cracked flange, troubleshoot and address them promptly to avoid potential problems down the line.
Wax Ring Installation
After ensuring proper flange alignment, the next crucial step in basement toilet installation is wax ring installation. The wax ring serves as a seal between the toilet bowl and the floor flange, preventing leaks and odors. There are different types of wax rings available, including standard wax rings, reinforced wax rings, and wax-free rings. The choice depends on the specific needs of your installation.
To install the wax ring, follow these steps:
- Place the wax ring on the flange, ensuring it is centered and properly positioned.
- Lower the toilet bowl onto the wax ring, making sure it sits evenly.
- Apply downward pressure to compress the wax ring and create a watertight seal.
- Secure the toilet bowl to the flange using bolts and nuts.
- Finally, check for any leaks by flushing the toilet and inspecting the connection.
Proper wax ring maintenance is essential to ensure a long-lasting seal. Regularly inspect the wax ring for signs of wear or damage, and replace it if necessary. By following these steps and maintaining your wax ring, you can ensure a reliable and leak-free basement toilet installation.
Flange Sealing Techniques
To ensure a watertight seal, make sure you properly align and secure the flange to prevent leaks and odors. The flange is a crucial component in the toilet installation process, as it connects the toilet to the waste pipe.
Here are some key steps to follow for flange sealing:
- Check the condition of the existing flange. If it is damaged or corroded, it may require replacement.
- Remove the old flange by unscrewing it from the floor or using a flange removal tool.
- Clean the flange opening and surrounding area thoroughly to remove any debris or residue.
- Install a new flange, making sure it is level and securely fastened to the floor using screws or bolts.
- Apply a generous amount of plumber’s putty or silicone sealant around the flange to create a tight seal.
Attaching the Toilet Bowl and Tank
You’ll need a wrench to securely fasten the toilet bowl and tank together. Before attaching the two, it’s important to ensure that the toilet bowl is properly aligned with the floor flange and the tank is level. This will prevent any leaks or wobbling in the future.
Here are the step-by-step instructions for attaching the toilet bowl and tank:
-
Place the wax ring onto the floor flange, ensuring a tight seal.
-
Carefully lower the toilet bowl onto the wax ring, aligning the bolt holes.
-
Insert the bolts into the bolt holes and tighten them using a wrench.
-
Attach the tank to the bowl by aligning the gasket and bolting them together.
-
Use the wrench to securely tighten the bolts, but be careful not to overtighten and crack the porcelain.
Testing and Finishing the Installation
Once the toilet bowl and tank are securely fastened together, the next step is to test for any leaks and finish the installation. Here are the testing techniques and troubleshooting tips you need to know:
- Fill the tank with water and flush the toilet to check for any leaks around the base or connections.
- Inspect the water supply line and ensure it’s properly connected and free from any leaks.
- Use a level to ensure the toilet is perfectly balanced and adjust the toilet bolts if necessary.
Troubleshooting Tips:
- If there are leaks, tighten the connections or replace any faulty parts.
- If the toilet is not level, adjust the wax ring or use shims to achieve balance.
- Consider using a wax or foam gasket to create a watertight seal between the toilet and floor.
Frequently Asked Questions
How Do I Determine if the Basement Plumbing Is Suitable for Toilet Installation?
To determine if the basement plumbing is suitable for toilet installation, a basement plumbing inspection is necessary. This will ensure that the plumbing meets the necessary requirements for installing a toilet in the basement.
What Are the Essential Tools and Materials Needed for Installing a Toilet in the Basement?
To install a toilet in the basement, you’ll need essential tools like a wrench and pliers, along with materials such as a wax ring and PVC pipe. It’s important to measure and plan carefully to ensure a successful installation.
How Should I Prepare the Basement Floor Before Installing the Toilet?
To prepare the basement floor for installing a toilet, start by waterproofing it. This involves sealing any cracks or gaps, applying a waterproof membrane, and ensuring proper drainage. It’s essential for preventing water damage and maintaining the integrity of the installation.
Can You Provide Some Tips on How to Properly Attach the Toilet Flange and Wax Ring?
To properly attach the toilet flange and wax ring, begin by positioning the flange over the drain pipe. Secure it with screws, ensuring it is level and flush with the floor. Then, place the wax ring on the flange, aligning it with the toilet bowl.
Are There Any Specific Instructions for Testing and Finishing the Toilet Installation in the Basement?
To properly test and finish a toilet installation in the basement, you need to check for leaks by filling the tank and bowl. Then, secure the toilet to the floor using bolts and nuts. Finally, apply caulk around the base for a watertight seal.
Conclusion
In conclusion, installing a toilet in the basement requires careful assessment of the plumbing. It also requires gathering the necessary tools and materials, preparing the floor, and attaching the flange and wax ring. It is important to follow precise instructions and guidelines, leaving no room for confusion.
The process may have potential challenges, but with the right troubleshooting tips and solutions, a successful installation can be achieved. By being informed and educated on the steps and precautions, you can confidently complete the installation and enjoy a functional toilet in your basement.


