I’ve always been a DIY enthusiast, and when it came time to upgrade my RV toilet, I was determined to tackle the installation myself. Let me tell you, it was a game-changer!
If you’re tired of dealing with a less-than-ideal toilet situation on your camping trips, this step-by-step guide is for you. From choosing the right RV toilet to troubleshooting the installation, I’ll walk you through the process.
Get ready to enjoy a more comfortable and convenient camping experience.
Key Takeaways
- Evaluate available space and measure area for proper fit
- Choose the style of toilet (gravity-flush or composting) based on camping habits and maintenance frequency
- Gather necessary tools and materials for installation, including sealing materials and proper tools
- Follow step-by-step instructions to remove the old toilet and install the new one, ensuring proper alignment and secure attachment

RV Toilet Seal and 3" Socket Floor Flange Kit for Dometic 300 310 320 RV Toilets, Replacement Parts Kit 385345892 Flange, 385311658 Flush Ball Seal and 385311652 Base Seal Gasket, 3 in 1 Repair Kit
【Compatibility】: RV Toilet Seal and 3" Socket Floor Flange Kit compatible with Dometic 300 310 320 RV Toilets,…
As an affiliate, we earn on qualifying purchases.
As an affiliate, we earn on qualifying purchases.
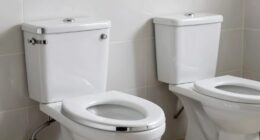
Choosing the Right RV Toilet
When choosing the right RV toilet, there are a few factors to consider. First, evaluate the available space in your RV for the toilet installation. Measure the area to ensure you choose a toilet that fits properly.
Next, decide on the style of toilet you prefer. You can choose between a standard gravity-flush toilet or a composting toilet. Consider your camping habits and frequency of toilet maintenance when making this decision.
Finally, examine the flushing mechanism options available. You can choose between a foot pedal flush or a hand flush, each with its own advantages.
Don’t forget to explore toilet accessories such as toilet paper holders, toilet seat covers, and waste tank chemicals to enhance your RV toilet experience.
OGO Origin Composting Toilet – 12V Electric Agitator, Urine Diverting RV Toilet for Van Life, Tiny Home & Boat – 15" Compact, Odorless Off-Grid Toilet, No Black Tank
SMALLEST FOOTPRINT FOR TIGHT BUILDS (15"x16") Designed for Sprinter/Transit vans, tiny homes & boats where space is everything….
As an affiliate, we earn on qualifying purchases.
As an affiliate, we earn on qualifying purchases.
Gathering the Necessary Tools and Materials
Before you start, make sure you have all the tools and materials you’ll need to get the job done.
One of the first things you’ll need to do is measure the space where the new RV toilet will be installed. This will ensure that it fits properly and doesn’t interfere with any nearby fixtures or walls.
Additionally, you’ll need to gather materials for sealing the connections between the toilet and the RV’s plumbing system. This may include a wax ring, plumber’s putty, or silicone caulk, depending on the specific type of toilet and plumbing setup you have. Properly sealing these connections is crucial to prevent leaks and ensure a tight fit.
Now that you have everything you need, let’s move on to the next step of removing the old toilet.
RV toilet sealant and wax ring
As an affiliate, we earn on qualifying purchases.
As an affiliate, we earn on qualifying purchases.
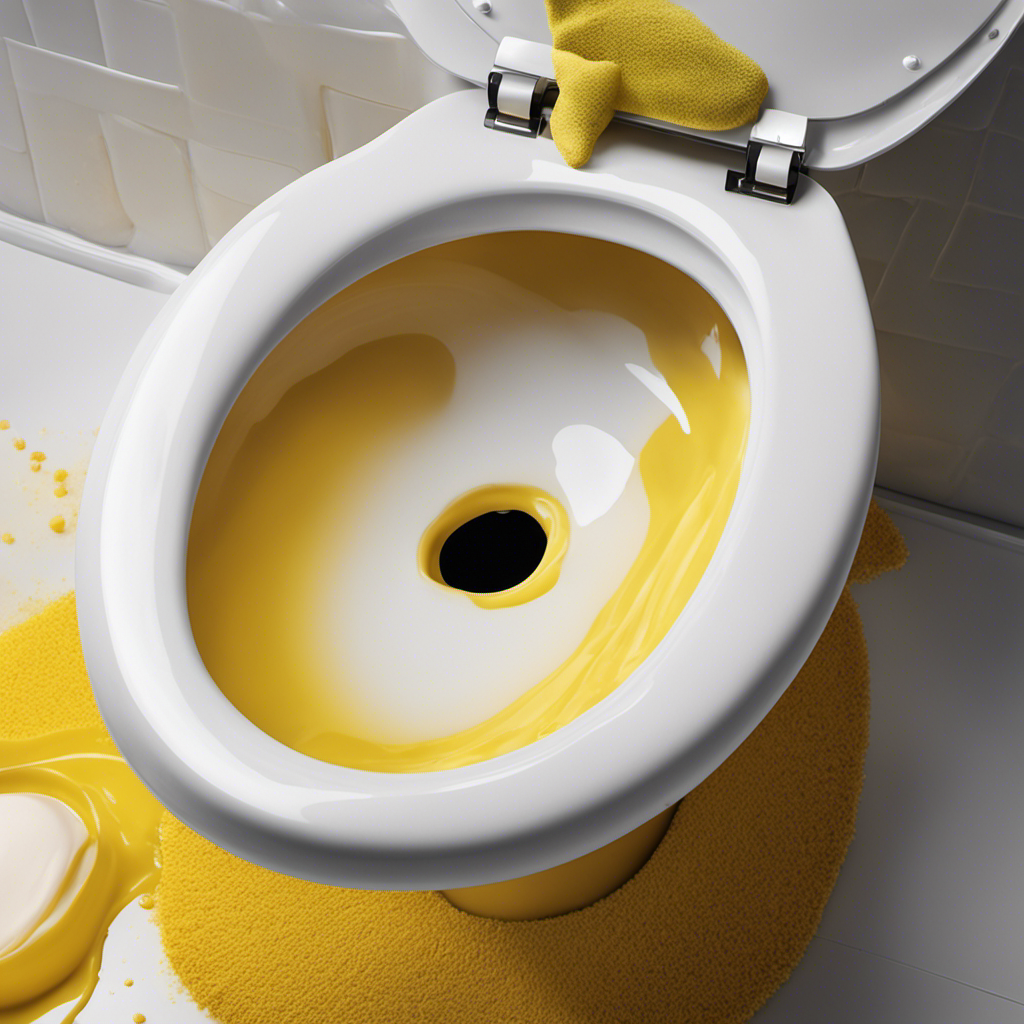
Removing the Old Toilet
To start the process, you’ll first need to disconnect the water supply and unscrew the bolts securing the old toilet in place.
Begin by turning off the water valve located behind the toilet. Use a wrench to loosen the nuts on the water supply line and carefully remove it from the toilet.
Next, locate the bolts at the base of the toilet. These bolts are usually covered by plastic caps that can be easily removed with a screwdriver. Once the bolts are exposed, use a wrench or pliers to unscrew them.
With the bolts removed, gently lift the old toilet off the floor and place it on a tarp or old towel to prevent any spills. Dispose of the old toilet properly according to local regulations.
Now that the old toilet is removed, it’s time to clean and prepare the toilet space for the installation of the new toilet.
Start by removing any remnants of wax or debris from the flange and the floor. Use a putty knife or scraper to carefully scrape away any residue.
Once the area is clean, inspect the flange for any damage or cracks. If necessary, repair or replace the flange before proceeding.
RV toilet repair tools
As an affiliate, we earn on qualifying purchases.
As an affiliate, we earn on qualifying purchases.
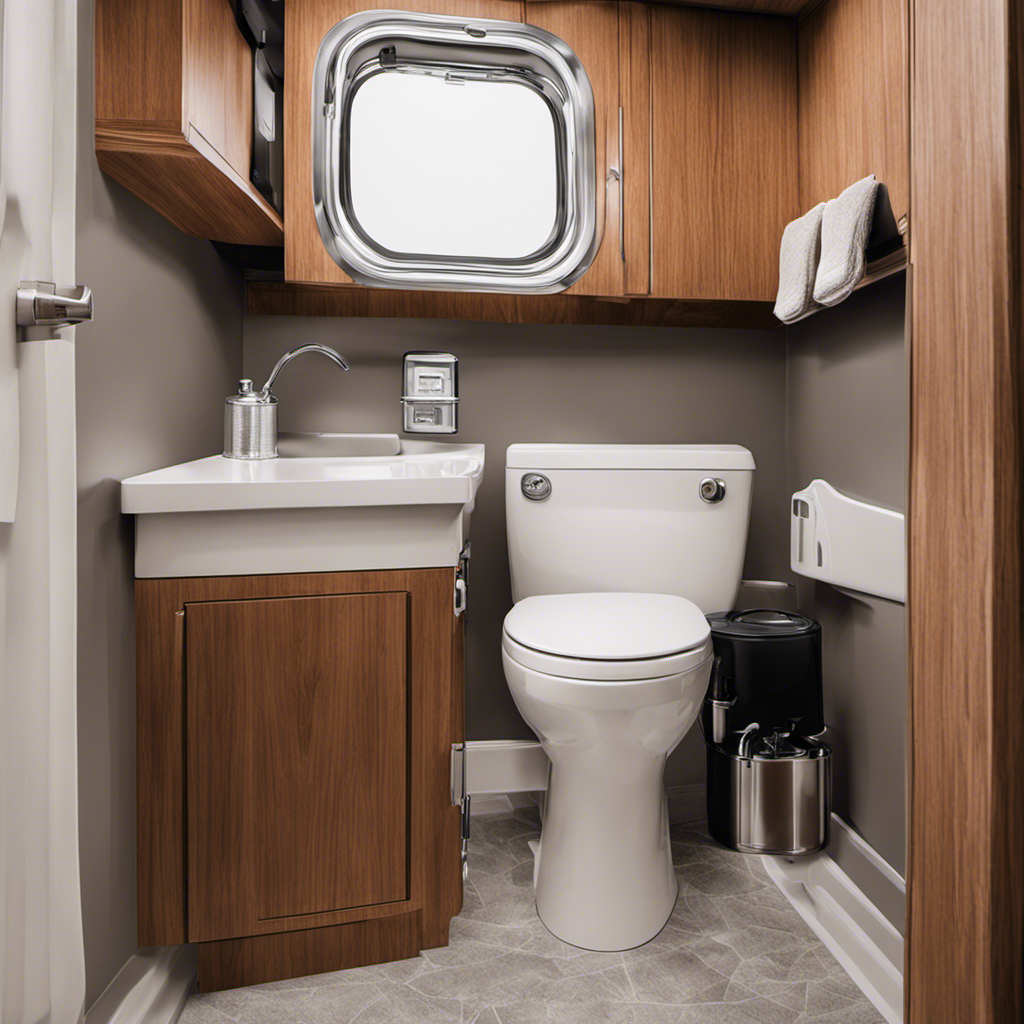
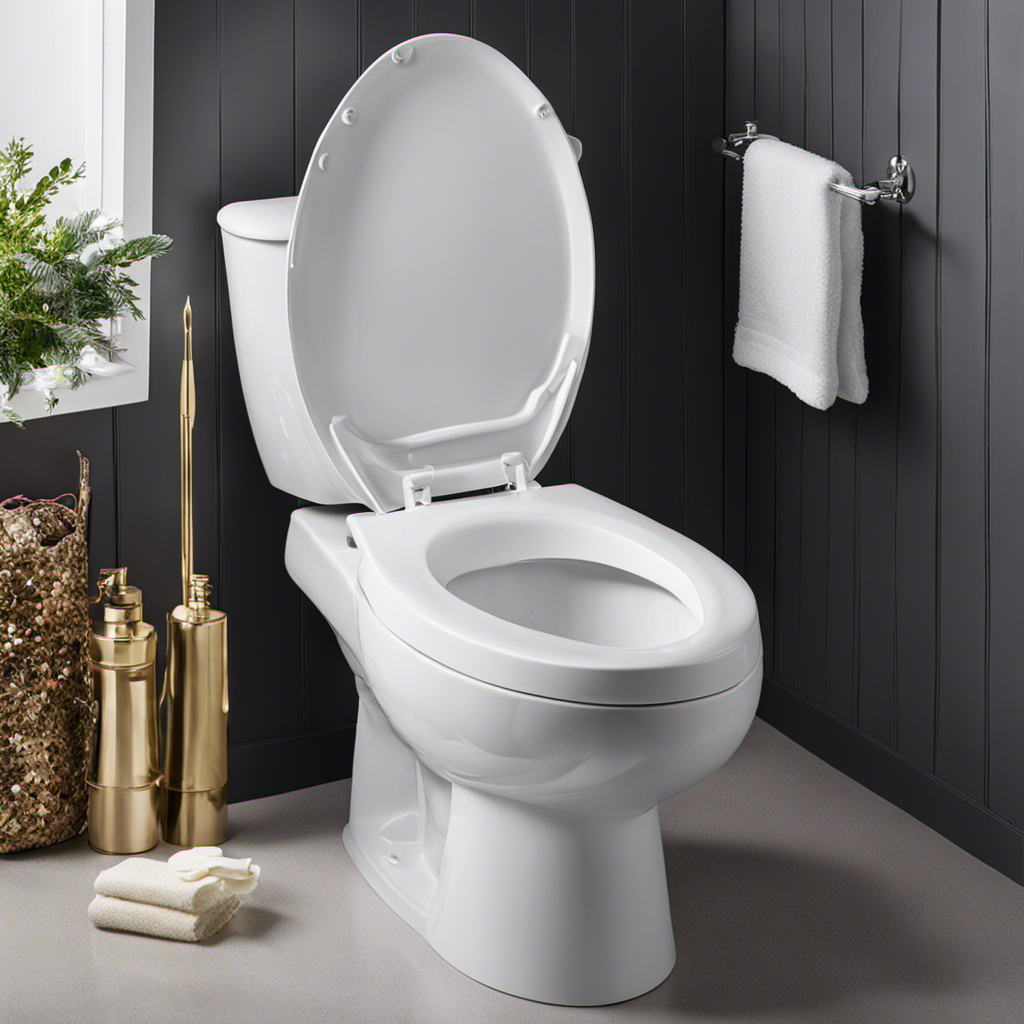
Installing the New RV Toilet
Now that you have cleaned the toilet space, you can proceed to attach the new toilet seat. Installing an RV toilet is a straightforward process that can be completed in a few simple steps:
-
Position the toilet: Place the new toilet in the desired location, making sure it aligns with the waste pipe.
-
Connect the water supply: Attach the water supply line to the toilet’s inlet valve. Ensure it is tightly secured to prevent any leaks.
-
Secure the toilet base: Use the provided hardware to secure the toilet base to the floor. Make sure it is stable and level.
-
Install the seat: Attach the seat to the toilet bowl using the included screws or clips. Tighten them securely to prevent any movement.
By following these steps, you can enjoy the benefits of using an RV toilet, such as its compact size, water-saving capabilities, and ease of maintenance. With the new toilet installed, you are now ready to move on to testing and troubleshooting the toilet installation.
TRANSITION: Now that the new RV toilet is securely installed, it’s time to test its functionality and address any potential issues that may arise.
Testing and Troubleshooting the Toilet Installation
Once the new toilet is securely in place, you should check for any leaks or irregularities in its functionality. To do this, follow these steps:
- Fill the toilet bowl with water. Ensure that the water level is at the appropriate height.
- Look for any visible leaks around the base of the toilet. Check for water pooling or dampness on the floor.
- Turn off the water supply to the toilet and flush it. Observe if the water drains properly and if the bowl refills correctly.
- If the toilet is not flushing properly, check the water level in the tank. Adjust the float or the fill valve as necessary.
- Use a toilet dye tablet or food coloring to check for hidden leaks. Drop the tablet or coloring into the tank and wait for a few minutes. If the water in the bowl changes color, there may be a leak.
- Inspect the toilet’s connections, including the supply line, flush valve, and flapper. Tighten any loose fittings, and replace any damaged parts if necessary.
Table:
| Step | Task |
|---|---|
| 1. | Fill the toilet bowl with water |
| 2. | Check for visible leaks |
| 3. | Turn off water supply and flush |
| 4. | Check water level and adjust if needed |
| 5. | Use toilet dye tablet or food coloring |
| 6. | Inspect connections and tighten or replace if necessary |
Frequently Asked Questions
How Often Should I Clean My RV Toilet?
I clean my RV toilet once a week to maintain hygiene. I use a toilet brush and RV-approved cleaning solution to scrub the bowl thoroughly. Afterwards, I flush with clean water to remove any residue.
Can I Use Regular Household Cleaning Products to Clean My RV Toilet?
Using regular household cleaning products for an RV toilet has pros and cons. While they are easily accessible and affordable, they may contain harsh chemicals that can damage the toilet’s components. It’s important to read the manufacturer’s guidelines before using any cleaning product.
Are There Any Specific Maintenance Tips for Keeping an RV Toilet in Good Condition?
To keep an RV toilet in good condition, regular maintenance is key. Here are some maintenance tips and troubleshooting common issues that can help prolong the life and functionality of your RV toilet.
Can I Install a Bidet Attachment on an RV Toilet?
Yes, you can install a bidet attachment on an RV toilet. It offers the benefits of improved hygiene and water conservation. However, consider the limited space and water supply in an RV before installation.
Is It Necessary to Use RV-Specific Toilet Paper in an RV Toilet?
No, it is not necessary to use RV-specific toilet paper in an RV toilet. There are alternative options available such as biodegradable toilet paper that is more environmentally friendly.
Conclusion
In conclusion, installing an RV toilet is a relatively easy task that can be accomplished by following a few simple steps. Throughout this process, I have discovered the truth behind the theory that installing an RV toilet is a daunting and complicated task.
However, with the right tools and materials, along with a step-by-step approach, anyone can successfully install a new RV toilet. So don’t be afraid to give it a try and enjoy the convenience and comfort of a fully functional toilet in your RV.
Happy camping!