As an experienced RV enthusiast, I’m here to guide you through the process of installing an RV toilet. Are you ready to embark on this transformative journey?
In this article, we will cover everything from choosing the perfect toilet to troubleshooting any potential issues. So, grab your tools and let’s get started on this exhilarating endeavor.
Together, we’ll ensure that your RV is equipped with a top-notch toilet that meets all your needs. Let’s dive in and make your RV bathroom experience extraordinary.
Key Takeaways
- Consider factors such as size, flushing mechanism, and water usage when choosing the right RV toilet.
- Evaluate different types of RV toilets, such as gravity flush toilets and macerating toilets.
- Gather the necessary tools and materials before starting the installation process, including a wrench, screwdriver, sealant, and a level.
- Properly seal all connections and test the toilet after installation to ensure proper functionality.
Choosing the Right RV Toilet
When choosing the right RV toilet, you’ll want to consider factors such as size, flushing mechanism, and water usage. Evaluating different types of RV toilets is crucial in finding the one that suits your needs.
There are two main types to choose from: gravity flush toilets and macerating toilets. Gravity flush toilets use gravity to flush waste into the RV’s holding tank, while macerating toilets use a built-in grinder to break down waste before flushing.
Additionally, considering space and weight limitations when choosing an RV toilet is important. Compact toilets are available for smaller RVs, and lightweight options can help reduce the overall weight of your vehicle.
Now that we’ve evaluated the different types of RV toilets and considered space and weight limitations, let’s move on to gathering the necessary tools and materials for the installation process.
Gathering the Necessary Tools and Materials
Before you start, make sure you have all the necessary tools and materials ready. Having the right equipment is crucial for a smooth and successful installation of an RV toilet. Here is a buying guide to help you gather everything you need.
First, you will need a new RV toilet. You can find one at any RV supply store or online. Make sure to choose a toilet that fits your specific RV model and meets your needs.
Additionally, you will need a wrench, screwdriver, sealant, and a level. These tools will be essential for removing the old toilet and installing the new one.
Once you have all the necessary tools and materials, you can proceed with the step by step instructions for installing the RV toilet.
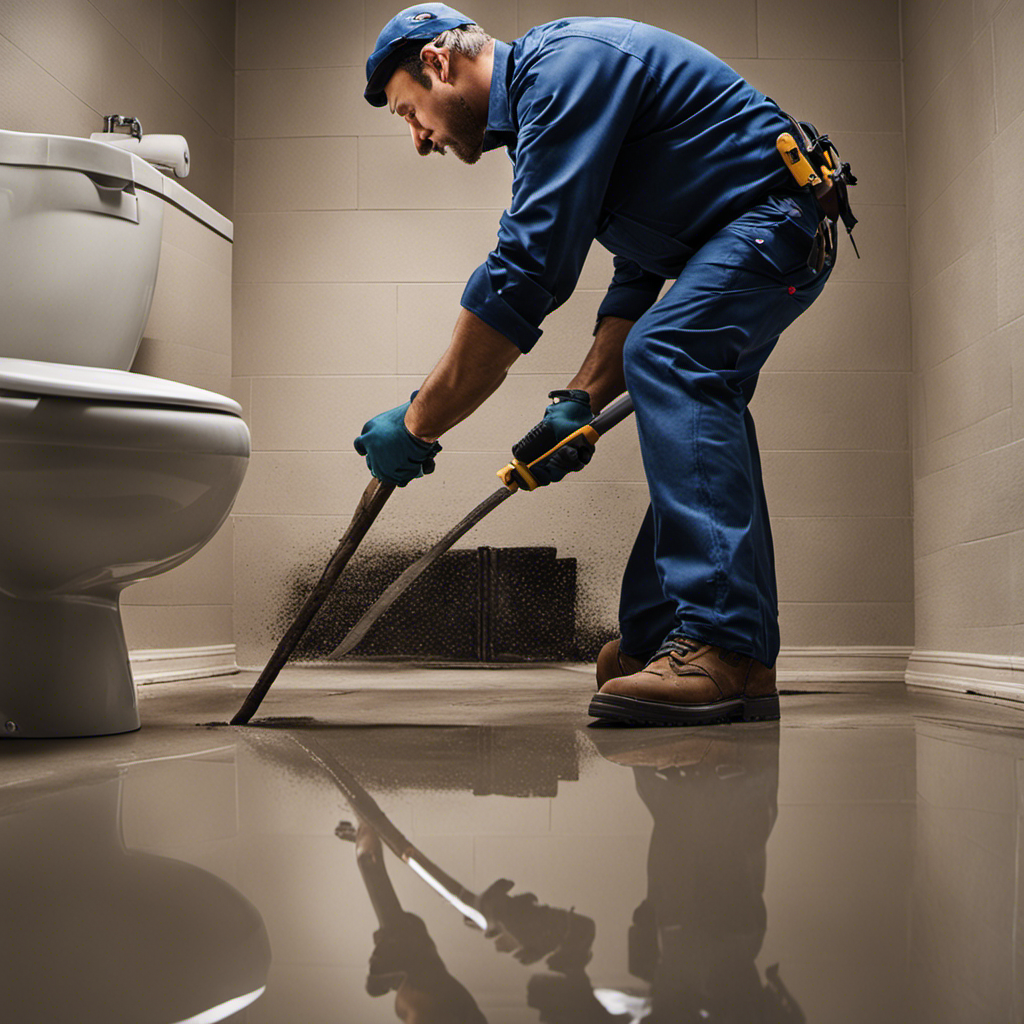
Removing the Old Toilet
To remove the old toilet, you’ll need to unscrew the bolts holding it in place and detach the water supply line. Here are the steps to follow:
-
Prepare the area: Lay down towels or a drop cloth to catch any water or debris that may be released during the removal process.
-
Turn off the water supply: Locate the shut-off valve behind the toilet and turn it clockwise to shut off the water flow.
-
Disconnect the water supply line: Use an adjustable wrench to loosen the nuts connecting the water supply line to the toilet tank.
-
Remove the toilet bolts: Use a wrench to unscrew the nuts on the bolts securing the toilet to the floor.
-
Lift and remove the toilet: Carefully lift the toilet straight up, ensuring not to spill any remaining water. Dispose of the old toilet according to local regulations.
Before disposing of the old toilet, it is important to clean it properly. Start by wiping down the exterior with a disinfectant cleaner. Next, remove the toilet seat and clean it separately. Use a toilet brush and a mild cleanser to scrub the inside of the bowl. Rinse thoroughly and dry the toilet before moving on to the installation process.
Installing the New RV Toilet
Make sure you have all the necessary tools and materials ready for the installation.
Proper maintenance for RV toilets is crucial to ensure their longevity and functionality.
When installing a new RV toilet, there are common mistakes that you should avoid.
Firstly, it is important to carefully read the installation instructions provided by the manufacturer. This will help you understand the specific requirements and steps involved in the installation process.
Secondly, make sure to properly seal all connections to prevent any leaks. This includes using sealant or plumber’s tape on threaded connections.
Additionally, avoid over-tightening any bolts or screws, as this may damage the toilet or the plumbing system.
Lastly, test the toilet thoroughly after installation to ensure it is working properly and there are no leaks.
Testing and Troubleshooting
Once you’ve completed the installation, it’s important to test the RV toilet thoroughly to ensure it’s functioning properly and there are no leaks. Testing the toilet can help you identify any potential issues and fix them before they become bigger problems.
Here are some testing techniques and common toilet problems to look out for:
- Fill the toilet bowl with water and flush it to check for proper flushing action.
- Check for any leaks around the base of the toilet or the water supply connections.
- Test the water pressure to ensure it’s sufficient for proper flushing.
- Inspect the seals and gaskets for any signs of wear or damage.
- Listen for any unusual sounds during the flushing process, which could indicate a problem with the internal mechanisms.
Frequently Asked Questions
How Often Should I Replace My RV Toilet?
When to replace an RV toilet depends on signs of wear and tear. Factors such as frequency of use and maintenance play a role. Regular inspections are essential to identify leaks, cracks, or other issues that may indicate it’s time for a replacement.
Can I Use a Regular Household Toilet in My Rv?
Yes, you can use a regular household toilet in your RV, but there are advantages to using an RV toilet. The RV toilet is specifically designed for the RV lifestyle, with features like water conservation and space-saving design. It is also easier to install than a compost toilet.
What Are the Benefits of Installing a Water-Saving RV Toilet?
Installing a water-saving RV toilet has numerous benefits. It not only saves water but also contributes to eco-friendly options. With advanced water-saving technology, you can enjoy a more sustainable and efficient RV experience.
Are There Any Specific Maintenance Requirements for RV Toilets?
There are specific maintenance requirements for RV toilets. Regular RV toilet cleaning is necessary to prevent odors and clogs. If troubleshooting is needed, it’s important to check the water supply, seals, and valves.
Is It Possible to Install a Bidet Attachment on an RV Toilet?
Installing a bidet attachment on an RV toilet is possible, depending on the compatibility of the toilet and the bidet attachment. It requires careful installation to ensure proper functionality and fit.
Conclusion
In conclusion, installing an RV toilet can be a straightforward process if you have the right tools and materials.
By carefully following the steps outlined in this article, you can easily remove the old toilet and install a new one.
Remember to choose the right toilet for your RV and test it thoroughly before hitting the road.
For example, John, a seasoned RV traveler, followed these instructions and successfully installed a composting toilet in his motorhome, greatly improving his camping experience.
So, with a little patience and effort, you can have a functional and comfortable toilet in your RV.

With an impeccable eye for detail and a passion for bathroom-related, Ava leads our editorial team gracefully and precisely.
Under her guidance, Best Modern Toilet has flourished as the go-to resource for modern bathroom enthusiasts. In her free time, you might find Ava exploring antique shops and looking for vintage bathroom fixtures to add to her collection.