Installing a toilet flapper is as easy as changing a lightbulb. In this guide, I’ll walk you through the step-by-step process of replacing your old flapper with a new one.
With just a few tools and a little know-how, you’ll have your toilet flushing smoothly in no time.
So let’s dive in and get your toilet back to its optimal performance!
Key Takeaways
- Gather all necessary tools and select a flapper that matches your toilet’s make and model
- Remove the old flapper and troubleshoot any problems
- Prepare the new flapper for installation and troubleshoot any issues
- Install the new flapper properly and test for proper function, regularly maintaining and inspecting the flapper

Korky Ultra Standard 2-Inch Universal Toilet Flapper – Long Lasting Rubber – Easy to Install – Made in USA, 100BP
TOILET FLAPPER VALVE FITS MOST POPULAR 2 inch toilet brands including, but not limited to: American Standard, Kohler,…
As an affiliate, we earn on qualifying purchases.
As an affiliate, we earn on qualifying purchases.
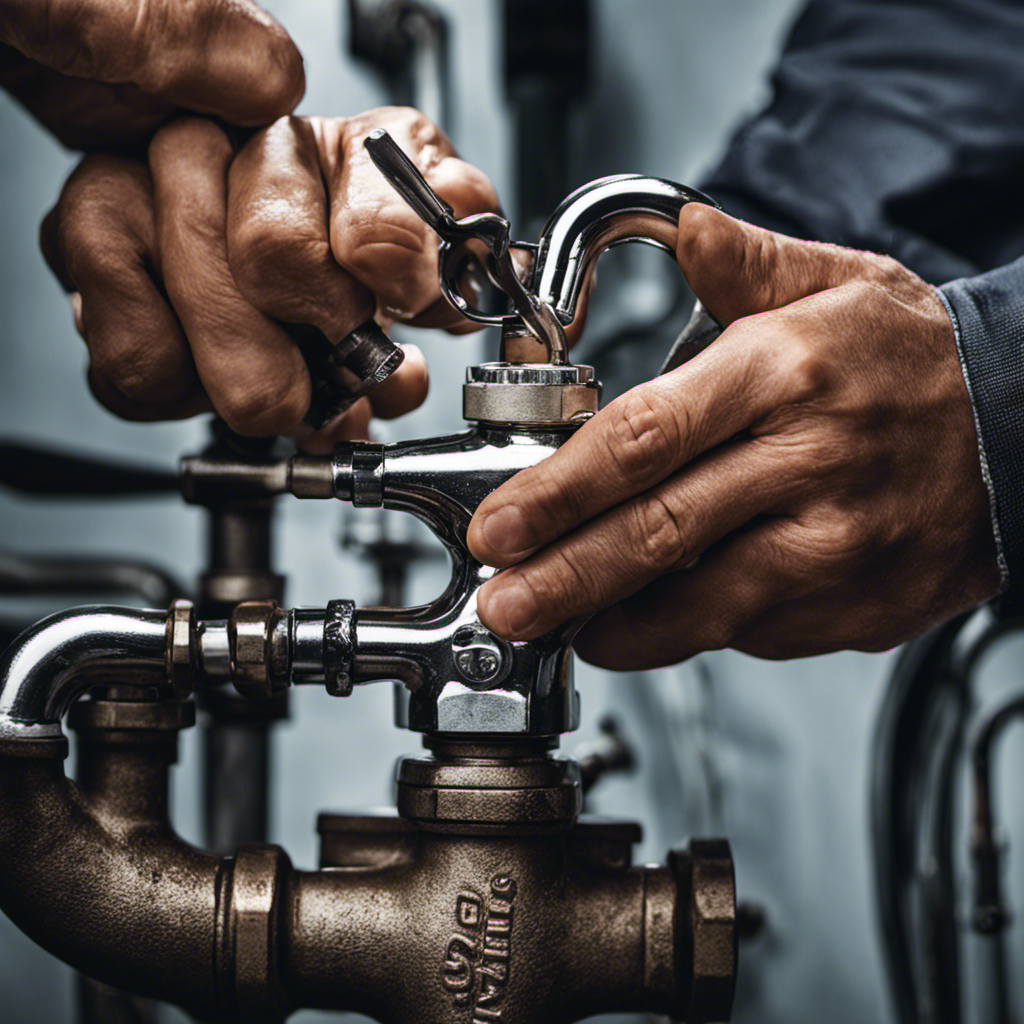
Gathering the Necessary Tools
Before you begin, make sure you have all the necessary tools for installing the toilet flapper.
Choosing the right flapper is essential to ensure a proper fit and optimal functionality. Look for a flapper that matches the make and model of your toilet. Additionally, consider the quality of the material and the durability of the flapper.
Troubleshooting common flapper problems, such as leaks or inconsistent flushing, can be addressed by selecting a high-quality flapper that seals tightly and allows for a smooth water flow.
Now that you have the right flapper, it’s time to move on to removing the old one.
toilet flapper for Kohler toilet
As an affiliate, we earn on qualifying purchases.
As an affiliate, we earn on qualifying purchases.
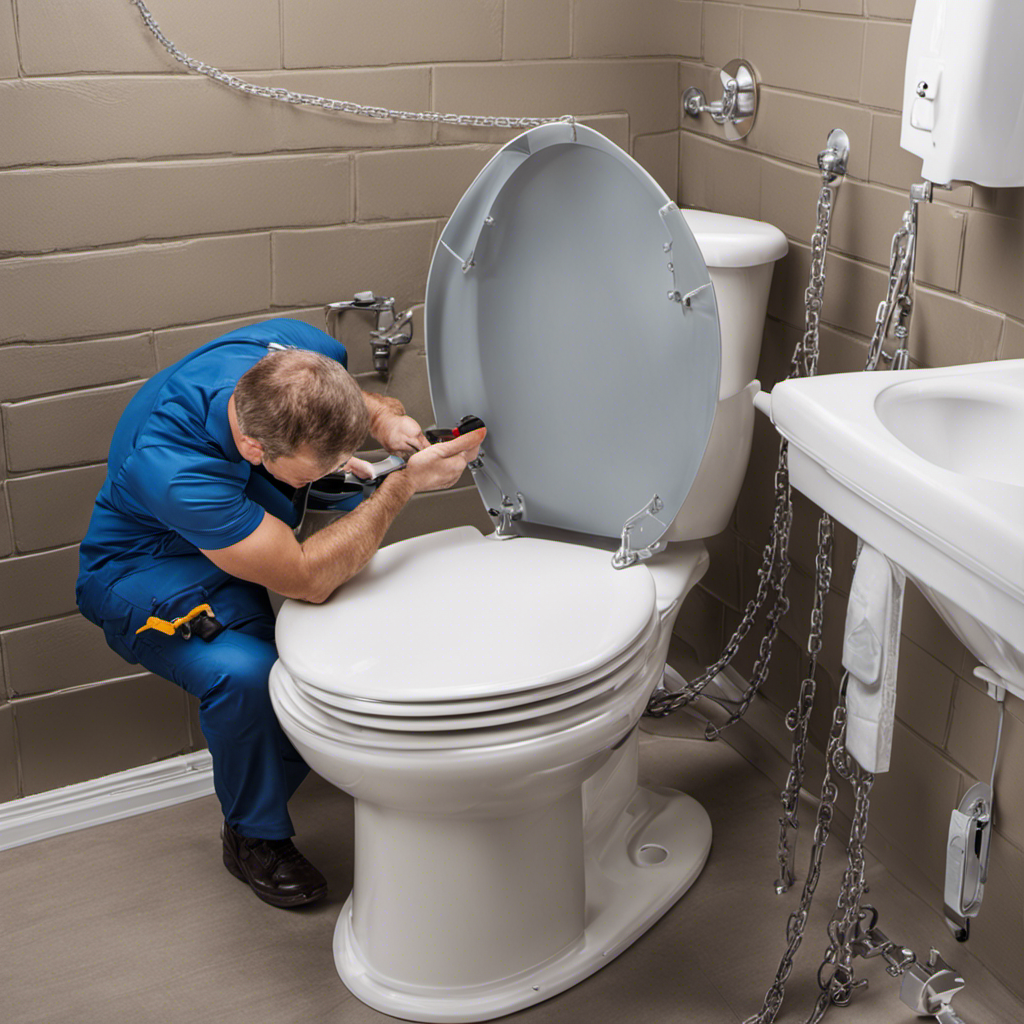
Removing the Old Flapper
To start, you’ll want to disconnect the chain from the flush lever arm. This step is crucial in order to remove the old flapper. It’s important to replace a damaged flapper as it can cause water leakage and other toilet-related issues. Troubleshooting flapper issues is essential for maintaining a properly functioning toilet.
Here is a table displaying the steps to remove the old flapper:
| Steps to Remove Old Flapper |
|---|
| Turn off the water supply |
| Empty the tank |
| Disconnect the chain |
best toilet flapper valve
As an affiliate, we earn on qualifying purchases.
As an affiliate, we earn on qualifying purchases.
Preparing the New Flapper for Installation
Now that we’ve removed the old flapper, we can begin preparing the new one for installation.
Proper maintenance of the flapper is crucial for the efficient functioning of a toilet. Here are a few tips to keep your flapper in top shape.
First, check for any debris or mineral buildup around the flapper seat. Clean it thoroughly to ensure a tight seal.
Additionally, inspect the flapper chain to ensure it is properly connected and has the right amount of slack.
Troubleshooting common flapper problems involves checking for leaks or a worn-out flapper. If there are leaks, it may be necessary to replace the flapper entirely.
With these maintenance tips in mind, let’s move on to installing the new flapper and ensuring a leak-free toilet.

Fluidmaster K-400H-039 High Performance Toilet Fill Valve with 2-Inch Adjustable Toilet Flapper Kit
The PerforMAX fill valve and 2 in. Flapper Kit is the premium solution to make your 2 in….
As an affiliate, we earn on qualifying purchases.
As an affiliate, we earn on qualifying purchases.
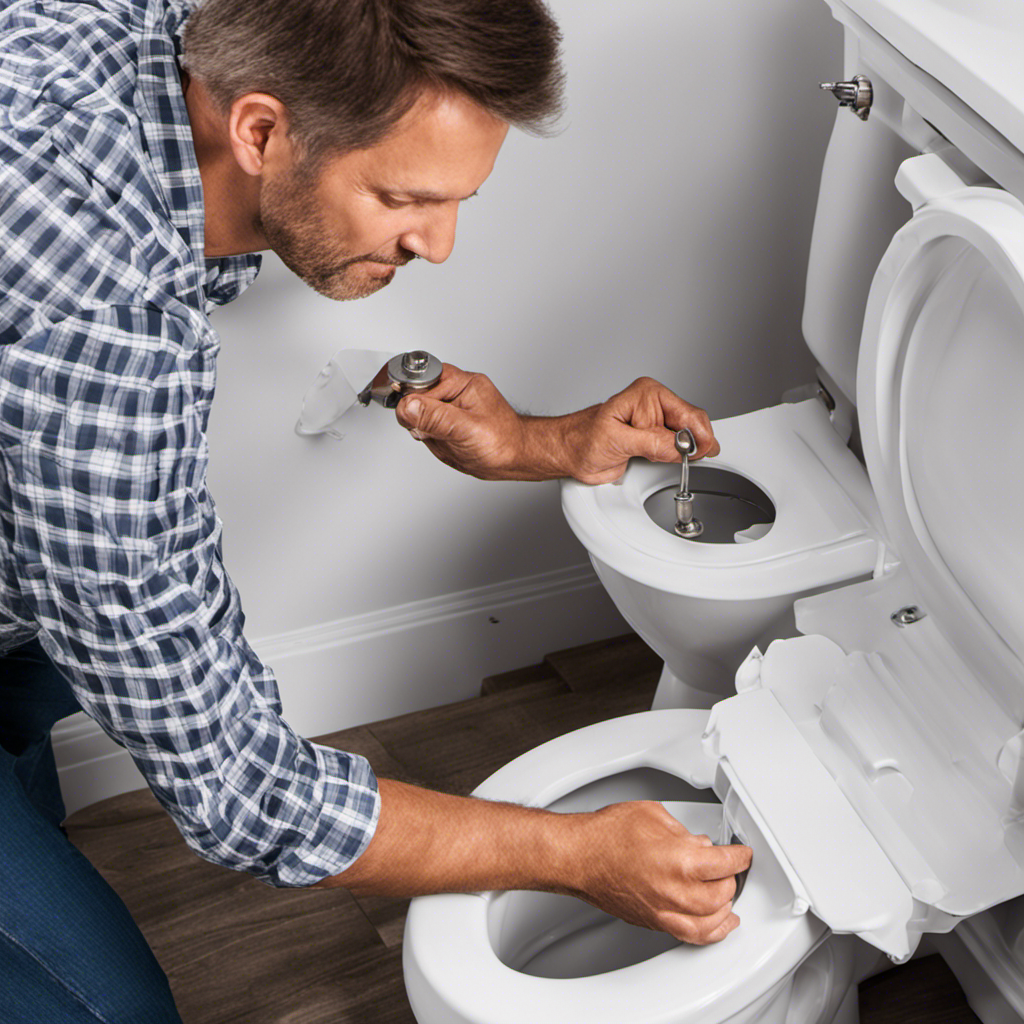
Installing the New Flapper
Make sure you’ve properly aligned the new flapper with the flush valve opening. This step is crucial for a successful installation. Troubleshooting common issues often starts with ensuring the flapper is correctly positioned.
Once aligned, carefully lower the flapper onto the flush valve. Make sure it sits securely and forms a tight seal. Choosing the right flapper is essential for optimal performance. Consider the size and compatibility with your toilet model. A flapper that is too small or too large may cause problems. Take your time to select the right one for a trouble-free installation.
Now, let’s move on to testing the flapper for proper function and ensuring everything is working as it should.
Testing the Flapper for Proper Function
Once you’ve aligned and securely attached the new flapper, it’s time to test its proper function. Testing the flapper is crucial to ensure that it is working correctly and preventing any potential issues.
Here are a couple of steps to follow when testing the flapper:
-
Flush the toilet: Press the handle down and observe the flapper’s movement. It should lift up smoothly and fully when you flush.
-
Check for leaks: After flushing, listen for any hissing or running water sounds. If you hear these, it could indicate a leak and may require adjustment or replacement of the flapper.
Regular maintenance is essential for toilet flappers to avoid common issues such as leaks or incomplete flushing. By regularly inspecting and cleaning the flapper, you can prevent any potential problems and ensure its proper function.
Conclusion
After successfully installing the new toilet flapper, you can bid farewell to those pesky leaks and wasteful water consumption. With the right tools and a little know-how, the process becomes a breeze.
Remember to remove the old flapper carefully and prepare the new one properly to ensure a tight seal. Once the installation is complete, test the flapper to guarantee its proper function.
Now, relish in the serenity of a smoothly running toilet, saving both water and money.