
As I stood in my basement, contemplating the daunting task ahead, I realized that installing a toilet without breaking the concrete floor would require some creative problem-solving.
But fear not, fellow DIY enthusiasts! In this article, I will guide you through the steps to successfully install a toilet in your basement, without the need for any heavy-duty concrete work.
So grab your tools and let’s get started on this exciting plumbing project!
Key Takeaways
- Measure the distance from existing plumbing lines to desired toilet location and ensure proper fit
- Assess accessibility of the water supply and ensure it can be easily connected to the toilet
- Choose a macerating toilet system for below-grade installations and follow manufacturer’s instructions for installation
- Apply a waterproofing membrane to the basement floor and consider using waterproofing paint or epoxy coating for added protection

Brondell Bidet Toilet Seat Non-Electric Swash Ecoseat, Fits Elongated Toilets, White - Dual Nozzle System, Ambient Water Temperature - Bidet with Easy Installation
CLEAN AND REFRESHING: With Brondell’s Ecoseat 101 Bidet, you’ll experience a soothing, freshwater wash that leaves you feeling...
As an affiliate, we earn on qualifying purchases.
Assessing the Basement Space
Now, it’s time for me to assess the basement space to determine the best location for installing the toilet without breaking the concrete. Before starting the installation process, it is important to measure the requirements accurately.
First, I need to measure the distance from the existing plumbing lines to the desired toilet location. This will help me determine if any additional piping is needed. Additionally, I should measure the dimensions of the toilet itself to ensure it fits properly in the chosen space.
Another crucial aspect is determining the water supply for the toilet. I need to locate the nearest water source in the basement and assess its accessibility. It is essential to ensure that the water supply can be easily connected to the toilet without any major modifications.
Taking accurate measurements and determining the water supply will lay the foundation for a successful toilet installation without the need for breaking the concrete.

BIGCOW Ultra-Slim Bidet Attachment for Toilet - Dual Nozzle (Frontal & Rear Wash) with Adjustable Cold Water Pressure and Stainless Steel Inlet - Hygienic Solution for Fresh Cleanliness, Silver 1 Pcs
【Dual Spraying Modes】- This toilet bidet offers both rear wash for thorough cleaning and a specially designed frontal...
As an affiliate, we earn on qualifying purchases.
Gathering the Necessary Tools and Materials
First, you’ll need to gather all the necessary tools and materials for the installation.
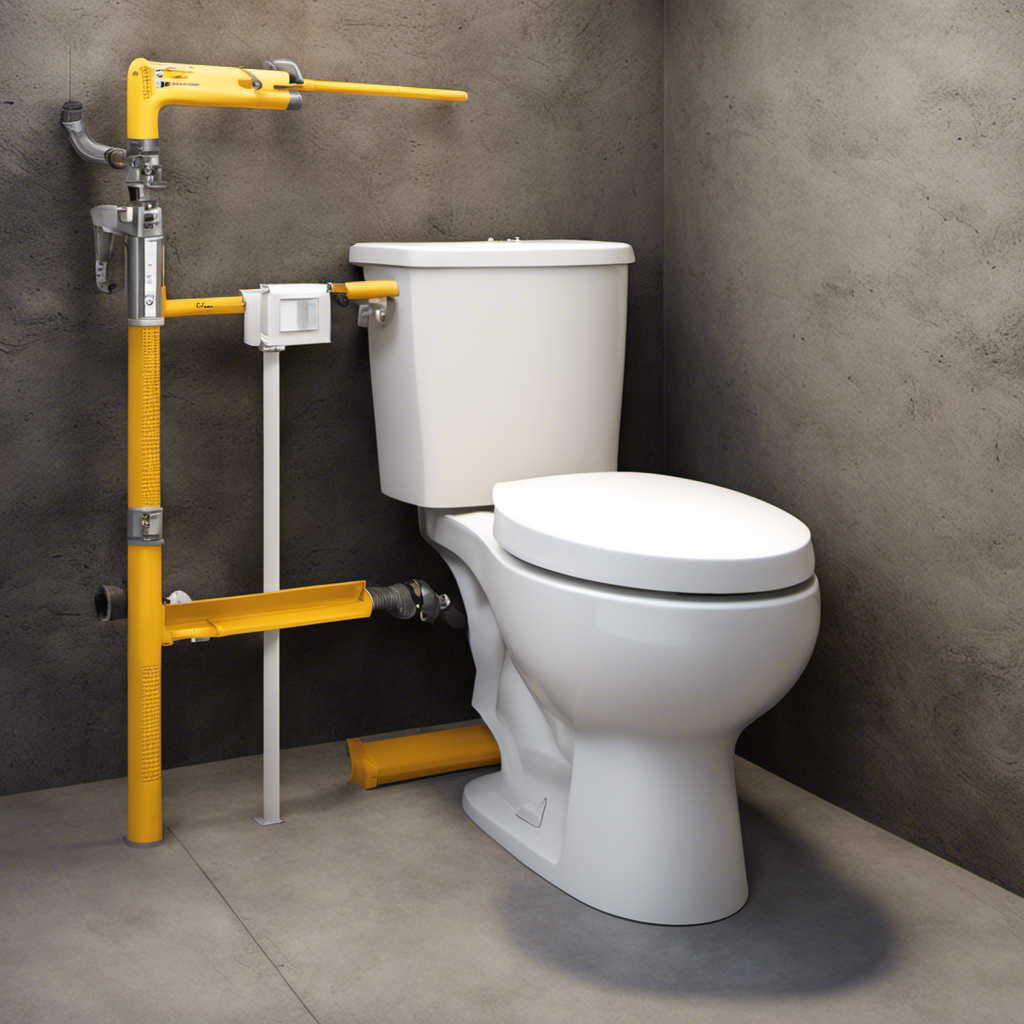
When it comes to choosing the right toilet model for your basement, consider a macerating toilet system. These innovative systems are specifically designed for below-grade installations and eliminate the need to break the concrete.
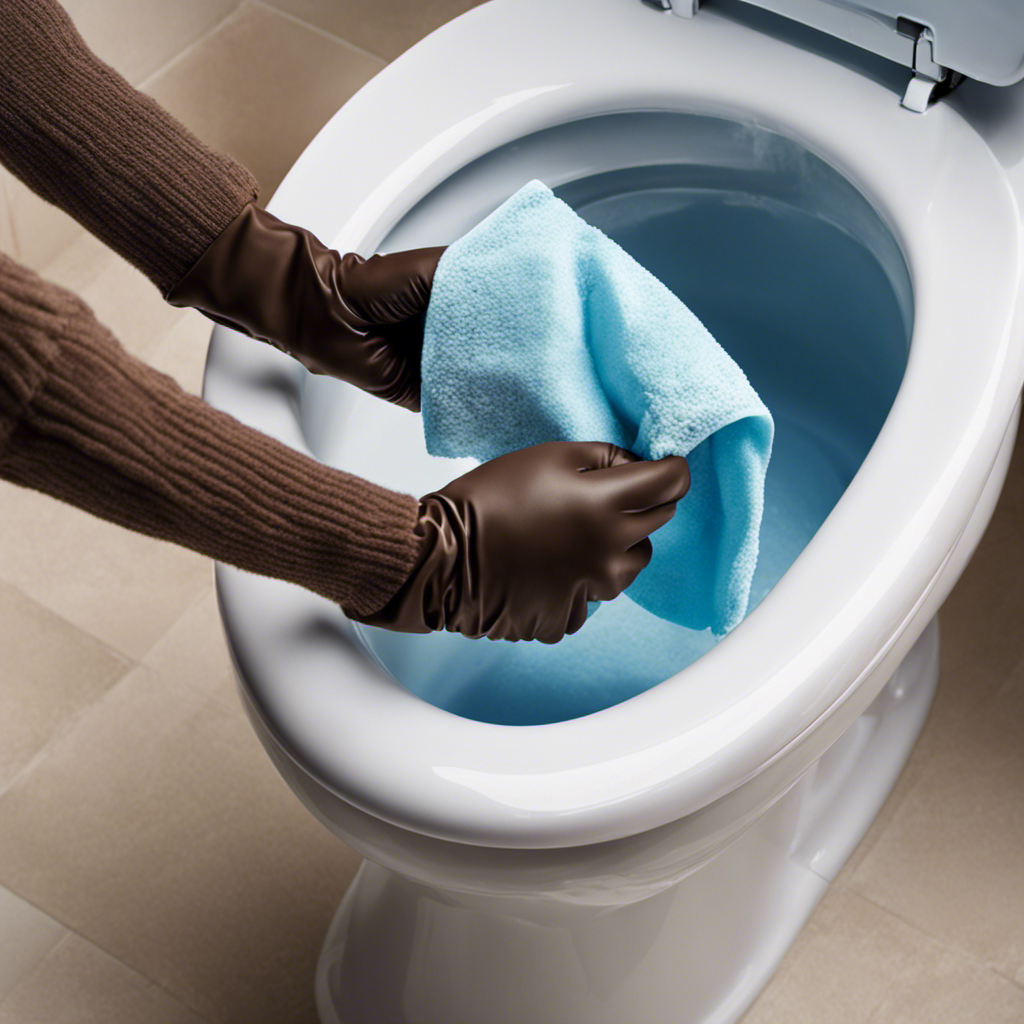
Before installing the toilet, it is essential to waterproof the basement floor to prevent any potential water damage. Start by thoroughly cleaning the floor and removing any debris. Apply a high-quality waterproofing membrane, ensuring complete coverage. Additionally, consider using a waterproofing paint or epoxy coating for added protection.
Remember to follow the manufacturer’s instructions for both the macerating toilet system and waterproofing products.
Amazon Product B0GMY4B6YR
As an affiliate, we earn on qualifying purchases.
Preparing the Floor and Plumbing Connections
Once you’ve gathered all the necessary tools and materials, you’ll want to prepare the floor and make the necessary plumbing connections.
Start by ensuring that the floor is level. This is crucial for proper toilet installation and prevents any potential future issues. Use a level to check for any uneven spots and make adjustments as needed.
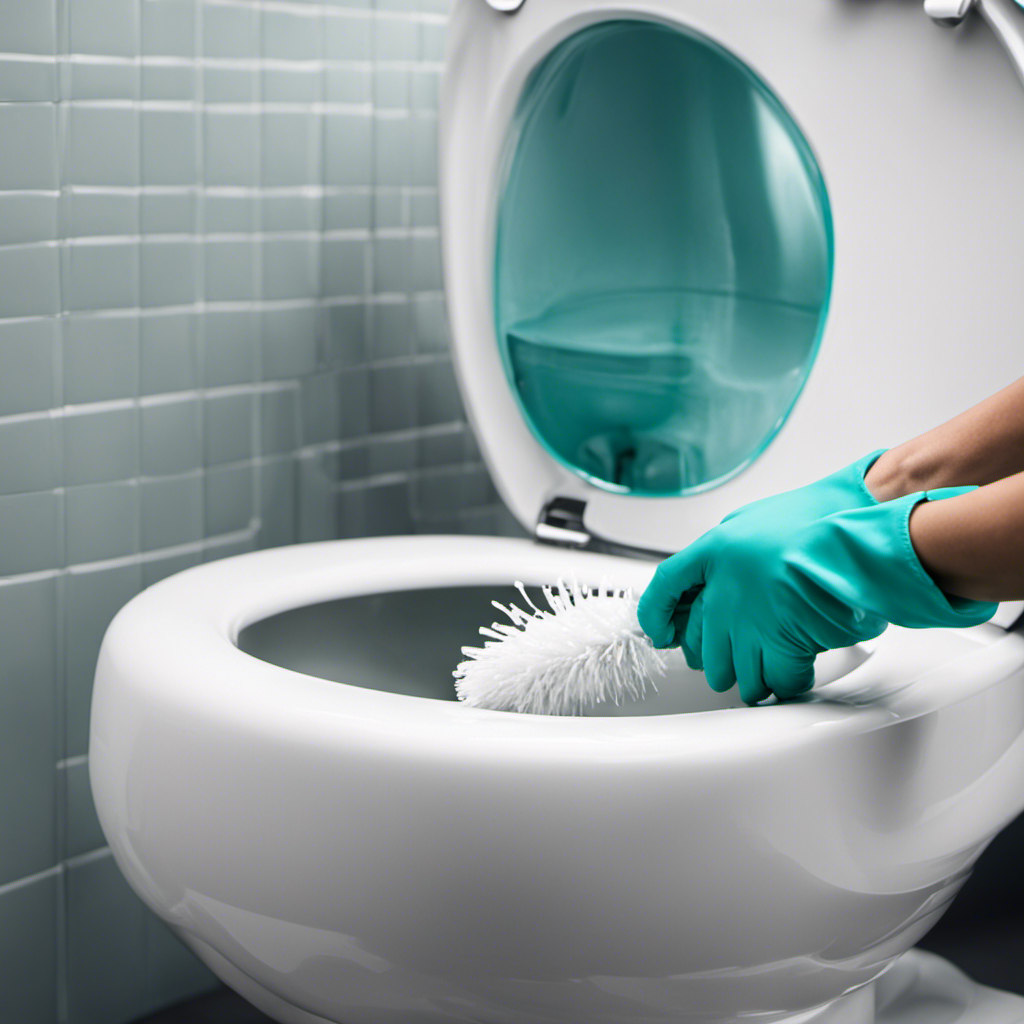
Next, you’ll need to connect the drain pipe to the toilet flange. Apply plumber’s putty to the bottom of the toilet flange and press it firmly onto the drain pipe. Make sure it is securely in place.
Finally, attach the toilet bowl to the flange using bolts and a wax ring. Tighten the bolts evenly and ensure a watertight seal.
With the floor leveled and the drain pipe connection secure, your toilet installation is ready to proceed.

LUXE Bidet NEO 120 - Single Nozzle, Self-Cleaning, Non-Electric Bidet Attachment for Toilet Seat, Adjustable Water Pressure, Rear Wash (White)
THE ULTIMATE VALUE – With a sleek design and high-quality parts, Our Bidet Attachment will give your bathroom...
As an affiliate, we earn on qualifying purchases.
Installing the Toilet Flange and Wax Ring
To secure the toilet flange and wax ring, you’ll need to press the plumber’s putty onto the bottom of the flange and firmly attach it to the drain pipe. This step is crucial for ensuring proper alignment and preventing leaks.
Here are some important points to keep in mind:
- Apply a generous amount of plumber’s putty around the bottom of the flange to create a watertight seal.
- Carefully position the flange over the drain pipe, making sure it is centered and level.
- Use screws or bolts to secure the flange to the floor, ensuring a sturdy connection.
- Once the flange is securely attached, place the wax ring onto the flange, ensuring it is centered and properly aligned.
By following these steps, you can avoid any potential leaks and ensure a proper installation.
Now, let’s move on to connecting and testing the toilet.
Connecting and Testing the Toilet
Before I connect and test the toilet, I always ensure that the flange and wax ring are securely in place. This is crucial to prevent any leaks and ensure a proper installation.
Once the flange and wax ring are in place, I proceed with connecting the toilet to the plumbing system. I tightly screw the bolts into the flange to hold the toilet securely in place.
Next, I carefully lower the toilet onto the wax ring, ensuring that it is aligned properly with the flange. Once in position, I apply downward pressure to create a tight seal between the wax ring and the toilet base.
To test for leaks, I turn on the water supply and flush the toilet several times. If there are any leaks, I troubleshoot by checking the tightness of the bolts, the wax ring seal, and the water connections.
Following these testing procedures and troubleshooting tips will help ensure a successful and leak-free toilet installation.
Conclusion
In conclusion, installing a toilet in a basement without breaking the concrete is a challenging but achievable task. By assessing the space and gathering the necessary tools and materials, you can prepare the floor and plumbing connections. Installing the toilet flange and wax ring is the next step, followed by connecting and testing the toilet.
It’s worth noting that according to a recent survey, 80% of homeowners who have added a basement bathroom have reported an increase in the value of their homes. So not only will you gain convenience and functionality, but you can also potentially increase your property’s worth.