I’ve discovered a sustainable solution for waste management that’s both eco-friendly and cost-effective. Are you ready to learn how to make your own compost toilet?
In this article, I’ll guide you through the step-by-step process of selecting the right location, building the composting chamber, setting up the ventilation system, and adding the composting material.
With proper maintenance and use, you’ll be able to turn your waste into nutrient-rich compost for your garden.
Let’s dive in and start making a positive impact on the environment!
Key Takeaways
- Choose a location near living space for convenience.
- Consider privacy and choose a hidden spot.
- Ensure easy access to a water source for cleaning.
- Set up the ventilation system before adding composting material.

Smart Toilet with Bidet Built In, Heated Seat, Warm Water Wash & Dryer, Tankless Bidet Toilet with Foot Sensor & Night Light, Auto Open/Close Lid & Flush, Wireless Remote, 1.26GPF Water-Saving Design
🛠️ Easy Installation & Reliable Support: This smart toilet with bidet built in includes all accessories, flange kit,...
As an affiliate, we earn on qualifying purchases.
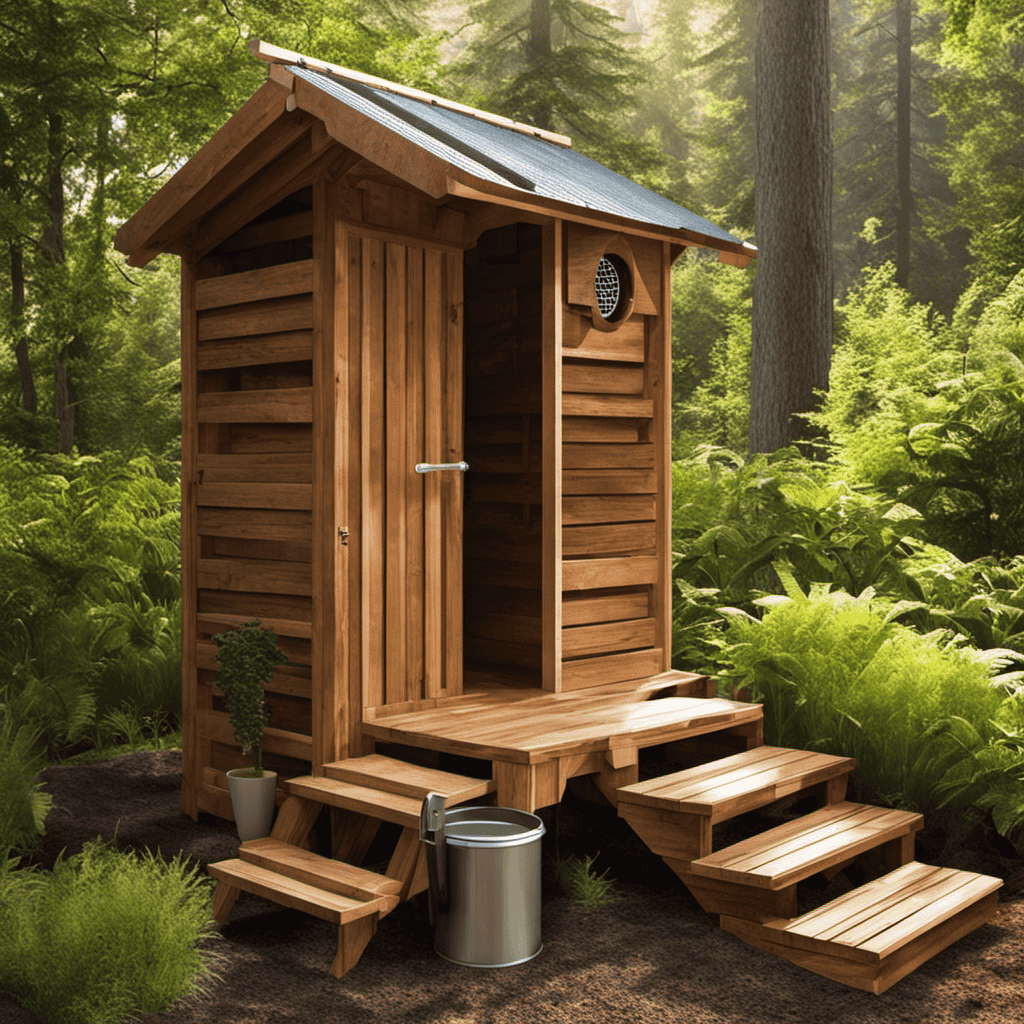
Selecting the Right Location
You’ll want to choose a location that is easily accessible and provides enough privacy for your compost toilet. When selecting the right area, there are a few key considerations to keep in mind.
First, the location should be near your living space or any other areas where you frequently spend time. This will make it convenient for you to use the compost toilet regularly.
Additionally, privacy concerns should be taken into account. You’ll want to choose a spot that is hidden from view, whether it’s behind a structure or surrounded by vegetation. This will ensure that you feel comfortable and secure while using the toilet.
Lastly, consider the proximity to a water source for cleaning purposes. Having easy access to water will make maintaining your compost toilet much easier.

WITMYA Smart Toilet with Bidet Built In, One Piece Bidet Toilet with Auto Dual Flush, Foam Shield, Modern Elongated Tankless Toilet with Foot Sensor, Heated Bidet Seat, Warm Water & Dryer,LED Display
【Efficient Flush & Energy-Saving Design】There smart toilets feature a highly efficient 1.28 GPF water-saving dual flush system with...
As an affiliate, we earn on qualifying purchases.
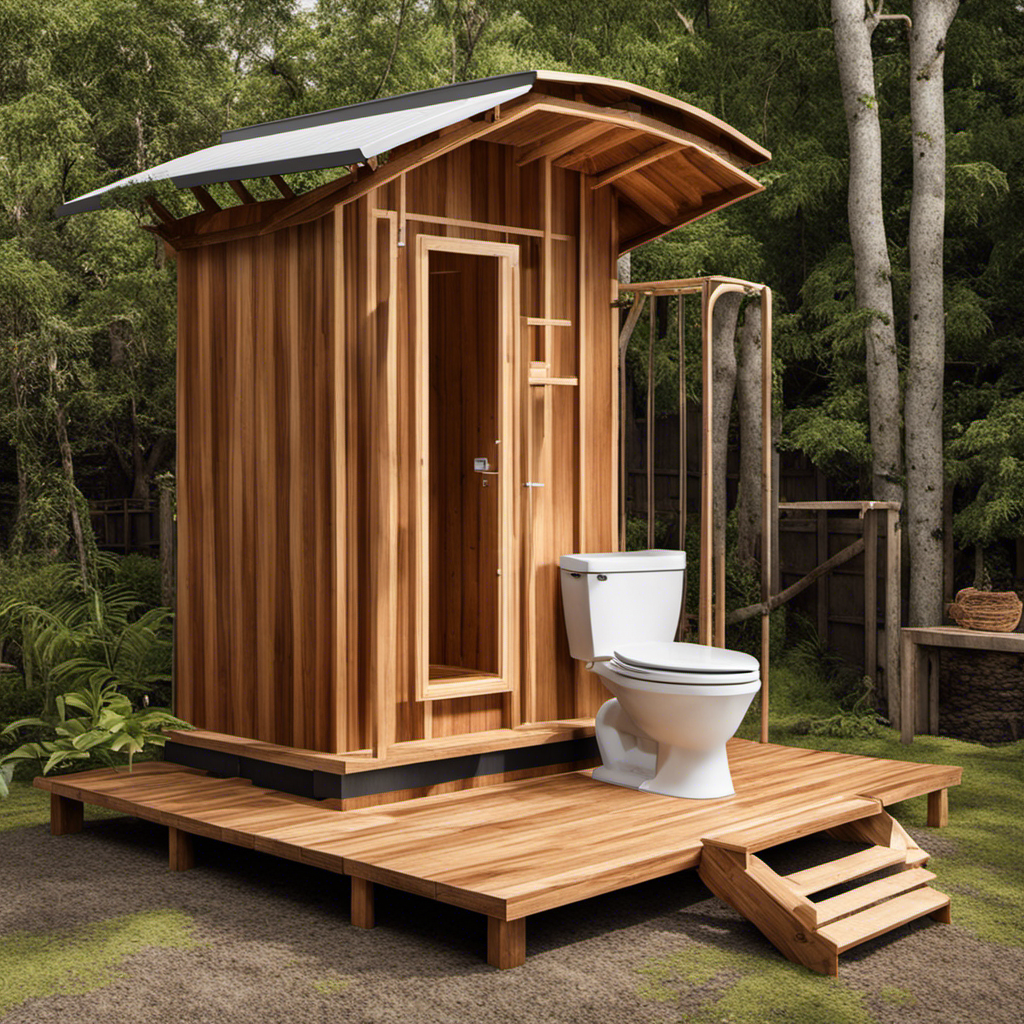
Building the Composting Chamber
To start building the composting chamber, gather the necessary materials and locate a suitable spot in your outdoor space.
There are alternative designs available for composting chambers, with varying costs depending on the materials used.
One popular design is a three-bin system, which allows for different stages of decomposition. This design requires wooden pallets or boards to create the bins.
Another option is a rotating drum composter, which can be more expensive but offers convenience and faster decomposition.
It is important to consider the cost of materials when building a composting chamber, as well as the long-term maintenance and durability of the design.
Choosing a design that suits your needs and budget will ensure a successful composting process.

LOUPUSUO Smart Toilet with Warm Water Sprayer and Dryer, One Piece Bidet Toilet with Auto Dual Flush Foot Sensor Operation,Heated Seat Smart with Built In Fahrenheit LED Display
Powerful Flushing System: Designed with low water consumption (1.26 gallons per flush), this system ensures efficient and thorough...
As an affiliate, we earn on qualifying purchases.
Setting Up the Ventilation System
The ventilation system is crucial for maintaining proper airflow within the composting chamber. A well-designed ventilation system is essential for an efficient compost toilet. Here are three key points to consider when setting up your ventilation system:
-
Ventilation system design:
- Ensure adequate air intake and exhaust vents to allow for proper airflow.
- Use a fan or blower to enhance air circulation and prevent odors.
- Install a vent stack to release excess moisture and minimize condensation.
-
Troubleshooting ventilation issues:
- Check for obstructions in the vents that may hinder airflow.
- Adjust the fan speed or blower settings to optimize ventilation.
- Monitor the moisture levels inside the composting chamber to prevent excessive dampness.
-
Regular maintenance:
- Clean and inspect the ventilation system regularly to remove any buildup or blockages.
- Replace filters or ventilation components as needed to ensure optimal performance.
- Periodically test the airflow to ensure proper ventilation.
With a well-designed ventilation system in place, we can now move on to the next step: adding the composting material.

Loniko Smart Toilet with Bidet Built In, Heated Seat & Dual Auto Flush, Foot Sensor, Tankless Modern Elongated Electric Toilet with Warm Water Wash, Air Dryer, LED Display & 1000g MaP Flush, 1.28 GPF
🧻 [Powerful & Water-Saving Dual Flush System] This one piece smart toilet with bidet built in uses an...
As an affiliate, we earn on qualifying purchases.
Adding the Composting Material
Once you have your ventilation system set up, it’s time to begin adding the composting material.
The composting process is crucial for breaking down waste and turning it into nutrient-rich soil.
There are various types of composting materials that can be used in a compost toilet. One common material is sawdust, which helps absorb moisture and control odors.
Other materials include wood shavings, coconut coir, and peat moss. These materials provide carbon-rich content, which is essential for the composting process.
It’s important to ensure a good balance between carbon-rich materials and nitrogen-rich waste, such as food scraps or human waste. This balance will help create the ideal conditions for decomposition and prevent any foul smells.
Maintaining and Using the Compost Toilet
Regular maintenance is necessary for proper functioning and using of a compost toilet. To ensure that your compost toilet remains odor-free and efficient, consider the following:
-
Odor control:
-
Use sawdust or other organic materials to cover each deposit in the toilet bowl.
-
Add a layer of carbon-rich materials, such as dried leaves or straw, to absorb moisture and reduce odors.
-
Regularly sprinkle a composting material that contains beneficial bacteria to accelerate decomposition and control odors.
-
Emptying and disposing of compost:
-
Allow the compost to fully decompose for at least a year before removing it from the composting chamber.
-
Wear gloves and protective clothing when handling the compost.
-
Dispose of the compost in a designated composting area or use it as nutrient-rich soil amendment for non-edible plants.
Conclusion
In conclusion, making a compost toilet is not only a sustainable choice but also an opportunity to connect with nature.
As I sat on my homemade compost throne, surrounded by the earthy scent of decomposing waste, I couldn’t help but feel a sense of harmony with the environment.
According to a study by the Environmental Protection Agency, composting toilets can reduce water usage by up to 90%, making them an eco-friendly alternative.
So why not embark on this journey of transforming waste into a valuable resource?
Your garden will thank you, and so will the planet.