I’ve always been frustrated with how slow my toilet flushes. It’s like waiting for a snail to cross the finish line.
But fear not, fellow toilet warriors, because I’ve discovered some tricks that will have your toilet flushing faster than a cheetah chasing its prey.
In this article, I’ll share with you practical tips to assess water pressure, check for clogs, adjust the flapper, clean the jets, upgrade the flush valve, and even when it’s time to call in the professionals.
So let’s dive in and bring the speed back to our porcelain thrones!
Key Takeaways
- Assess water pressure to ensure it falls within the normal range of 40-60 psi.
- Use various methods, such as plunging and using hot water, to check for and clear any clogs in the toilet.
- Adjust the flapper and chain length to improve the efficiency of the toilet’s flushing mechanism.
- Clean the jets under the rim of the toilet bowl to remove mineral deposits and improve flushing performance.
- Consider upgrading the flush valve with professional advice to enhance the toilet’s efficiency and performance.
Assessing Water Pressure
To assess your water pressure, you’ll need to check the pressure valve and look for any potential issues. Start by turning off all faucets and appliances that use water.
Locate the pressure valve, usually found near the water meter or where the main water line enters your home. Use a pressure gauge to measure the flow rate. Attach the gauge to an outdoor faucet or the pressure valve itself.
Turn on the water and observe the gauge reading. A normal flow rate should be between 40-60 psi (pounds per square inch). If the pressure is below or above this range, you may have a problem.
Troubleshooting water pressure issues can involve checking for leaks, sediment buildup, or problems with the pressure regulator.
Checking for Clogs
Check if there are any clogs in the toilet to ensure it functions properly. Clogs can cause slow or incomplete flushing, leading to frustration and inconvenience. To help you troubleshoot this common issue, here are some unclogging techniques you can try:
-
Plunger Method:
-
Position the plunger over the drain hole.
-
Push and pull the plunger vigorously to create suction.
-
Continue until the water drains and the clog is cleared.
-
Hot Water Method:
-
Boil a pot of water.
-
Carefully pour the hot water into the toilet bowl.
-
Let it sit for a few minutes, then flush.
-
Plumbing Snake Method:
-
Insert the snake into the drain, turning the handle clockwise.
-
Continue until you feel resistance or the clog is dislodged.
Adjusting the Flapper
Adjusting the flapper can help improve the efficiency of your toilet’s flushing mechanism. The flapper is a rubber valve that controls the flow of water from the tank to the bowl. If it is not functioning properly, it can lead to a weak flush or water leakage. Here are some troubleshooting tips to help you adjust the flapper:
-
Check for damage or wear: If the flapper is cracked or worn out, it may need to be replaced.
-
Adjust the chain length: The chain connecting the flapper to the flush handle should have a slight slack. If it is too tight or too loose, it can affect the flush.
-
Ensure proper alignment: The flapper should be properly aligned with the flush valve seat to create a tight seal.
Here is a table summarizing the troubleshooting tips for adjusting the flapper:
| Troubleshooting Tips |
|---|
| Replace flapper |
| Adjust chain length |
| Ensure proper alignment |
Cleaning the Jets
Once you’ve adjusted the flapper, it’s time to clean the jets to ensure optimal flushing performance. Cleaning the jets is an essential step in maintaining a fast and efficient toilet flush.
Here’s how you can do it:
- Start by turning off the water supply to the toilet.
- Remove the tank lid and locate the jets, which are usually found under the rim of the toilet bowl.
- Mix a cleaning solution of equal parts vinegar and water in a spray bottle.
- Spray the solution onto the jets, ensuring that they are fully covered.
- Let the cleaning solution sit for about 10 minutes to allow it to break down any mineral deposits.
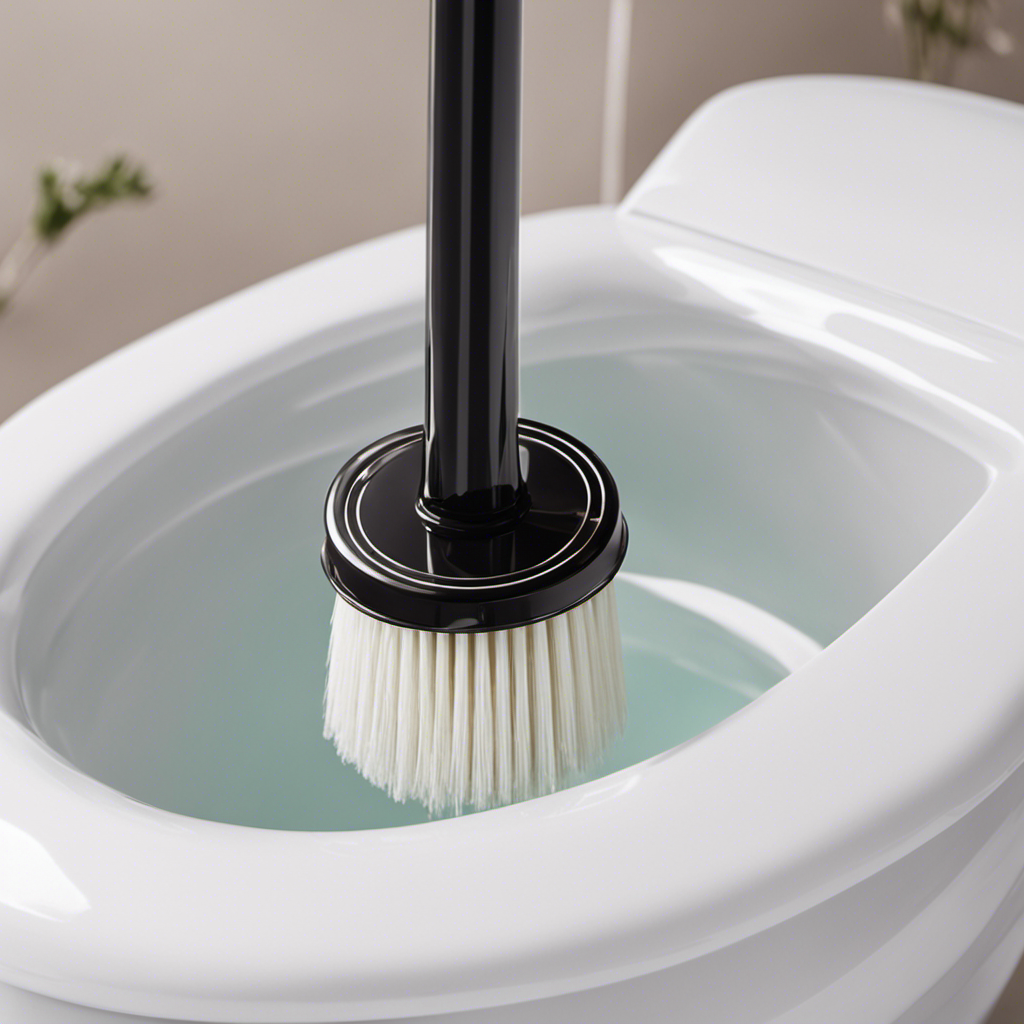
- Use a small brush, like a toothbrush, to scrub the jets and remove any remaining deposits.
- Finally, turn the water supply back on and flush the toilet to rinse the jets.
Regularly cleaning the jets and removing mineral deposits will help maintain a strong and efficient flush, ensuring a clean and hygienic bathroom experience.
Upgrading the Flush Valve
To upgrade your flush valve, start by turning off the water supply to the toilet. This is an essential step to ensure that you can safely work on the hardware without any water leakage.
Once the water supply is turned off, you can proceed with removing the old flush valve. Unscrew the nut securing the valve to the toilet tank and carefully lift it out.
Now, it’s time to install the new flush valve. Place the new valve in the same position as the old one and secure it with the nut. Make sure it is tight enough to prevent any water leakage.
Upgrading your flush valve can greatly improve the efficiency of your toilet, allowing for a faster and more effective flush.
Consulting a Professional
Consulting a professional is a wise decision if you are unsure about how to upgrade your toilet’s flush valve. Hiring experts can save you time, money, and potential frustration. Seeking professional advice ensures that the job is done correctly and efficiently. Here are three reasons why consulting a professional is beneficial:
-
Expertise: Professionals have the knowledge and experience to assess your toilet’s flush valve and recommend the best upgrade options. They can guide you towards the most suitable products and techniques for improving your toilet’s flush speed.
-
Efficiency: Professionals know how to complete the upgrade process quickly and effectively. They have the necessary tools and skills to ensure a smooth installation. By hiring experts, you can avoid any potential mistakes or delays that could arise from a DIY approach.
-
Long-Term Savings: Investing in professional assistance can save you money in the long run. They can help you choose high-quality flush valve upgrades that are durable and efficient, reducing the need for future repairs or replacements.
Frequently Asked Questions
Can I Use Any Type of Cleaning Solution to Clean the Jets in My Toilet?
I can use various cleaning solutions to clean the jets in my toilet. It’s important to choose a recommended cleaning solution and follow proper cleaning techniques to ensure effective and safe cleaning.
How Often Should I Clean the Flapper in Order to Maintain Optimal Flushing Performance?
Cleaning the flapper regularly is essential for maintaining optimal flushing performance. The cleaning frequency depends on factors like water quality and usage. Using vinegar or a mild cleaning solution and a soft brush is the best method to clean the flapper effectively.
Do I Need to Shut off the Water Supply Before Adjusting the Flapper?
Do I need to shut off the water supply before adjusting the flapper? Yes, it is crucial to shut off the water supply to prevent any leaks or accidents while making adjustments to the flapper. Safety first!
Are There Any DIY Methods to Upgrade the Flush Valve for a More Powerful Flush?
To increase toilet power and upgrade the flush valve, there are several DIY methods available. These methods can improve the flushing speed and efficiency of your toilet, resulting in a more powerful flush.
How Long Does It Typically Take for a Professional Plumber to Assess and Fix Toilet Flush Issues?
On average, it takes a professional plumber about an hour to assess and fix toilet flush issues. Common causes of these problems include clogged pipes, a faulty flush valve, or a malfunctioning fill valve.
Conclusion
In conclusion, by following these simple steps, you can make your toilet flush faster and avoid any inconvenience caused by slow flushing.
Assessing the water pressure and checking for clogs are crucial to ensure proper functioning.
Adjusting the flapper and cleaning the jets can help improve the flushing speed.
Additionally, upgrading the flush valve can provide a significant boost to the flushing power.
However, if you find these steps challenging, it’s always wise to consult a professional for expert guidance.
Don’t let a sluggish toilet dampen your daily routine; take action and enjoy the swift flushes that will leave you feeling satisfied and worry-free.


