Have you ever wanted to impress someone with a unique and creative gift? Look no further than the humble toilet paper. Yes, you read that right.
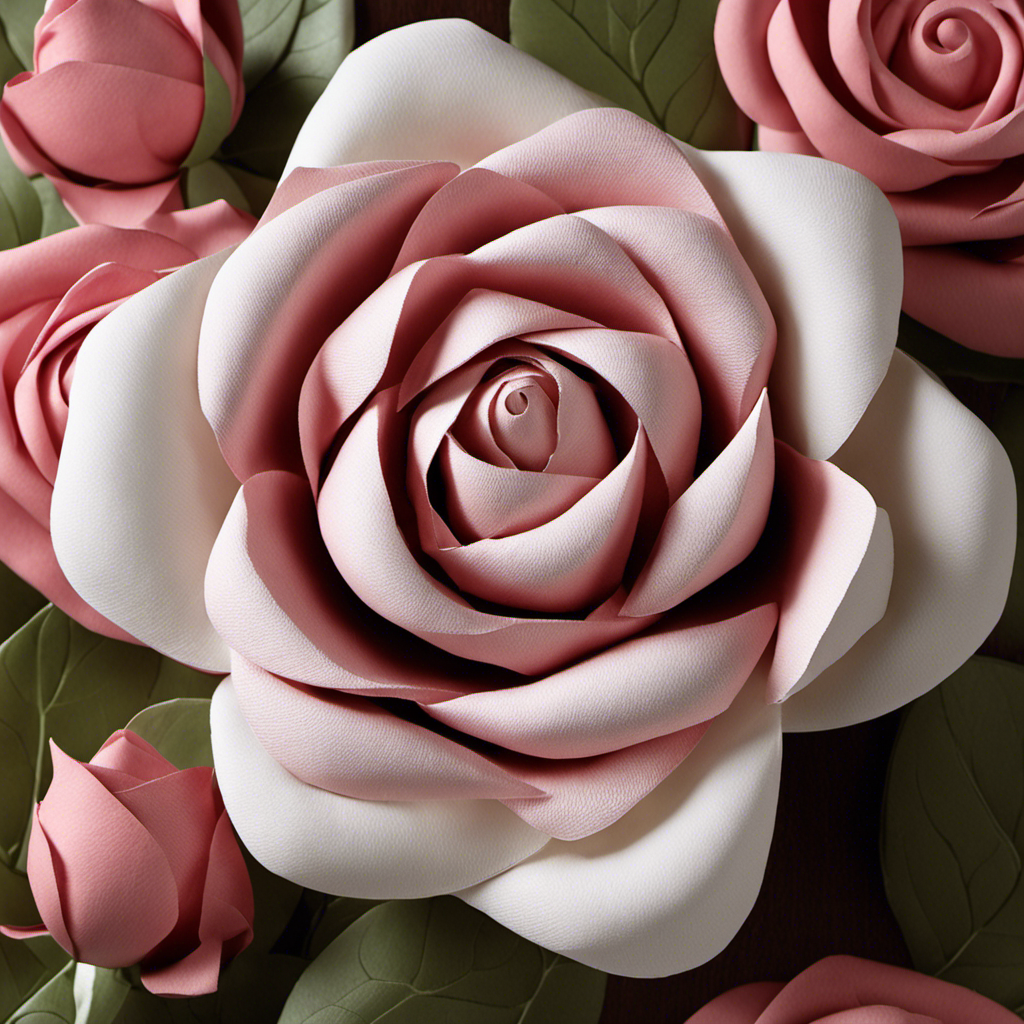
With just a few simple steps, you can transform a roll of toilet paper into a beautiful rose. It may sound unlikely, but trust me, it’s a craft that will leave your friends in awe.
So grab your materials, roll up your sleeves, and get ready to create a stunning masterpiece with this step-by-step guide on how to make a toilet paper rose.
Key Takeaways
- Folding the toilet paper petals is an important step in creating a realistic-looking rose.
- The assembly process involves tucking the folded petals into each other to create a secure bond.
- The center of the rose can be shaped by pinching and twisting with fingertips to create layers and texture.
- There are various ways to enhance and display the toilet paper rose, such as adding decorative elements, customizing the color, and experimenting with different sizes and shapes of petals.
Materials Needed
You’ll need a few materials to make a toilet paper rose. Don’t worry, they’re easily accessible and budget-friendly.
First, grab a roll of toilet paper, preferably the soft, two-ply kind.
Next, gather some green floral tape, which you can find at any craft store. This will help give your rose a realistic stem.
To add color and texture, you’ll need a few sheets of colored tissue paper or crepe paper. Feel free to get creative with the colors!
Lastly, don’t forget a pair of scissors to cut the paper into the required shapes.
These materials are not only great for making toilet paper roses but can also be used for other DIY home decorations.
Preparing the Toilet Paper
Once you’ve gathered all the necessary materials, start by tearing off a few sheets of the toilet paper.
Toilet paper crafts are not only a fun and creative way to spend your time, but they also make for unique and thoughtful gift ideas.
As you prepare the toilet paper for your rose, keep in mind the following:
- Use high-quality, soft toilet paper for best results.
- Tear off about 5-6 sheets of toilet paper.
- Smooth out any creases or wrinkles in the paper.
- Fold the sheets in half vertically, and then fold them in half again.
- Gently press down on the folds to create crisp edges.
By taking these steps, you’re setting yourself up for success in creating a beautiful and realistic toilet paper rose.
Now, let’s move on to the next step: folding the rose petals.
Folding the Rose Petals
Are you ready to take your toilet paper rose-making skills to the next level?
In this discussion, we will delve into the art of folding rose petals and the intricate process of assembling a beautiful toilet paper rose.
Prepare to be amazed as we explore the various petal folding techniques, providing you with step-by-step instructions and measurements to achieve stunning results.
Not only will you learn the practical aspects of creating these delicate flowers, but we will also uncover the history, variations, and significance of making toilet paper roses, making this journey both informative and engaging.
Petal Folding Techniques
To create a realistic-looking rose, fold the petals in a diagonal shape towards the center. This technique will give your toilet paper rose a natural and elegant appearance. Follow these detailed steps to master the art of petal folding:
- Start with a square piece of toilet paper.
- Fold the paper in half diagonally to form a triangle.
- Fold the triangle in half again to create a smaller triangle.
- Hold the triangle with the open end facing away from you.
- Take the right corner of the triangle and fold it towards the center, creating a small pocket. Repeat this step with the left corner.
By using these origami flower techniques, you can transform a simple roll of toilet paper into a beautiful and artistic creation. Making toilet paper roses is not only a fun and creative paper craft, but it also allows you to explore your artistic side and create unique decorations for any occasion.
Rose Assembly Process
To assemble the rose, simply tuck the folded petals into each other, securing them in place to create a stunning and lifelike flower.
Start by taking the first folded petal and gently insert it into the second petal, ensuring that the edges align perfectly. Press them together firmly to create a secure bond.
Repeat this process with the remaining petals, one by one, until all the petals are nestled snugly together.
Once the petals are assembled, you can choose from a variety of rose color options by using colored toilet paper or applying watercolor paints to plain white toilet paper.
Additionally, if you don’t have toilet paper on hand, you can explore alternative materials like tissue paper or crepe paper to create unique and textured roses.
Shaping the Rose Center
Once you’ve folded the first layer of the toilet paper rose, gently shape the center to create a realistic-looking rosebud. This step is crucial in giving your toilet paper rose a natural and beautiful appearance. Here are some tips to help you shape the center:
- Use your fingertips to pinch and twist the center of the rosebud. This will give it a more defined shape.
- Gradually move your fingers outward, continuing to pinch and twist, to create layers and give the center a textured look.
- Experiment with different amounts of pressure to achieve the desired shape and texture.
- Consider using alternatives to the traditional rose center, such as a small bead or a tiny fabric flower.
- Explore different types of rose centers, such as a tightly closed bud or a more open and blooming center.
By shaping the center, you’re bringing your toilet paper rose to life and adding a touch of realism.
Now, let’s move on to assembling the rose and bringing it all together.
[Transition Sentence]Now that you’ve shaped the center of your toilet paper rose, it’s time to assemble the rest of the rose and complete your beautiful creation.
Assembling the Rose
Now that you’ve shaped the center, it’s time to put the rest of the rose together and finish your beautiful creation.
Start by choosing your desired rose color. You can use regular white toilet paper or get creative with colored tissue paper for a more vibrant look.
Next, take a full sheet of toilet paper and fold it diagonally to form a triangle. Roll the triangle tightly from the wide end to the pointed end, creating the outer petals of the rose. Secure the rolled paper with a dab of glue or tape.
Repeat this process with additional sheets of paper to create more layers and give your rose a fuller appearance. Experiment with different techniques, like twisting the paper to create a spiral effect or folding the edges to mimic the shape of real petals.
Once you’re satisfied with the size and shape of your rose, carefully fluff and shape the petals to add dimension. You can also add leaves or stems using green construction paper.
Don’t forget to display your toilet paper rose proudly, as it is not only a beautiful decoration but also a testament to your creativity and resourcefulness.
Adding Details and Finishing Touches
After shaping the petals, it’s important to carefully add the finishing touches to your beautiful creation. Here are some decorating tips to make your toilet paper rose stand out:
- Use a small paintbrush to add a touch of color to the edges of the petals. This will give your rose a more realistic look.
- Add some sparkle by lightly dusting the petals with glitter. This will make your rose shine and catch the light.
- Experiment with different textures by using tissue paper or fabric instead of toilet paper. This will create a unique and interesting visual effect.
- Consider adding a fragrance to your rose by spraying it with a scented oil or perfume. This will not only add a pleasant aroma but also enhance the overall experience.
- If you want to create a more whimsical look, try adding some decorative elements like ribbons or beads to the stem.
By adding these details, your toilet paper rose will truly come to life.
Now, let’s move on to the next step: display and care tips.
[SUBSEQUENT SECTION: ‘Display and Care Tips’]Display and Care Tips
To showcase your beautiful creation, consider placing it in a well-lit area where it can be admired by all. A toilet paper rose arrangement can be a stunning centerpiece or a unique decor piece for any occasion. When displaying your toilet paper rose arrangement, it’s important to choose a location that will highlight its beauty. Ensure that the area has sufficient natural or artificial light to enhance the colors and details of the roses. Additionally, you can create an eye-catching display by arranging your roses in a variety of heights and sizes. To help you visualize the possibilities, here is a table showcasing different ways to arrange your toilet paper roses:
| Arrangement Style | Description |
|---|---|
| Cluster | Grouping three or more roses together for a bold statement |
| Cascading | Allowing the roses to flow downwards for an elegant effect |
| Spiral | Creating a spiral pattern with the roses for a whimsical touch |
| Heart-shaped | Arranging the roses in the shape of a heart for a romantic display |
| Single Stem | Showcasing each rose individually for a minimalist look |
Remember to regularly dust your roses to keep them looking fresh. With these display tips, your toilet paper rose arrangement will be a stunning addition to any space.
Conclusion
In conclusion, making a toilet paper rose is a fun and creative craft that anyone can enjoy. With just a few simple steps, you can transform ordinary toilet paper into a beautiful and unique flower.
As you fold the petals and shape the center, you’ll see the rose come to life before your eyes. Remember to add your own personal touches and details to make it truly one-of-a-kind.
Display your masterpiece proudly and enjoy the beauty of your toilet paper rose. So go ahead, grab some toilet paper and let your creativity bloom!


