Have you ever had the frustrating experience of a toilet that just won’t stop running? It’s like a leaky faucet that won’t quit, driving you crazy and wasting water.
Well, fear not! In this article, I will guide you through the steps to make your toilet stop running once and for all.
We’ll identify the cause, adjust the float, check the flapper, clean the fill valve, and even replace the flush valve if needed.
So let’s roll up our sleeves and fix that pesky running toilet together!
Key Takeaways
- Checking the flapper valve for wear or improper sealing is necessary to identify the cause of a running toilet.
- Adjusting the float attached to the fill valve can help control the water level in the tank and prevent continuous running.
- Ensuring the flapper is not worn out or damaged, adjusting the chain length, and cleaning any debris around the flapper are important steps to stop a toilet from running.
- Cleaning the fill valve by removing mineral deposits or debris can help resolve issues with the toilet running.

Brondell Bidet Toilet Seat Non-Electric Swash Ecoseat, Fits Elongated Toilets, White - Dual Nozzle System, Ambient Water Temperature - Bidet with Easy Installation
CLEAN AND REFRESHING: With Brondell’s Ecoseat 101 Bidet, you’ll experience a soothing, freshwater wash that leaves you feeling...
As an affiliate, we earn on qualifying purchases.
Identifying the Cause
The first step in identifying the cause of a running toilet is to check the flapper valve. This is a common issue that can easily be fixed with a DIY toilet repair.
The flapper valve is located at the bottom of the tank and is responsible for sealing the tank to prevent water from continuously flowing into the bowl. If the flapper valve is worn out or not sealing properly, it can cause water to constantly flow into the bowl, resulting in a running toilet.
To check the flapper valve, simply lift the tank lid and observe if the flapper is closed tightly. If it is not, you may need to replace the flapper valve to stop the toilet from running.

BIGCOW Ultra-Slim Bidet Attachment for Toilet - Dual Nozzle (Frontal & Rear Wash) with Adjustable Cold Water Pressure and Stainless Steel Inlet - Hygienic Solution for Fresh Cleanliness, Silver 1 Pcs
【Dual Spraying Modes】- This toilet bidet offers both rear wash for thorough cleaning and a specially designed frontal...
As an affiliate, we earn on qualifying purchases.
Adjusting the Float
To fix a running toilet, start by adjusting the float. The float is a small device that controls the water level in the toilet tank. If the float is set too high, it can cause the toilet to continuously run, wasting water and increasing your water bill.
To adjust the float, locate the fill valve in the tank and look for a float attached to it. Most floats have an adjustable arm or screw that can be moved up or down to change the water level. Make small adjustments until the water level is below the overflow tube.
Common float problems include a sticking float, which can be fixed by cleaning or replacing it, and a damaged float, which may require a replacement.

LUXE Bidet NEO 120 - Single Nozzle, Self-Cleaning, Non-Electric Bidet Attachment for Toilet Seat, Adjustable Water Pressure, Rear Wash (White)
THE ULTIMATE VALUE – With a sleek design and high-quality parts, Our Bidet Attachment will give your bathroom...
As an affiliate, we earn on qualifying purchases.
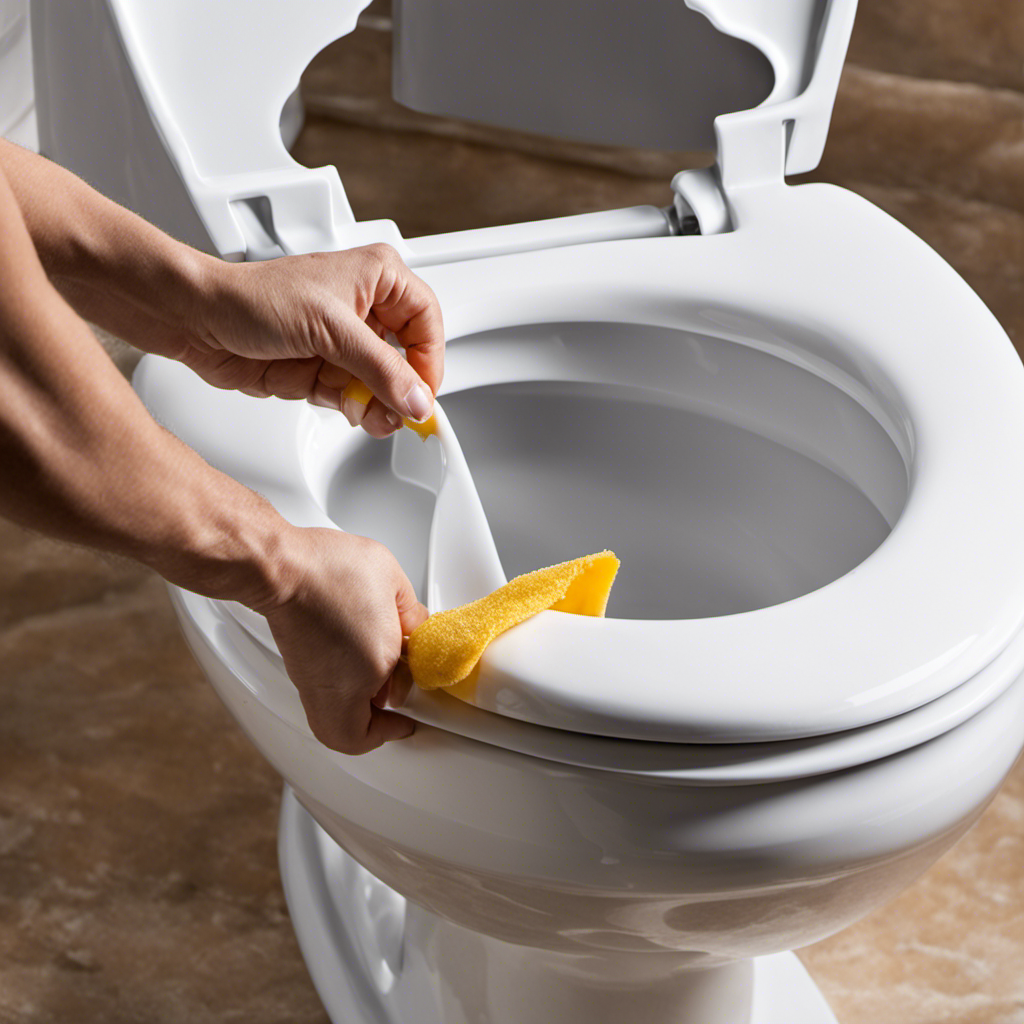
Checking the Flapper
Check if the flapper is properly sealing the flush valve to prevent water from constantly flowing into the toilet bowl. This is one of the most common problems that can cause a running toilet. Here are some troubleshooting tips to help you fix the issue:
- Ensure the flapper is not worn out or damaged.
- Adjust the chain length so that it has enough slack but does not get caught under the flapper.
- Clean any debris or mineral buildup around the flapper and flush valve.
- Check the water level in the tank and adjust the float if necessary.
- If the flapper is still not sealing properly, consider replacing it with a new one.
By checking the flapper and addressing any issues, you can effectively stop your toilet from running and save water.
Once you’ve resolved this issue, the next step is to clean the fill valve.

SAMODRA Bidet Attachment, Non-Electric Cold Water Bidet Toilet Seat Attachment with Pressure Controls, Retractable Self-Cleaning Dual Nozzles for Frontal & Rear Wash - Black
High Quality Parts: Bidet attachment is constructed with durable ABS material, portable control panel, high-pressure faucet quality valves...
As an affiliate, we earn on qualifying purchases.
Cleaning the Fill Valve
After addressing any issues with the flapper, the next step is to clean the fill valve.
Troubleshooting leaks and maintaining water efficiency are key aspects of keeping your toilet running smoothly.
To clean the fill valve, start by turning off the water supply to the toilet. Then, flush the toilet to remove any remaining water from the tank.
Use a small brush or toothbrush to scrub away any mineral deposits or debris that may be clogging the valve. Pay close attention to the small openings and components of the valve.
Once you have thoroughly cleaned the fill valve, turn the water supply back on and check for any leaks. If the problem persists, it may be necessary to replace the flush valve.
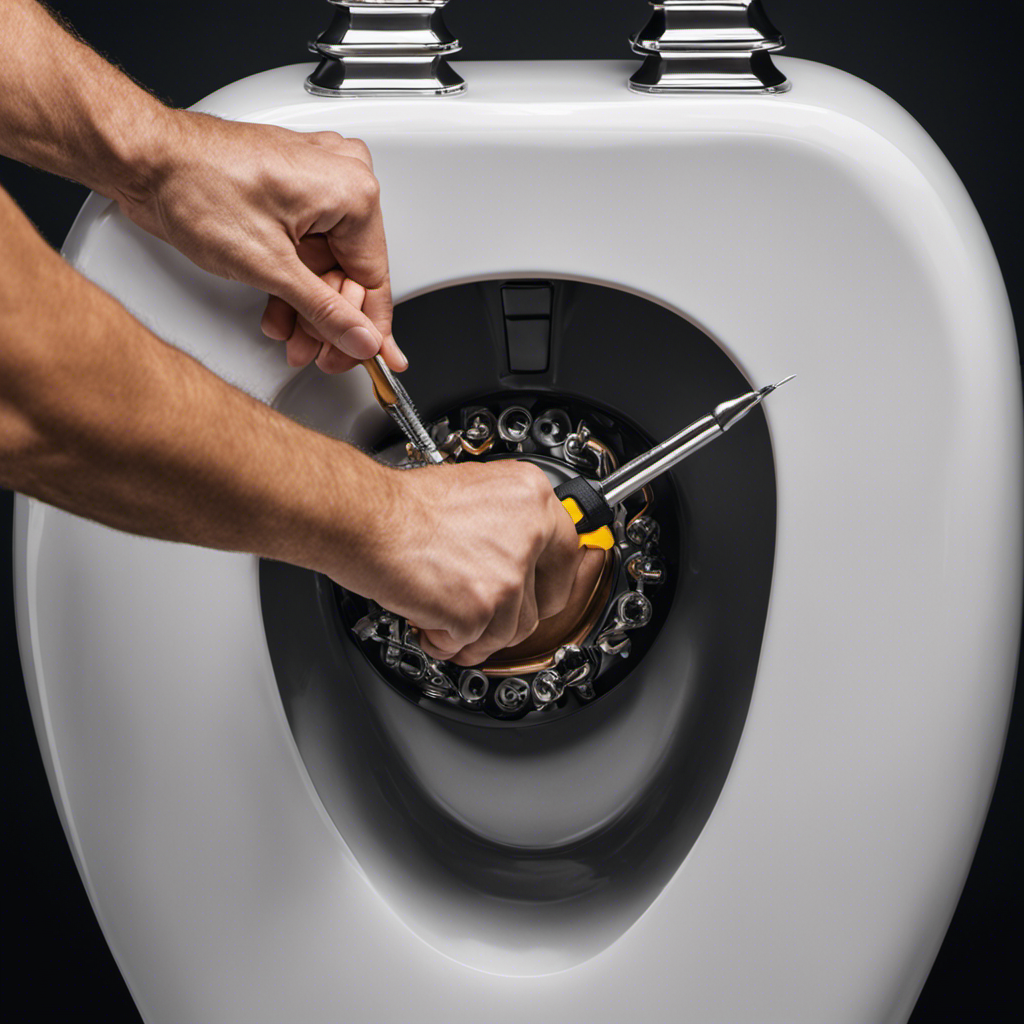
Replacing the Flush Valve
The next step in fixing a leaking toilet is to replace the flush valve. This is an important part of the toilet that helps control the flow of water during a flush. If you’re experiencing issues with your flush valve, here are some tips for replacement and troubleshooting common problems:
- Check for leaks: Inspect the flush valve for any signs of leaking water.
- Gather necessary tools: Get a wrench, pliers, and a new flush valve assembly.
- Turn off the water: Shut off the water supply to the toilet before starting the replacement process.
- Remove the old flush valve: Disconnect the water supply line and unscrew the old flush valve from the toilet tank.
- Install the new flush valve: Follow the manufacturer’s instructions to properly install the new flush valve.
Conclusion
In conclusion, fixing a running toilet is a simple task that anyone can tackle. By identifying the cause, adjusting the float, checking the flapper, cleaning the fill valve, or even replacing the flush valve, you can put an end to that annoying sound of water continuously running.
Just like a skilled plumber fixing a leaky faucet, you too can be the superhero of your bathroom, saving the day with your newfound knowledge.
So go ahead, grab your tools, and stop that toilet from running like a wild river.