
Hey there! Ever wondered how to move a toilet drain without any hassle? Well, look no further because I’ve got you covered.
In this article, I’m going to walk you through the step-by-step process of moving a toilet drain like a pro. We’ll start by assessing the existing drain location and planning the new one.
Then, we’ll gather all the necessary tools and materials to get the job done.
So, let’s dive right in and make this toilet drain relocation a breeze!
Key Takeaways
- Assess the existing drain location and determine if it is suitable for relocation.
- Plan the new drain location carefully, considering measurements and hiring a professional plumber.
- Gather the necessary tools and materials, including a pipe wrench, PVC pipes and fittings, wax ring, and toilet bolts.
- Remove and reinstall the toilet, ensuring to turn off the water supply, disconnect the water line, and secure the toilet back in place.

Smart Toilet with Bidet Built In, Heated Seat, Warm Water Wash & Dryer, Tankless Bidet Toilet with Foot Sensor & Night Light, Auto Open/Close Lid & Flush, Wireless Remote, 1.26GPF Water-Saving Design
🛠️ Easy Installation & Reliable Support: This smart toilet with bidet built in includes all accessories, flange kit,...
As an affiliate, we earn on qualifying purchases.
Assessing the Existing Drain Location
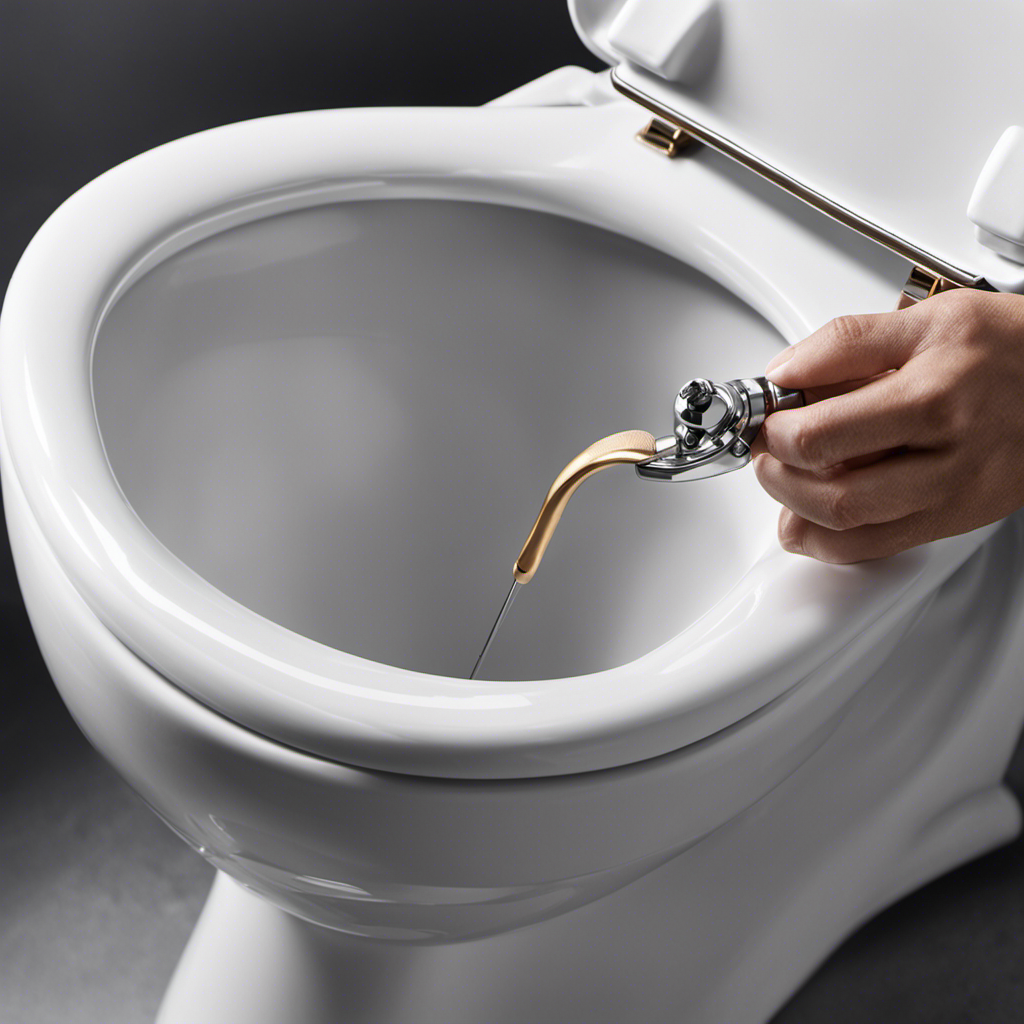
You’ll want to start by assessing where the existing drain is located. Evaluating the feasibility of moving a toilet drain requires a thorough understanding of its current placement.
Begin by locating the drain pipe in your bathroom. Typically, it is situated in the floor close to the toilet. Carefully inspect the surrounding area to determine if any obstacles, such as walls, cabinets, or plumbing fixtures, would hinder the relocation process.
Consider alternatives if the existing drain location is not suitable for your desired toilet placement. This may involve rerouting the drain to a different area or making adjustments to the bathroom layout.
Properly evaluating the existing drain location is crucial in determining the best course of action for moving the toilet drain.

CANEST Smart Toilet with Bidet Built in, Dual-Flush 1.1/1.6GPF with 17" ADA Comfort Height Seat, 1000g MaP Flush, Bidet Toilet 12" Rough-in, Foot Sensor, Heated Seat, Remote Control, Night Light
Budget-Friendly Choice: *This is FC-001P model.* It retains all core smart features but does not include auto-opening and...
As an affiliate, we earn on qualifying purchases.
Planning the New Drain Location
Once you’ve determined the ideal location for the new drain, it’s important to consider the necessary measurements for proper installation. Designing the new bathroom layout requires careful planning to ensure that the toilet drain is in the right position. Hiring a professional plumber can help with this process, as they have the expertise to accurately measure and install the drain. To give you an idea of the measurements involved, here is a table showing the recommended dimensions for a standard toilet drain:
| Measurement | Distance |
|---|---|
| Centerline from back wall | 12 inches |
| Centerline from side walls | 15 inches |
| Centerline from adjacent fixtures | 18 inches |
| Diameter of drain pipe | 3 or 4 inches |

TDH Luxury Smart Toilet, Heated Seat with Warm Water Sprayer & Dryer, Walk Away Auto Flush and Close,One Piece Toilet for Bathrooms with Remote Control
Strong Flush Technology: Our smart toilet delivers maximum cleaning power with an advanced vortex flushing system, using only...
As an affiliate, we earn on qualifying purchases.
Gathering the Necessary Tools and Materials
Gathering all the necessary tools and materials is essential for a successful installation. When moving a toilet drain, it is important to have the right equipment to ensure proper alignment and avoid common mistakes. Here are three items you will need to get the job done:
-
Pipe wrench: This tool is essential for loosening and tightening the pipes. It allows for easy removal and installation of the toilet drain.
-
PVC pipe and fittings: When relocating a toilet drain, you will need to connect the new location to the existing plumbing system. PVC pipes and fittings are commonly used for this purpose due to their durability and ease of installation.
-
Wax ring and toilet bolts: These items are crucial for securing the toilet to the floor and creating a watertight seal. The wax ring provides a barrier to prevent leaks, while the toilet bolts hold the toilet in place.

Smart Toilet with Elongated Heated Seat, Auto Flush, One Piece Toilet for Bathrooms Soft-Close Seat & Lid, Night Light, Electric Tankless Toilets with Dual Flush Remote - Pre-Wetting
【Electrical Outlet Necessary&No Built-in Bidet】This smart toilet has no bidet built in function.This toilet power cord is1.5M, please...
As an affiliate, we earn on qualifying purchases.
Removing and Reinstalling the Toilet
To remove and reinstall the toilet, start by turning off the water supply and disconnecting the water line. This is an important step to ensure that no water leaks out during the process.
Once the water supply is turned off, you can proceed with the removal process. First, remove the tank by unscrewing the bolts and lifting it off the base. Next, use a wrench to loosen the nuts on the bolts securing the base of the toilet to the floor. Carefully lift the toilet off the floor and set it aside.
Now, it’s time to replace the wax ring. This ring helps seal the toilet base and prevents any leaks. Place the new wax ring on the flange, then carefully lower the toilet onto the wax ring. Finally, secure the toilet in place by tightening the nuts on the bolts.
Once everything is securely in place, you can reconnect the water line and turn on the water supply.
Connecting the New Drain to the Plumbing System
To connect the new drain to the plumbing system, you’ll need to carefully align the drainpipe with the sewer line opening. This is a critical step to ensure proper functionality and prevent any leaks or clogs in the future.
Here are three important things to keep in mind when connecting a new toilet drain:
-
Proper sealing techniques: Use a wax ring or a rubber gasket to create a watertight seal between the toilet flange and the drainpipe. This will prevent any sewage or water from leaking out.
-
Avoid improper alignment: Make sure the drainpipe is aligned perfectly with the sewer line opening. Any misalignment can cause blockages or leaks, leading to costly repairs down the road.
-
Don’t overtighten or undertighten: When connecting the drainpipe to the sewer line, ensure that it is securely fastened. However, be careful not to overtighten, as this can damage the pipes, or undertighten, as this can cause leaks.
Conclusion
In conclusion, moving a toilet drain may seem like a daunting task, but with the right tools and planning, it can be done successfully.
By assessing the existing drain location and planning the new one, you can ensure a smooth transition.
Remember to gather all necessary tools and materials before removing and reinstalling the toilet.
And finally, connect the new drain to the plumbing system for a functional and efficient setup.
So, why wait? Are you ready to take on the challenge of moving your toilet drain?