I’ve got a secret for you: painting a toilet is easier than you think.
In just a few simple steps, you can transform that dull porcelain into a work of art.
From choosing the right paint to applying the finishing touches, I’ll guide you through the process with precision and clarity.
So, grab your paintbrush and get ready to give your bathroom a fresh new look.
It’s time to dive into the world of toilet painting.
Key Takeaways
- Consider factors such as moisture resistance and durability when choosing paint for a toilet
- Sherwin-Williams, Behr, and Benjamin Moore are reputable brands for toilet paint
- Thoroughly clean the toilet surface before painting
- Applying primer is crucial for proper adhesion of the paint
Paint & Mortar Mixer| 16" L,3" Dia Compound,Sealer,Grout,Thinset,Plaster,Mud,Cement Mixer Stirring Paddle -Professional Paint Mixer Attachment-Zinc Plated Steel (Style# 03)
【Measurements】- Length 16" (40cm) top to bottom. No need to worry about not getting to the bottom of...
As an affiliate, we earn on qualifying purchases.
Choosing the Right Paint
To choose the right paint for your toilet, you’ll want to consider factors such as moisture resistance and durability. When it comes to painting a toilet, it’s important to use a paint that can withstand the constant exposure to water and humidity.
Some of the best paint brands for this purpose include Sherwin-Williams, Behr, and Benjamin Moore. These brands offer high-quality paints that are specifically designed for bathrooms and other high-moisture areas.
In terms of color options, you can choose from a wide range of shades and finishes to match your bathroom decor. Whether you prefer a classic white or a bold pop of color, there are plenty of options available to suit your personal style.

QEP 61210 16 in. Steel Universal Thinset and Grout Mixing Paddle for Cordless and Corded Drills
For mixing up to 5 lbs. of grout, thinset and other setting materials
As an affiliate, we earn on qualifying purchases.
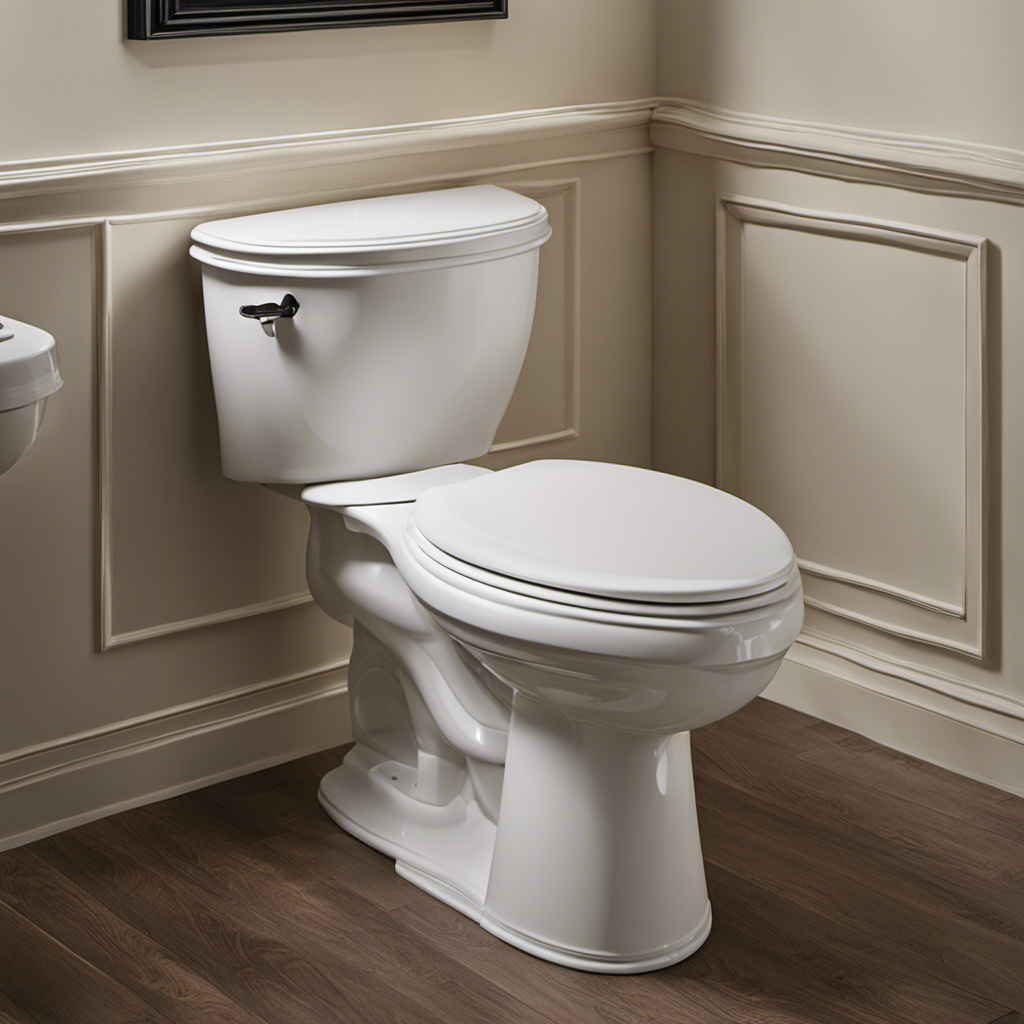
Preparing the Toilet Surface
Before you start, make sure you’ve thoroughly cleaned the surface of the toilet. Cleaning the toilet surface is a crucial step in preparing it for painting. Follow these steps to ensure a clean and smooth surface:
-
Remove any dirt or grime: Use a toilet brush and a mild cleaner to scrub away any dirt or grime on the surface. Pay extra attention to the areas around the rim and under the seat.
-
Remove old paint or stains: If there is old paint or stubborn stains on the toilet, use a paint stripper or sandpaper to remove them. Make sure to wear protective gloves and goggles while doing this.
-
Rinse and dry: After cleaning and removing any unwanted residue, rinse the toilet surface thoroughly with water. Allow the surface to dry completely before proceeding with the painting process. This drying time is essential for ensuring proper adhesion and a smooth finish.

Edward Tools Paddle Mixer 27” for 1/2” Power Drill - Industrial Paddle Mixer for Paint, Concrete, Drywall Compound and More - Speed Mixer Concrete Tool is Ideal Mixing Tool for 5 Gallon Bucket
Heavy Duty Mixer Paddle Drill Bit Allows for Quicker and More Consistent Mixing
As an affiliate, we earn on qualifying purchases.
Applying Primer
Once you’ve thoroughly cleaned the surface, it’s time to apply primer to ensure proper adhesion of the paint. Primer is crucial in creating a smooth and durable finish on your toilet.
Before starting, make sure the primer is specifically designed for use on bathroom fixtures. Using a brush or roller, apply a thin and even coat of primer onto the surface. Be careful not to apply too much, as it can lead to drips and an uneven finish.
Allow the primer to dry completely according to the manufacturer’s instructions, typically around 24 hours. This drying time is essential for the primer to properly bond with the surface. Common mistakes include rushing the drying process, which can result in poor adhesion and a less durable paint job.
Now that the primer is dry, let’s move on to painting the toilet.

Bates- Paint Mixer, 1 to 3 Gallon Buckets, Mud Mixer, Paint Stirrer for Drill, Paint Mixer for Drill, Drill Mixer Attachment, Paint Mixer Drill Attachment, Drill Paint Mixer, Paint Stirrers
Bates paint mixer is made to be strong, durable, and efficient - constructed from metal that won't bend...
As an affiliate, we earn on qualifying purchases.
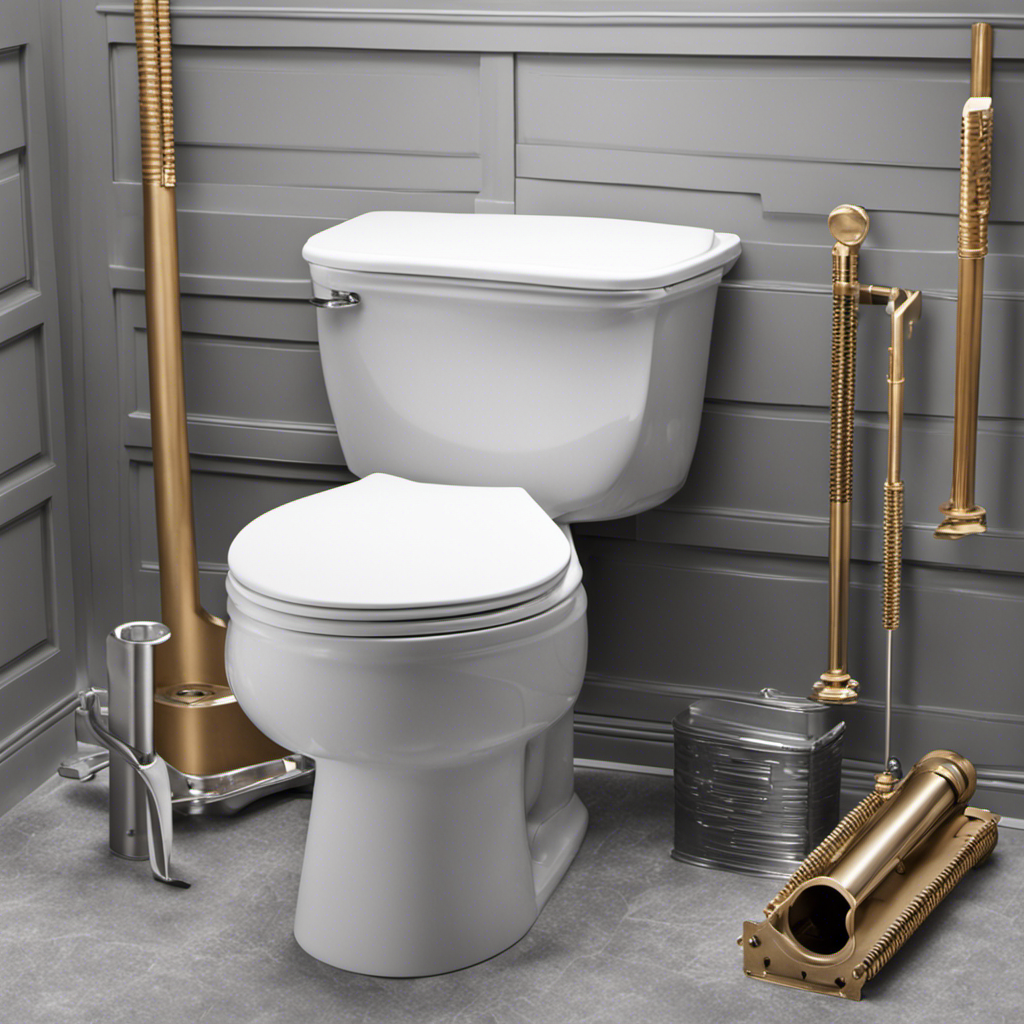
Painting the Toilet
Now that the primer is dry, it’s time to start applying the paint to the surface of your bathroom fixture. Before you begin, it’s important to ensure that the toilet is clean and free from any dirt or grime. Here are three toilet painting techniques to help you achieve a professional finish:
-
Clean the toilet: Use a mild cleaner and a soft cloth to thoroughly clean the toilet. Pay special attention to areas that are prone to buildup, such as around the base and under the rim. Rinse the toilet with clean water and allow it to dry completely before proceeding.
-
Choose the right paint: Select a high-quality paint specifically designed for use on bathroom fixtures. Look for a paint that is durable, moisture-resistant, and easy to clean. Consider using a paint with a satin or semi-gloss finish for added protection and a sleek appearance.
-
Apply the paint: Use a small brush or foam roller to apply the paint to the toilet, starting from the top and working your way down. Apply thin, even coats and allow each coat to dry completely before applying the next. Be careful not to overload the brush or roller to avoid drips and streaks.
Finishing Touches
To complete the project, don’t forget to add a final coat of clear sealant to protect the painted surface and give your bathroom fixture a polished look.
After painting your toilet, applying a clear sealant is essential for maintaining the longevity of your newly painted surface. This sealant creates a protective barrier against moisture, preventing peeling or chipping of the paint. Additionally, it adds a glossy finish, enhancing the overall appearance of your toilet.
When it comes to decorative options, consider using a sealant with a subtle sheen or a high-gloss finish, depending on your personal preference.
For maintenance tips, ensure that the sealant is applied evenly and allowed to dry completely before using your toilet. Regularly clean the sealed surface with gentle, non-abrasive cleaners to maintain its luster and durability.
Conclusion
In conclusion, painting a toilet may seem daunting, but it can be easily accomplished with the right materials and steps.
By choosing the appropriate paint and thoroughly preparing the surface, you can achieve a flawless finish.
Applying primer is crucial for ensuring the paint adheres properly. Then, smoothly painting the toilet will give it a fresh, updated look.
Finally, don’t forget those finishing touches to complete the transformation.
So go ahead, grab your paintbrush, and give your toilet a much-needed makeover.