So, you’ve found yourself wanting to add a little personal touch to your bathroom decor, huh?
Well, I’ve got just the thing for you. In this article, I’ll show you how to transform a plain and boring toilet seat into a work of art with just a few simple steps.
From choosing the right paint to adding creative designs, I’ll guide you through the entire process.
Get ready to give your bathroom a fresh new look that’s uniquely yours!
Key Takeaways
- Consider various color options for the toilet seat, including bold and vibrant choices like red or blue.
- Use high-quality enamel paint specifically formulated for bathroom fixtures.
- Clean and sand the surface before painting, and apply a high-quality primer designed for bathroom fixtures.
- Apply the base coat evenly using long, smooth strokes and allow sufficient drying time between coats.

Smart Toilet with Bidet Built In, Heated Seat, Warm Water Wash & Dryer, Tankless Bidet Toilet with Foot Sensor & Night Light, Auto Open/Close Lid & Flush, Wireless Remote, 1.26GPF Water-Saving Design
🛠️ Easy Installation & Reliable Support: This smart toilet with bidet built in includes all accessories, flange kit,...
As an affiliate, we earn on qualifying purchases.
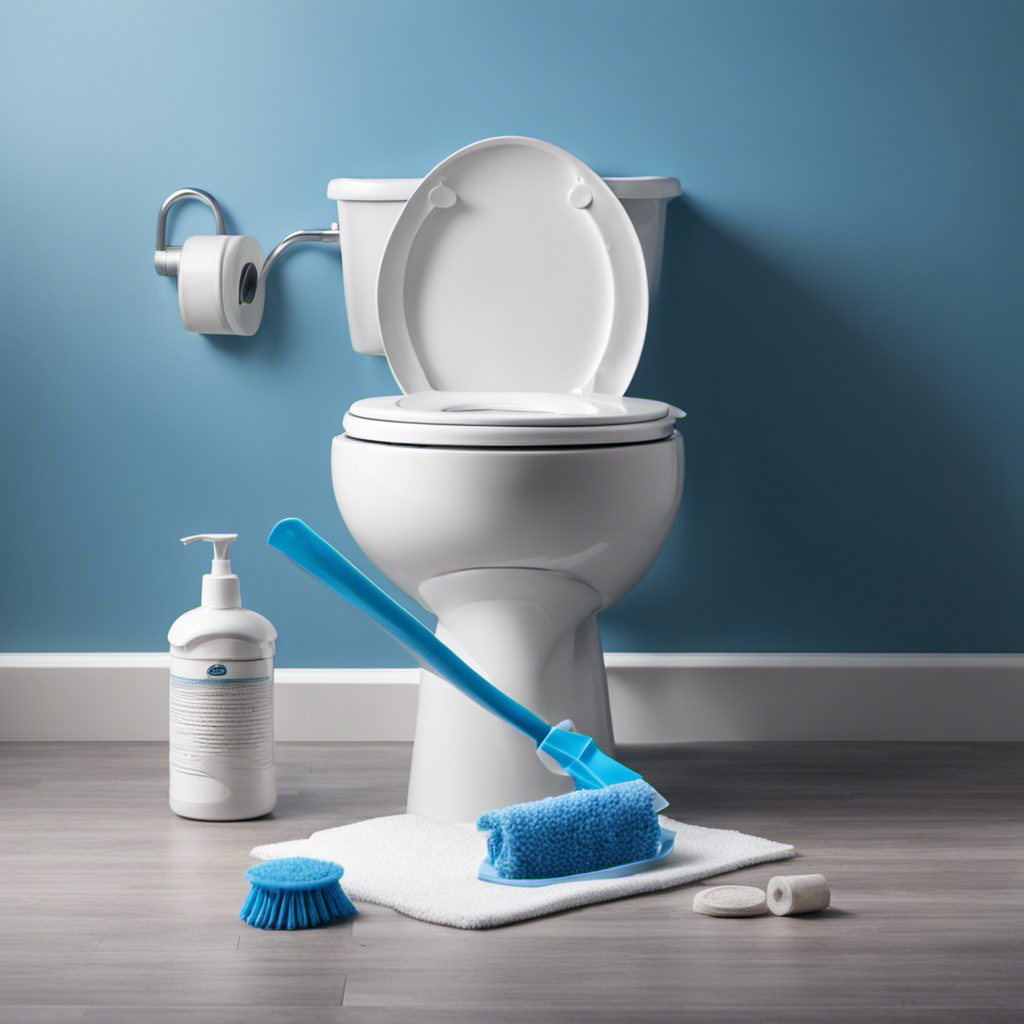
Choosing the Right Paint and Supplies
Before you start painting your toilet seat, make sure you have all the right paint and supplies.
When it comes to toilet seat color options, the possibilities are endless. You can go for a classic white, or opt for something more bold and vibrant like a bright red or blue. If you’re feeling adventurous, you could even try a patterned design or a fun stencil.
As for DIY toilet seat makeover ideas, consider using a high-quality enamel paint that is specifically formulated for bathroom fixtures. This type of paint is durable, water-resistant, and easy to clean.
Additionally, make sure to gather all the necessary supplies like sandpaper, a paintbrush, painter’s tape, and a drop cloth to protect the surrounding area.
With the right paint and supplies, you can transform your toilet seat into a stylish and personalized piece.

WITMYA Smart Toilet with Bidet Built In, One Piece Bidet Toilet with Auto Dual Flush, Foam Shield, Modern Elongated Tankless Toilet with Foot Sensor, Heated Bidet Seat, Warm Water & Dryer,LED Display
【Efficient Flush & Energy-Saving Design】There smart toilets feature a highly efficient 1.28 GPF water-saving dual flush system with...
As an affiliate, we earn on qualifying purchases.
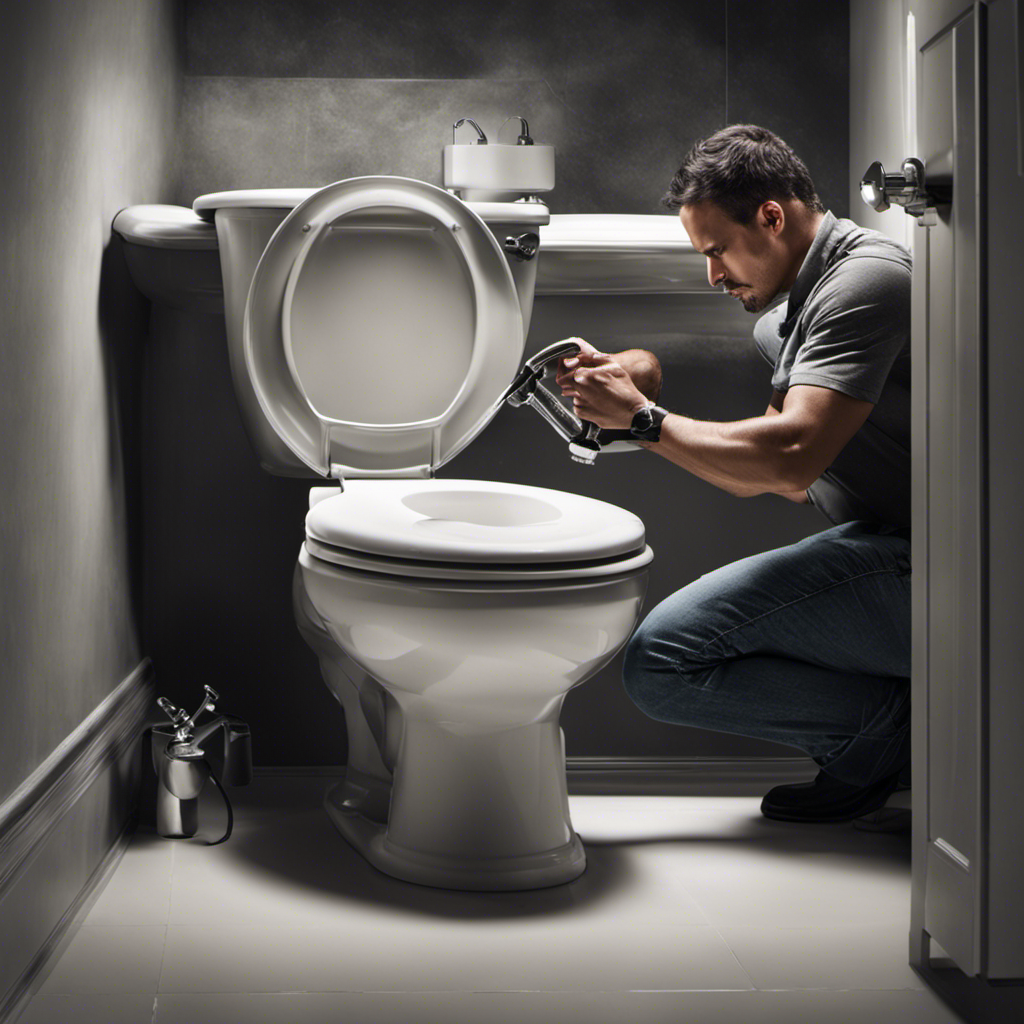
Preparing the Toilet Seat for Painting
After you’ve thoroughly cleaned and sanded the surface, it’s time to apply a primer to the toilet seat. This step is crucial as it helps the paint adhere properly and ensures a smooth and long-lasting finish. Here’s what you need to do:
-
Choose a high-quality primer specifically designed for painting bathroom fixtures. This will provide better adhesion and resistance to moisture and humidity.
-
Apply the primer evenly using a brush or roller, making sure to cover the entire surface of the toilet seat. Allow the primer to dry completely according to the manufacturer’s instructions.
-
Lightly sand the primed surface with fine-grit sandpaper to smooth out any imperfections or brush strokes.

Loniko Smart Toilet with Bidet Built In, Heated Seat & Dual Auto Flush, Foot Sensor, Tankless Modern Elongated Electric Toilet with Warm Water Wash, Air Dryer, LED Display & 1000g MaP Flush, 1.28 GPF
🧻 [Powerful & Water-Saving Dual Flush System] This one piece smart toilet with bidet built in uses an...
As an affiliate, we earn on qualifying purchases.
Applying the Base Coat
Now, it’s time for you to choose the color you want and start applying the base coat onto the primed surface. This step is crucial as it creates a smooth foundation for the final paint layers. Before you begin, make sure you have all the necessary tools and materials, including a paintbrush, paint tray, and the base coat paint of your choice.
To ensure optimal results, follow these best practices:
- Apply the base coat evenly, using long, smooth strokes.
- Allow sufficient drying time between coats, usually around 2-4 hours.
- Avoid applying thick layers of paint, as it may result in uneven drying and tackiness.
- Keep the area well-ventilated to speed up the drying process.
- Clean your brushes and trays thoroughly after each use.
Table: Troubleshooting Common Painting Mistakes
| Mistake | Solution |
|---|---|
| Uneven coating | Sand the surface lightly and apply an additional coat |
| Brush strokes visible | Use a high-quality brush and apply paint in the direction of |
| the grain for a smoother finish | |
| Drips or runs | Remove excess paint with a cloth or sponge and reapply |
| Paint not adhering | Sand the surface lightly and apply a primer before painting |
| Peeling or cracking | Remove loose paint, sand, and apply a new coat |
Once you have successfully applied the base coat, you can move on to the exciting part of adding creative designs or patterns to your toilet seat.

LOUPUSUO Smart Toilet with Warm Water Sprayer and Dryer, One Piece Bidet Toilet with Auto Dual Flush Foot Sensor Operation,Heated Seat Smart with Built In Fahrenheit LED Display
Powerful Flushing System: Designed with low water consumption (1.26 gallons per flush), this system ensures efficient and thorough...
As an affiliate, we earn on qualifying purchases.
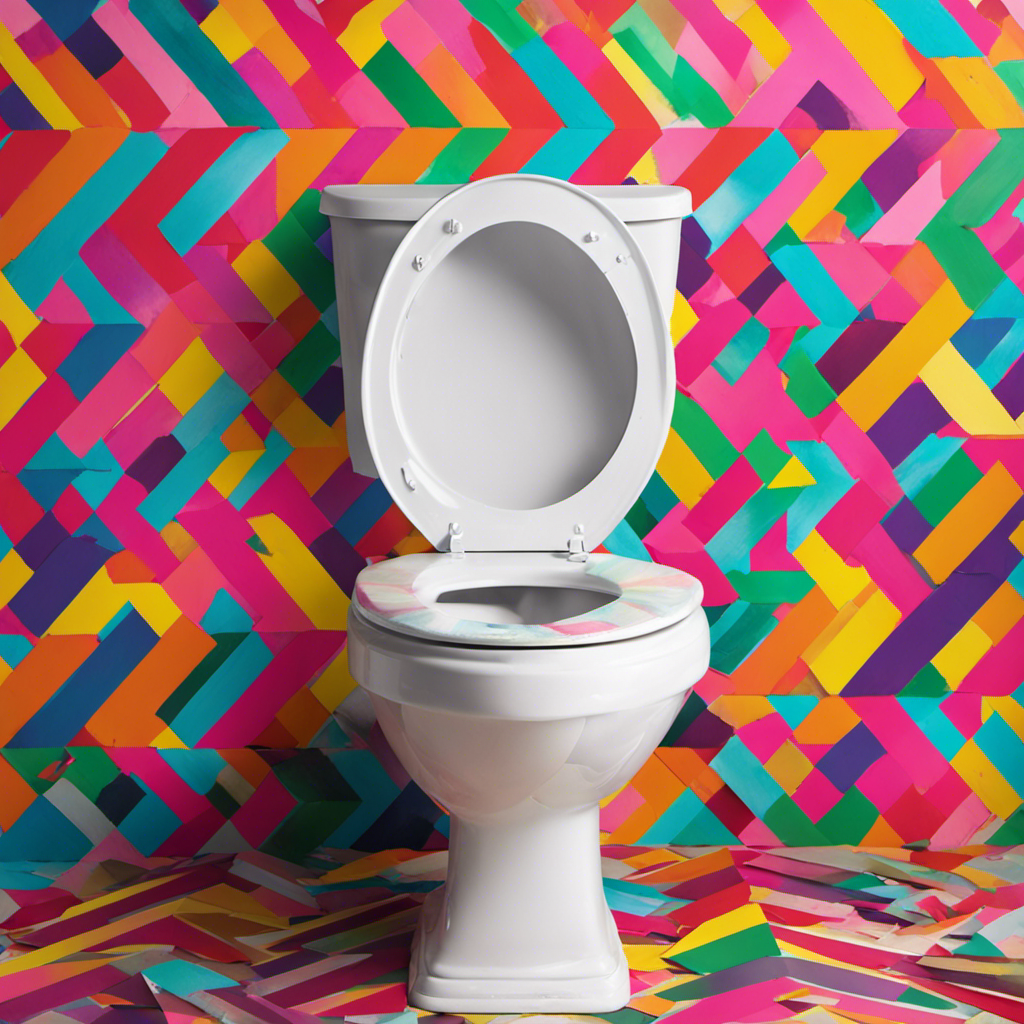
Adding Creative Designs or Patterns
To add creative designs or patterns to your project, consider using stencils or freehand techniques for a unique and personalized touch. Here are three ways you can incorporate colorful inspirations and DIY stenciling techniques into your toilet seat painting project:
-
Stencil Designs: Choose from a wide variety of pre-made stencils available at craft stores or create your own using stencil blanks. Secure the stencil onto the toilet seat and carefully paint over it with your chosen colors. Remove the stencil and let it dry before applying a protective sealant.
-
Freehand Patterns: If you’re feeling more adventurous, try freehand painting your own patterns. Use fine brushes and acrylic paints to create intricate designs or simple motifs. Let your imagination run wild and experiment with different colors and shapes to achieve your desired look.
-
Color Blocking: Another fun technique is color blocking. Divide the toilet seat into sections and paint each section a different color. You can create geometric patterns or use contrasting colors for a bold and modern look.
Remember to let each layer dry before moving on to the next step. With these creative techniques, your painted toilet seat will become a vibrant and eye-catching addition to your bathroom.
Finishing and Sealing the Painted Toilet Seat
When you’re finished with your painted design, make sure to seal it with a protective clear coat to ensure its longevity and durability.
After painting your toilet seat, it is important to allow ample drying time before applying the clear coat. This will prevent smudging or damaging the design. Generally, it is recommended to wait at least 24 hours for the paint to fully dry.
Once dry, apply the clear coat evenly using a paintbrush or spray. This will create a protective barrier against moisture, stains, and daily wear and tear.
To maintain the painted toilet seat, avoid using harsh chemicals or abrasive cleaners as they can strip away the clear coat or damage the paint. Instead, clean the seat with a mild soap and water solution.
When finishing and sealing a painted toilet seat, it is crucial to avoid common mistakes such as applying too thick of a clear coat, which can lead to drips and uneven coverage. It is also important to ensure the clear coat is compatible with the type of paint used, as some clear coats can cause the paint to crack or bubble.
Frequently Asked Questions
How Long Does It Take for the Base Coat to Dry Before Adding Designs or Patterns?
Typically, the base coat needs to dry completely before adding designs or patterns to a painted toilet seat. The drying time can vary depending on factors like the type of paint used and the painting techniques employed.
Can I Use Regular Acrylic Paint for My Painted Toilet Seat?
Yes, you can use regular acrylic paint for your painted toilet seat. However, it is recommended to use a paint specifically designed for bathroom fixtures, as it has better adhesion and durability.
How Do I Clean the Painted Toilet Seat Without Damaging the Paint?
Cleaning techniques and maintenance tips for a painted toilet seat include using a mild soap and water solution, avoiding harsh chemicals or abrasive cleaners, and gently wiping the surface with a soft cloth.
Can I Use Stencils to Create Designs on My Toilet Seat?
Yes, you can use stencils to create designs on your toilet seat. It’s a creative and fun way to personalize your bathroom. If you’re looking for alternatives, you could also try freehand painting or using decals.
Is It Necessary to Sand the Toilet Seat Before Applying the Base Coat?
It’s not necessary to sand the toilet seat before applying the base coat, but it can help with adhesion. Alternatively, you can use paints specifically designed for plastic surfaces for better results.
Conclusion
In conclusion, painting a toilet seat is a fun and creative way to add a personal touch to your bathroom. By following the steps outlined in this article, you can transform a plain and boring toilet seat into a unique and eye-catching piece of art.
Imagine the satisfaction of sitting on a beautifully painted seat that matches your bathroom decor perfectly. So why not grab your paintbrush and get started on this exciting DIY project today?
Your bathroom will thank you for it!