I know what you’re thinking: painting around a toilet can be a messy and challenging task. But fear not! In this article, I’ll show you how to tackle this project with ease.
From understanding the preparation steps to choosing the right paint and tools, I’ll guide you through each step of the process.
By the end, you’ll have a beautifully painted bathroom that will make you forget all about the initial concerns.
So let’s get started and transform your toilet area into a work of art!
Key Takeaways
- Thoroughly clean the area and use a high-quality paint specifically designed for bathrooms to resist moisture and mold
- Use a small brush or roller for better control and precision, and protect the area around the toilet with proper covering and masking techniques
- Consider the overall color scheme of your bathroom when selecting paint, and opt for a moisture-resistant and easy-to-clean paint
- Remove items from the toilet tank, clean the toilet bowl thoroughly, and apply painter’s tape around the edges of the toilet bowl to protect it from paint drips

Loniko Smart Toilet with Bidet Built In, Heated Seat & Dual Auto Flush, Foot Sensor, Tankless Modern Elongated Electric Toilet with Warm Water Wash, Air Dryer, LED Display & 1000g MaP Flush, 1.28 GPF
🧻 [Powerful & Water-Saving Dual Flush System] This one piece smart toilet with bidet built in uses an...
As an affiliate, we earn on qualifying purchases.
Understanding the Preparation Steps
Now that you know how to properly protect the area around the toilet, you can start preparing to paint.
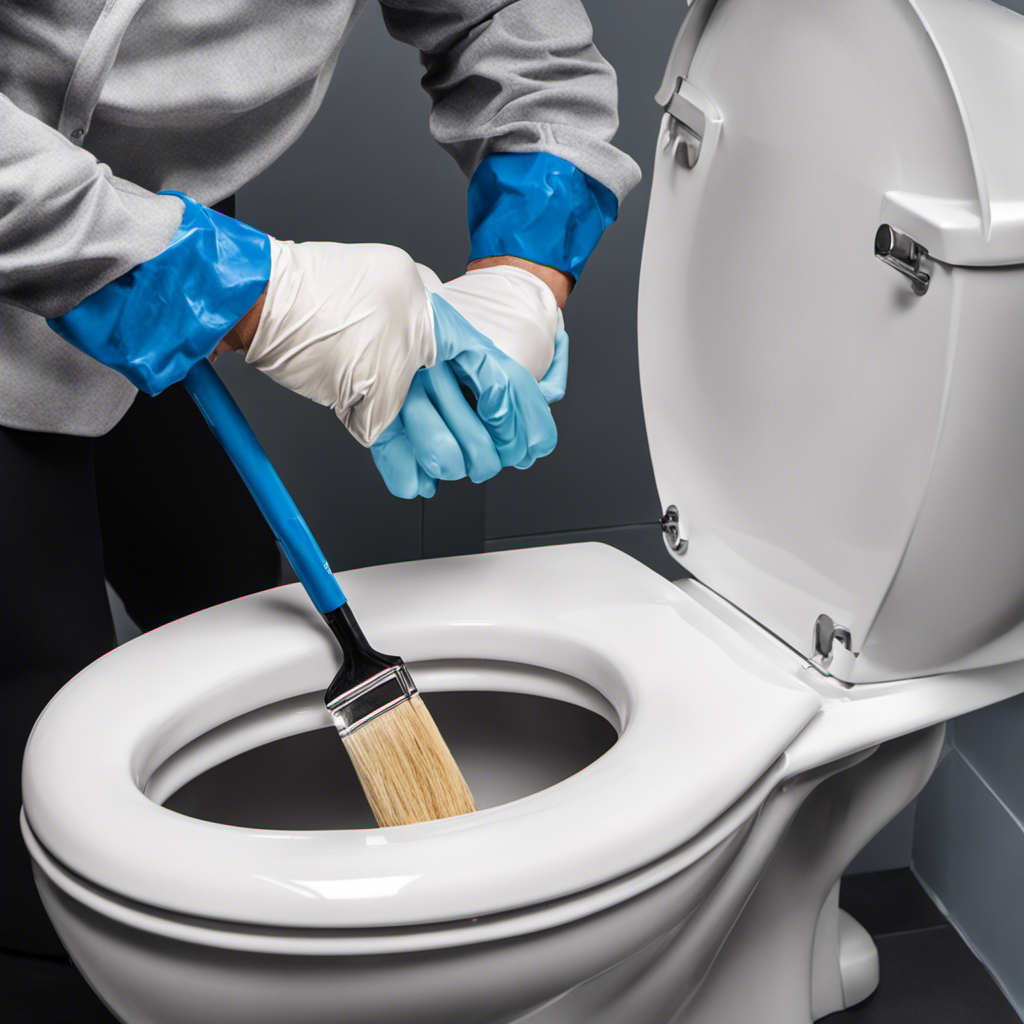
When painting around a toilet, it’s important to avoid common mistakes that can affect the final result. One mistake to avoid is not cleaning the surface properly before painting. Make sure to thoroughly clean the area using a mild detergent and warm water to remove any dirt or grime.
Another mistake is not using the right type of paint. It’s recommended to use a high-quality paint specifically designed for bathrooms, as it is more resistant to moisture and mold.
To achieve a professional-looking finish, it’s crucial to apply multiple thin coats of paint rather than one thick coat. This ensures a smooth and even coverage.
Additionally, using a small brush or roller will allow for better control and precision when painting around the toilet.

Smart Toilet with Bidet Built in, Elongated Bidet Toilet with Auto Soft Open/Close, Auto Flush, One Piece Toilet with Warm Wash & Dryer, Heated Seat, LED & Night Light, Self-Cleaning, Full/Half Flush
🔥 𝘼𝙡𝙡-𝙞𝙣-𝙊𝙣𝙚 𝙎𝙢𝙖𝙧𝙩 𝙏𝙤𝙞𝙡𝙚𝙩 𝙬𝙞𝙩𝙝 𝘽𝙞𝙙𝙚𝙩: This elongated electric toilet combines a tankless design and one-piece build for...
As an affiliate, we earn on qualifying purchases.
Choosing the Right Paint and Tools
First, you’ll want to make sure you have the right paint and tools for the job. When it comes to painting around a toilet, there are a few things to consider.
Here are some tips to help you choose the right paint and tools:
-
Color selection: Consider the overall color scheme of your bathroom and choose a paint color that complements it. Lighter shades can make a small bathroom feel more spacious, while darker shades can add depth and drama.
-
Brush or roller options: Depending on the size and shape of the area you’re painting, you can use either a brush or a roller. A brush is great for precise edges and corners, while a roller is more efficient for larger surfaces.
-
Paint type: Opt for a paint that is moisture-resistant and easy to clean, as bathrooms tend to have high humidity levels.
-
Additional tools: Don’t forget to gather other necessary tools like painter’s tape, drop cloths, and a paint tray to make the job easier and neater.

WITMYA Smart Toilet with Bidet Built In, One Piece Bidet Toilet with Auto Dual Flush, Foam Shield, Modern Elongated Tankless Toilet with Foot Sensor, Heated Bidet Seat, Warm Water & Dryer,LED Display
【Efficient Flush & Energy-Saving Design】There smart toilets feature a highly efficient 1.28 GPF water-saving dual flush system with...
As an affiliate, we earn on qualifying purchases.
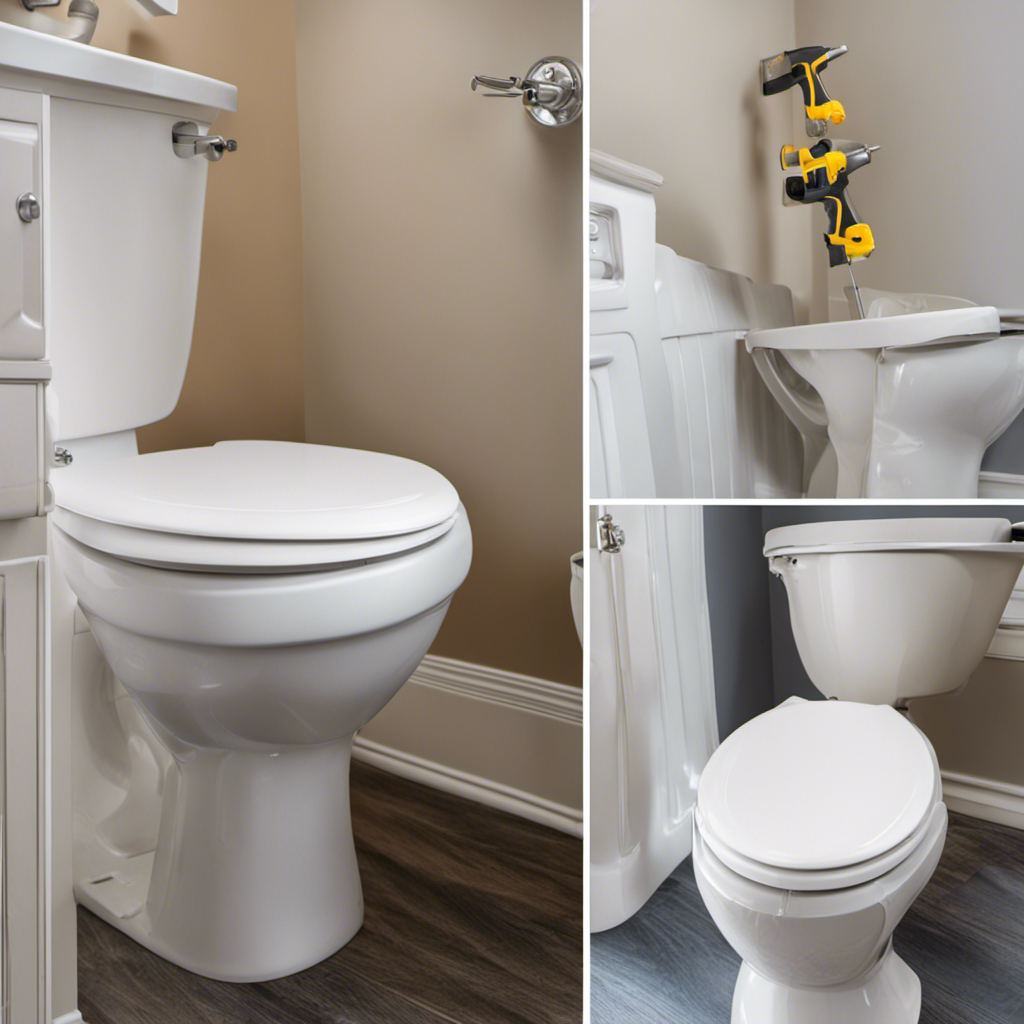
Preparing the Toilet Area for Painting
Before you begin, make sure to gather all the necessary tools for preparing the area around your toilet for painting.
Start by removing any items from the toilet tank and covering it with plastic or a towel to protect it from paint splatters.
Next, clean the toilet bowl thoroughly using a toilet bowl cleaner and a brush. Scrub away any residue or stains to ensure a smooth surface for painting.
After cleaning, dry the toilet bowl completely using a clean towel.
Finally, apply painter’s tape around the edges of the toilet bowl to protect it from accidental paint drips.
With these simple steps, you can ensure that your toilet area is properly prepared for painting.

Smart Toilet with Bidet Built in, Bidet Toilet with Heated Seat and Night Light, One Piece Toilet for Bathroom, UV-C light, Foam Shield, Dual Flush - Manual Lid/Seat
Manual Lid/Seat UV-C light / Foam Shield / Dual Flush
As an affiliate, we earn on qualifying purchases.
Applying Paint to the Surrounding Walls
Once you’ve prepared the toilet area, it’s time to start applying paint to the surrounding walls. Here are some tips and techniques to help you achieve a smooth and even paint coverage without any messy drips:
- Use a high-quality paint roller. This will help distribute the paint evenly and prevent drips.
- Start with a small amount of paint on the roller. Too much paint can lead to drips and uneven coverage.
- Work in small sections. Paint a small area at a time, blending the edges as you go, to ensure an even finish.
- Use a brush for corners and edges. A brush can help you reach tight spaces and ensure a neat paint job.
Cleaning Up and Finishing Touches
To complete the project, it’s time to tackle the cleaning up and finishing touches in the surrounding area. After applying paint to the surrounding walls, it’s important to clean up any paint drips or spills that may have occurred. Cleaning techniques vary depending on the type of paint used and the surface it was applied to. For latex paint on tile or porcelain, a damp cloth or sponge can be used to gently wipe away any excess paint. For oil-based paint on these surfaces, a bit of paint thinner on a cloth can help remove the drips. To avoid paint drips in the first place, using a high-quality brush and applying thin, even coats of paint can make a big difference. Below is a table outlining different cleaning techniques and tips for avoiding paint drips:
| Surface | Paint Type | Cleaning Technique | Avoiding Paint Drips |
|---|---|---|---|
| Tile | Latex | Damp cloth or sponge | Use a high-quality brush |
| Tile | Oil-based | Paint thinner on a cloth | Apply thin, even coats |
| Porcelain | Latex | Damp cloth or sponge | Take your time and be precise |
| Porcelain | Oil-based | Paint thinner on a cloth | Use a paint tray or palette |
Frequently Asked Questions
Can I Use Regular Wall Paint to Paint Around a Toilet?
Yes, you can use regular wall paint to paint around a toilet. However, it is important to use proper painting techniques, like protecting the toilet with plastic wrap, and consider alternative paint options, such as moisture-resistant paint, for better durability.
Do I Need to Remove the Toilet Tank Before Painting?
No, removing the toilet tank is not necessary when painting around a toilet. However, it is important to use proper painting techniques like covering the tank and protecting it from paint splatters.
Can I Use a Roller to Apply Paint Around the Toilet?
I prefer using a roller to apply paint around the toilet because it covers a larger area quickly. However, it’s important to prepare the toilet area properly by using a brush for tight spots and protecting the toilet with plastic wrap.
How Long Should I Wait Before Using the Toilet After Painting the Surrounding Walls?
I should wait at least 24 hours before using the toilet after painting the surrounding walls. Regular wall paint can be used to paint around a toilet.
Do I Need to Cover the Toilet Bowl With Plastic or Tape Before Painting?
No, you don’t need to cover the toilet bowl with plastic or tape before painting. There are painting techniques you can use to avoid getting paint on the toilet.
Conclusion
As I stood back and admired my freshly painted bathroom walls, I couldn’t help but feel a sense of accomplishment.
Painting around the toilet seemed like a daunting task at first, but with the right tools and preparation, it was easier than I expected.
The suspense built as I carefully applied the paint, making sure to cover every inch.
And now, as I put away my brushes and clean up the last few drips, I can confidently say that I’ve mastered the art of painting around a toilet.