I’ve always been a handy person, eager to take on new projects around the house. Removing a toilet may seem like a daunting task, but with the right tools and a step-by-step approach, it’s a job anyone can tackle.
In this article, I’ll guide you through the process of safely removing a toilet from its base. From shutting off the water supply to disconnecting the water line and removing the bolts, I’ll show you how to complete each step with ease.
Let’s get started!
Key Takeaways
- Shut off the water supply by locating and turning the shut-off valve in a clockwise motion.
- Empty the toilet bowl and tank by properly disposing of the drain and installing a strainer to catch materials.
- Take safety precautions when emptying the toilet, such as turning off the water supply, using a plunger, and placing towels to catch spills.
- Disconnect the water supply line by loosening the nut connecting the supply line using an adjustable wrench and removing the supply line from the shut-off valve and toilet tank.

Fluidmaster Universal Install/Uninstall Toilet Repair Tool
Fluidmaster’s universal install and uninstall toilet tool makes any toilet repair job simple
As an affiliate, we earn on qualifying purchases.
As an affiliate, we earn on qualifying purchases.
Gathering the Necessary Tools and Materials
You’ll need a wrench and a bucket to gather the necessary tools and materials for removing the toilet. Before you begin, make sure you have all the items required for the job.
Start by gathering the following materials: a pair of rubber gloves, a towel or rag, a putty knife, and a wax ring replacement. These items will help you during the removal process and ensure a successful outcome.
Once you have gathered all the materials, it’s time to move on to the preparation steps. Place the bucket near the toilet to catch any water that may spill during the removal. Put on your rubber gloves to protect your hands from any dirt or bacteria.
With the necessary tools and materials gathered, you are now ready to move on to the next step: shutting off the water supply to the toilet.
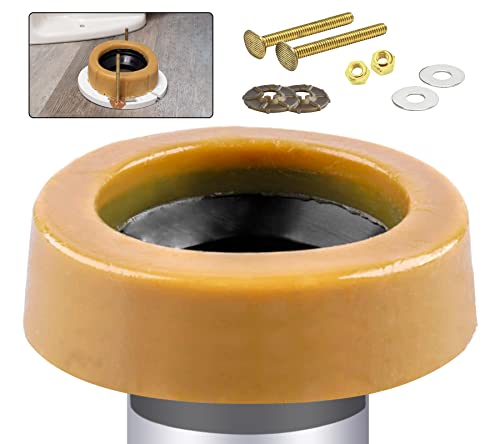
Extra Thick Toilet Wax Ring Kit with Flange and Bolts for Floor Outlet Toilets New Install or Re-seat, Fits 3-inch or 4-inch Waste Lines
Signs of a Bad Toilet Wax Ring?: If you can smell a sewer-like smell coming from your toilet,…
As an affiliate, we earn on qualifying purchases.
As an affiliate, we earn on qualifying purchases.
Shutting off the Water Supply to the Toilet
To stop the water flow, turn off the valve located behind the toilet. Before proceeding with any work on the toilet, it is important to take safety precautions and ensure that the water supply is completely turned off.
Here is a step-by-step guide on how to turn off the water supply to the toilet:
-
Locate the shut-off valve: The shut-off valve is usually located on the wall behind the toilet or on the floor near the base. It is a small, round valve with a handle.
-
Turn off the valve: Using a clockwise motion, turn the valve handle until it is fully closed. This will stop the flow of water to the toilet.
-
Check for water flow: Flush the toilet to check if the water has stopped flowing. If the tank still fills with water, you may need to turn the valve further or contact a professional plumber.

Amazon Basics Plumbing Adjustable Wrench with Soft Grip, Wide Mouth, 6.34 x 2.83 x 0.59 inches (LxWxH)
6 inch (150mm) wide jaw adjustable plumbing wrench with inch/metric measurement scale
As an affiliate, we earn on qualifying purchases.
As an affiliate, we earn on qualifying purchases.
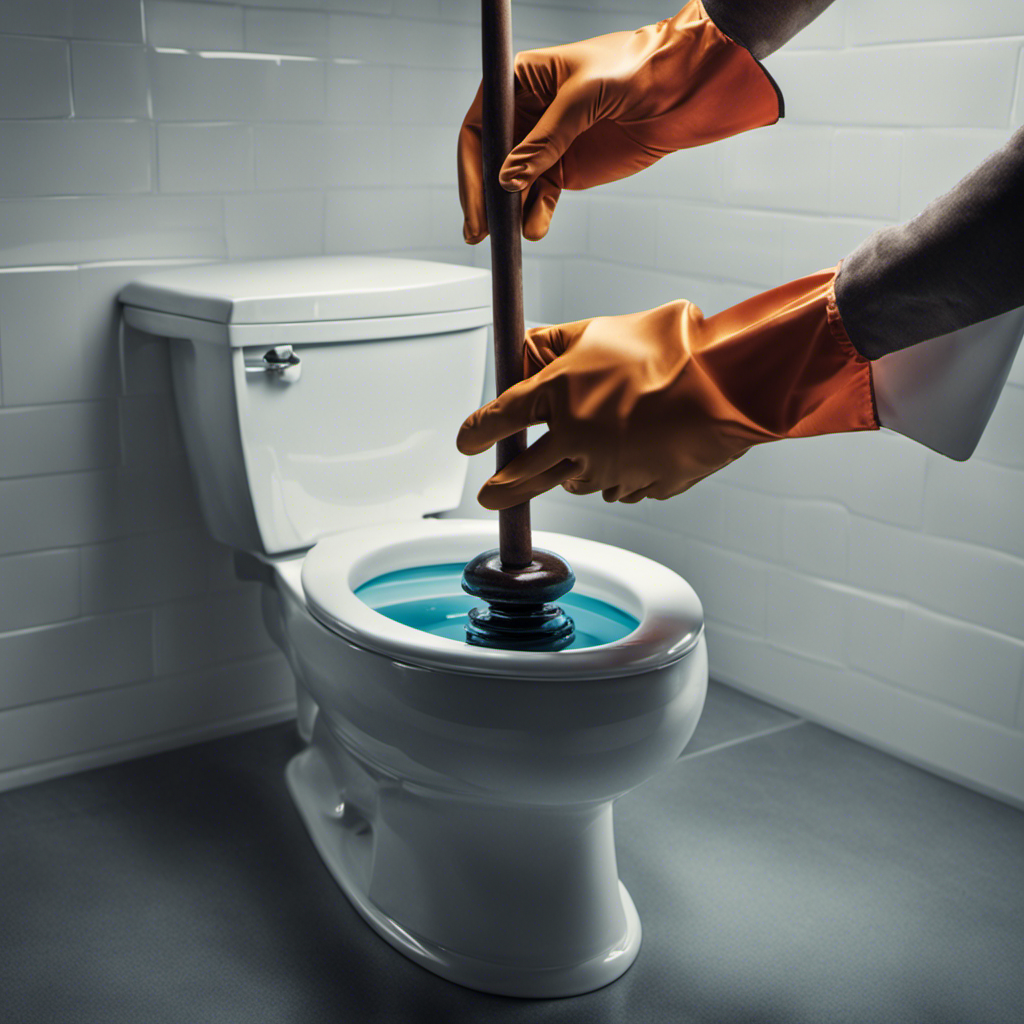
Emptying the Toilet Bowl and Tank
When it comes to emptying the toilet bowl and tank, there are important considerations to keep in mind.
Proper drain disposal is crucial to prevent any blockages or damage to the plumbing system.
To ensure safety during the emptying process, it is essential to follow specific precautions such as wearing gloves and protective eyewear, as well as using appropriate tools and equipment.
Proper Drain Disposal
If you can’t dispose of the drain properly, it may cause clogs and damage to the plumbing system. Proper disposal methods are essential to prevent these issues and minimize the environmental impact. Here are three steps to ensure proper drain disposal:
-
Remove any debris: Before disposing of the drain, make sure to remove any debris or solid materials that may be present. This will prevent clogs and ensure a smooth flow of water.
-
Use a strainer: Install a strainer in your drain to catch any hair, food particles, or other materials that may go down the drain. Regularly clean out the strainer to prevent clogs and maintain the proper functioning of your plumbing system.
-
Follow local regulations: Different regions may have specific guidelines for drain disposal. Check with your local authorities to ensure you are following the proper disposal methods and minimizing the environmental impact.
Safety Precautions When Emptying
Before emptying, it’s important to take safety precautions to minimize the risk of accidents or injuries. When removing a toilet, there are several steps you can take to ensure your safety and prevent water damage. First, gather the necessary tools and materials: gloves, goggles, a bucket, towels, and a plunger. Next, turn off the water supply to the toilet by shutting off the valve located on the wall behind the toilet. Flush the toilet to drain the water from the tank and bowl. Use a plunger to remove any remaining water in the bowl and tank. Place towels around the base to catch any spills. Finally, carefully disconnect the water supply line and remove the toilet from the floor. By following these steps and taking the necessary precautions, you can avoid injury during the process and prevent water damage to your bathroom.
| Safety Precautions | |||
|---|---|---|---|
| Gather necessary tools | Turn off water supply | Flush toilet | Disconnect water supply line |
| Use gloves and goggles | Remove remaining water | Place towels around base | Remove toilet from floor |

Stop Valves, 1/2" × 3/8" Angle Stop Valve, 1/2" Nominal (5/8" OD Comp.) Angle Input, 3/8" OD Compression Output, 1/4 Turn, Chrome Plated Brass for Kitchen, Faucet, Toilet Valves
【Angle Stop Valve】- Package includes 1 pack 1/2" nominal (5/8" OD Comp.) × 3/8" OD compression angle stop…
As an affiliate, we earn on qualifying purchases.
As an affiliate, we earn on qualifying purchases.
Disconnecting the Water Supply Line
To properly shut off the water and disconnect the supply line, there are a few key steps to follow.
First, locate the shut-off valve near the toilet and turn it clockwise to shut off the water flow.
Next, flush the toilet to drain any remaining water from the tank and bowl.
Properly Shutting off Water
Make sure you’ve shut off the water supply before attempting to remove the toilet. This is an important step to prevent any water damage or flooding.
Here’s a step-by-step guide on properly shutting off the water:
-
Locate the water shut-off valve: Look for a valve usually located on the wall behind or near the toilet. It may be a lever or a knob.
-
Turn off the water supply: Use your hand or a wrench to turn the valve clockwise until it stops. This will shut off the water flow to the toilet.
-
Test the water supply: Flush the toilet and make sure there is no water flowing into the bowl. If the water stops, you have successfully shut off the water supply.
Disconnecting Supply Line
Once you’ve successfully shut off the water supply, it’s important to disconnect the supply line to continue with the removal process. To disconnect the supply line, follow these steps:
-
Put on safety gloves and protective eyewear to avoid any injuries.
-
Locate the shut-off valve underneath the toilet tank. Turn it clockwise to close it completely.
-
Use an adjustable wrench to loosen the nut connecting the supply line to the shut-off valve. Turn it counterclockwise until it is loose.
-
Next, use the wrench to loosen the nut connecting the supply line to the toilet tank. Again, turn it counterclockwise until it is loose.
-
Once both nuts are loose, carefully remove the supply line from both the shut-off valve and the toilet tank.
Remember to place a bucket or towel underneath to catch any water that may still be in the supply line. Safety precautions should always be taken when emptying the supply line to prevent any accidents.
Loosening and Removing the Bolts Securing the Toilet to the Floor
First, you’ll want to ensure the water supply is turned off before loosening and removing the bolts securing the toilet to the floor. This step is crucial to prevent any water leakage during the removal process.
Here’s a step-by-step guide on how to properly remove the bolts securing the toilet:
-
Gather the proper tools: You will need an adjustable wrench and a screwdriver for this task.
-
Locate the bolts: Look for the bolts on the base of the toilet, usually covered by plastic caps.
-
Loosen and remove the bolts: Use the adjustable wrench to loosen the nuts on the bolts. Once loose, you can remove the nuts and washers.
Safely Lifting and Removing the Toilet From Its Base
To safely lift and detach the toilet from its base, you’ll need to carefully disconnect the water supply and unscrew the nuts securing the bolts. Once you have completed these steps, follow the instructions below to safely lift and remove the toilet from its base:
-
Place a towel or old blanket on the bathroom floor to protect it from any potential scratches or damage during the removal process.
-
Stand facing the toilet bowl, with your feet shoulder-width apart, and bend your knees slightly.
-
Place your hands under the toilet bowl, gripping it firmly but not too tightly.
-
Using your leg muscles, slowly and evenly lift the toilet straight up.
-
Take caution not to tilt or twist the toilet while lifting to avoid any spills or accidents.
-
Once the toilet is lifted, carefully place it on the towel or blanket you laid out earlier.
-
Inspect the wax ring on the toilet flange and replace it if necessary.
-
Cover the hole in the floor with a rag to prevent any sewer gases from escaping.
Frequently Asked Questions
How Do I Clean and Disinfect the Toilet Bowl and Tank Before Removing It?
First, I’ll clean the toilet bowl by scrubbing it with a toilet brush and a mixture of bleach and water. Then, I’ll disinfect the tank by wiping it down with a disinfectant spray or a mixture of vinegar and water.
Can I Reuse the Wax Ring When Re-Installing the Toilet?
Yes, you can reuse the wax ring when reinstalling the toilet, but it’s not recommended. It’s best to use a new wax ring for a proper seal. There are alternative seal options available, such as rubber gaskets or wax-free seals.
Is It Necessary to Remove the Toilet Seat Before Removing the Entire Toilet?
Yes, it is necessary to remove the toilet seat before removing the entire toilet. To do so, simply unscrew the bolts attaching the seat to the bowl, then replace it after the toilet is removed.
How Can I Prevent Any Water or Sewage From Spilling During the Removal Process?
To prevent spills and protect flooring during the removal process, I would first shut off the water supply and flush the toilet to empty the tank. Then, I’d use towels or a bucket to catch any remaining water or sewage as I disconnect the toilet.
What Should I Do if the Bolts Securing the Toilet to the Floor Are Rusted or Stripped?
If the bolts securing the toilet to the floor are rusted or stripped, I would first try using penetrating oil and a wrench to loosen them. If that fails, I would need to cut the bolts using a reciprocating saw or hacksaw.
Conclusion
So there you have it, folks. Removing a toilet may seem like a daunting task, but with the right tools and a little know-how, it can be a breeze.
Just remember to gather all the necessary tools and materials, shut off the water supply, empty the toilet bowl and tank, disconnect the water supply line, and loosen and remove the bolts securing the toilet to the floor.
Finally, lift and remove the toilet from its base.
As they say, ‘when life gives you lemons, make lemonade,’ and in this case, when nature calls for a new toilet, you now have the knowledge to answer.
Happy plumbing!