I’ll show you how to remove an American Standard toilet seat in just a few simple steps. Trust me, it’s easier than you think!
By following this guide, you’ll be able to tackle this task with confidence and precision. Get ready to say goodbye to that old seat and hello to a fresh start.
So, let’s dive right in and discover the secrets to removing an American Standard toilet seat like a pro.
Key Takeaways
- Screwdriver and pliers are essential tools for removing an American Standard toilet seat.
- Prepare the area by removing any items or obstacles near the toilet and laying down a protective barrier.
- Turn off the water supply valve and disconnect the water supply line from the bottom of the tank.
- Locate and remove the mounting bolts that secure the toilet seat to the bowl, then carefully lift and remove the seat and lid.
Tools and Materials Needed
To remove your American Standard toilet seat, you’ll need a screwdriver and pliers. The most common toilet seat problems can often be fixed by simply removing the seat and replacing it with a new one. The screwdriver is essential for loosening the screws that hold the seat in place, while the pliers are useful for gripping and turning stubborn screws if needed. By having these tools on hand, you’ll be prepared to tackle any toilet seat removal task.
Now that you have your tools ready, let’s move on to the first step: preparing the area.
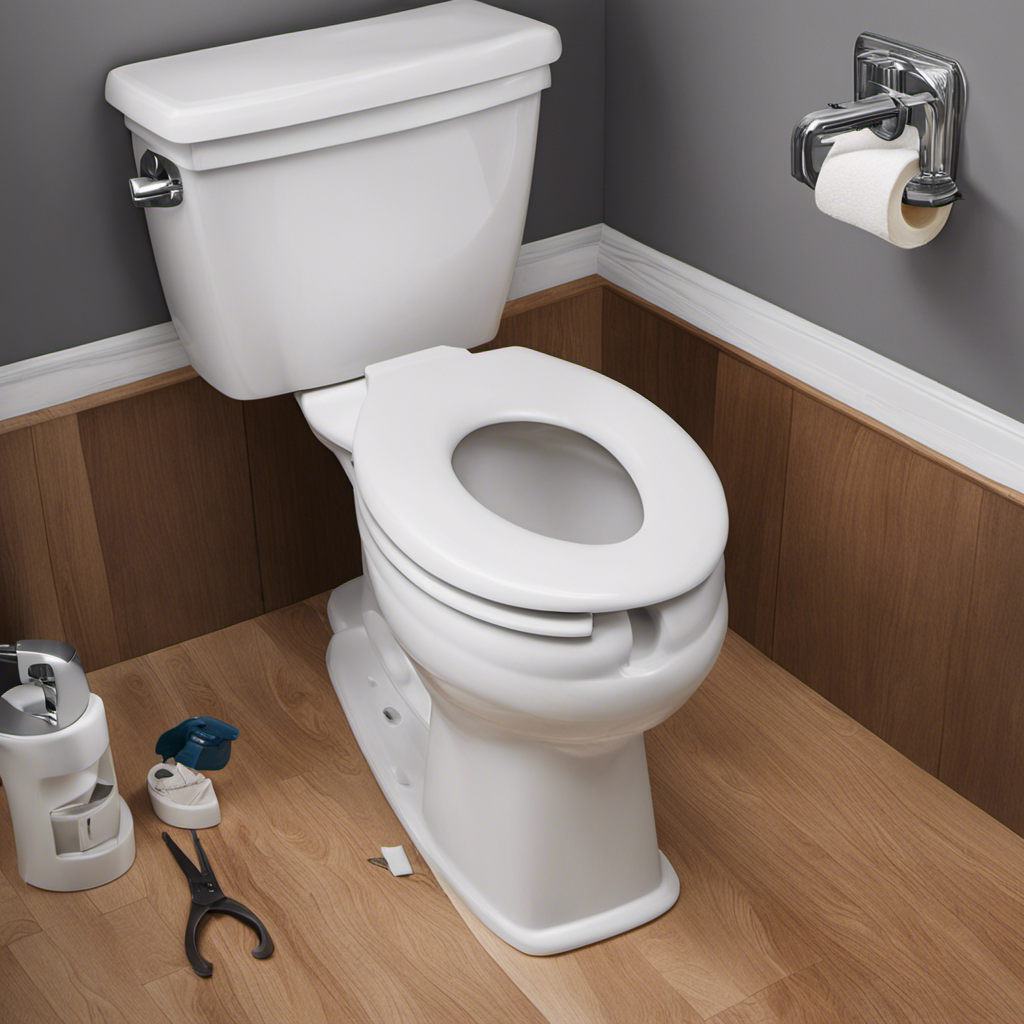
Step 1: Prepare the Area
First, make sure you’ve gathered all the necessary tools for the toilet seat installation or replacement job. You’ll need a screwdriver, adjustable wrench, and possibly pliers.
Now, let’s prepare the area for the task at hand.
- Remove any items or obstacles near the toilet to create a clear workspace. This will prevent accidents and ensure smooth maneuverability during the process.
- Lay down a protective barrier, such as a towel or drop cloth, to safeguard the floor from scratches or damage. This step not only protects your flooring but also gives you peace of mind while working.
Step 2: Locate and Remove the Mounting Bolts
Now that you have prepared the area, it’s time to locate and remove the mounting bolts.
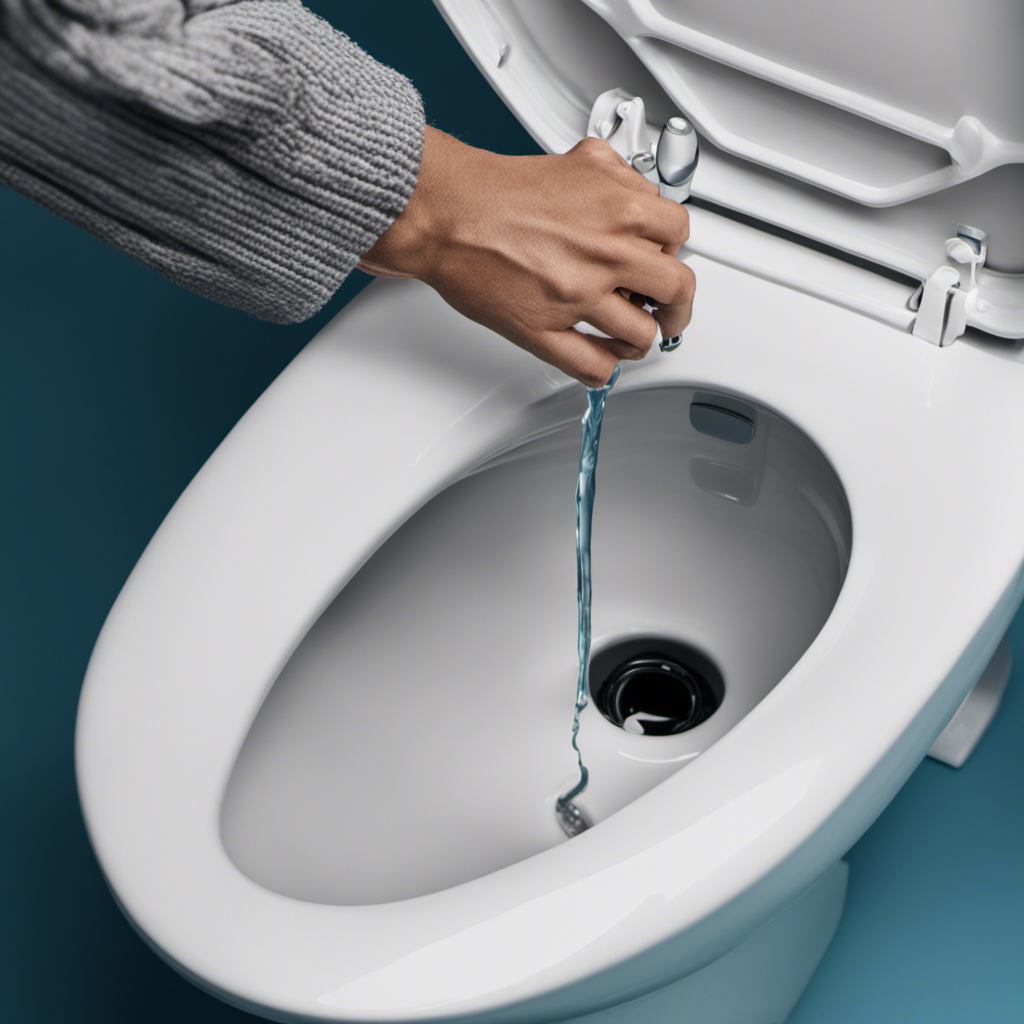
To begin, turn off the water supply valve located behind the toilet.
Next, use a wrench to disconnect the water supply line from the bottom of the tank.
Once the water supply is disconnected, locate the mounting bolts securing the toilet seat to the bowl. These bolts are typically found at the back of the toilet seat, near the hinges.
Use a screwdriver or wrench to loosen and remove the nuts that secure the bolts in place.
Once the nuts are removed, carefully lift the toilet seat and lid off the bowl, ensuring not to damage any surrounding hardware.
Congratulations! You have successfully removed the toilet seat and are ready to move on to the next step of replacing it.
Step 3: Lift and Remove the Toilet Seat
Once you have loosened the nuts securing the bolts, carefully lift and take off the toilet seat and lid from the bowl. This step is crucial in the process of removing the American Standard toilet seat.
When removing the toilet seat, it’s important to be aware of some common mistakes that people often make. Here are some alternatives to consider and common mistakes to avoid:
-
Toilet Seat Removal Alternatives:
-
If the nuts are too tight, use a lubricant or penetrating oil to loosen them.
-
If you’re unable to remove the nuts, try using a wrench or pliers for added leverage.
-
Common Mistakes During Toilet Seat Removal:
-
Applying excessive force can damage the toilet bowl or the seat itself.
-
Forgetting to turn off the water supply before removing the seat can result in a messy situation.
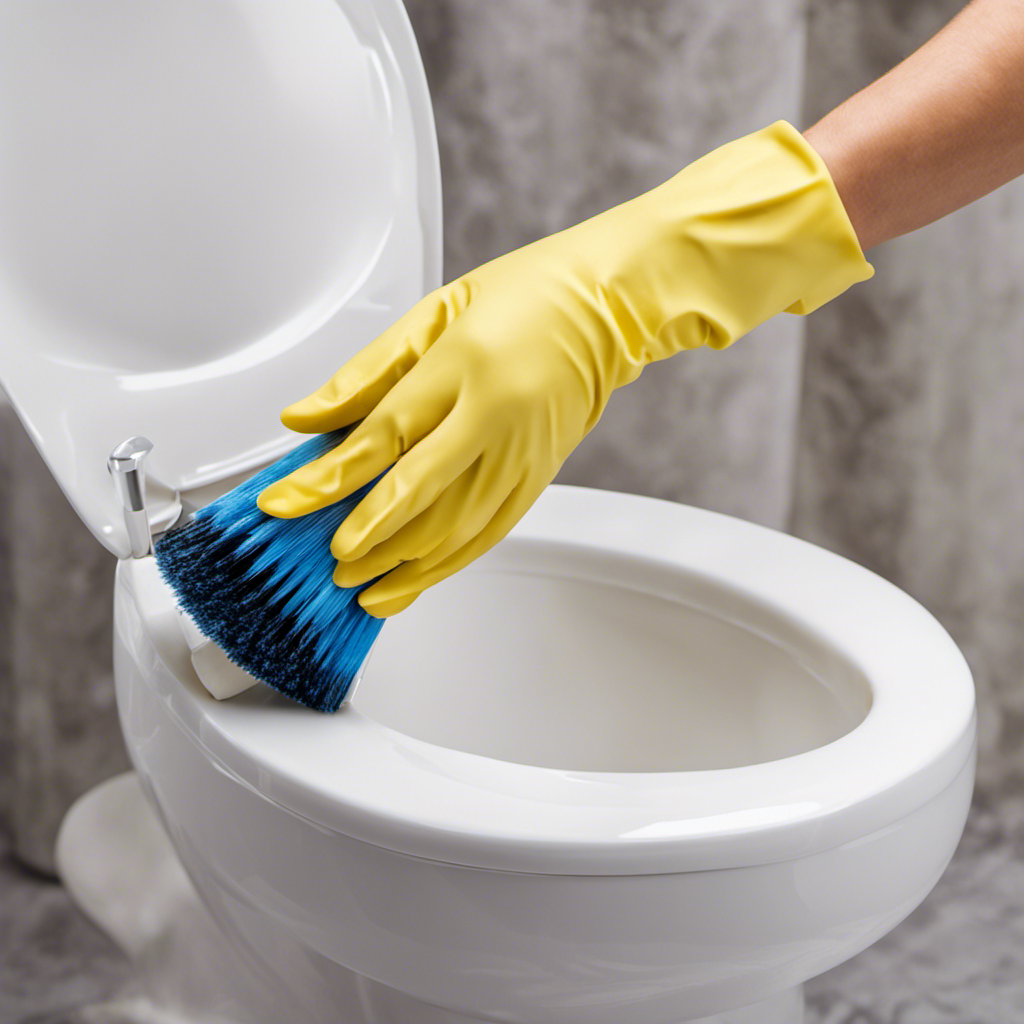
Step 4: Clean and Store the Toilet Seat
To properly clean and store the toilet seat, it’s important to wipe it down with a disinfectant and store it in a safe place. Cleaning methods for a toilet seat may vary depending on the type of material it is made of.
For plastic or wooden seats, a mild detergent and warm water can be used to remove any dirt or stains. It is essential to avoid using abrasive cleaners or harsh chemicals, as they can damage the seat’s surface. After cleaning, ensure that the seat is completely dry before storing it to prevent the growth of mold or bacteria.
Storage solutions for toilet seats can include keeping them in a clean, dry area away from direct sunlight and moisture. Additionally, using a toilet seat cover or a protective bag can help keep the seat clean and prevent any scratches or damage during storage.
Frequently Asked Questions
How Do I Know if My Toilet Seat Is an American Standard Brand?
To determine if your toilet seat is an American Standard brand, look for the brand logo or name on the seat itself. Additionally, you can compare the size and design of your seat to American Standard’s specifications to identify any differences from other brands.
Can I Reuse the Mounting Bolts After Removing the Toilet Seat?
Yes, you can reuse the mounting bolts after removing the toilet seat. However, it’s important to check their condition and ensure they are securely fastened. Alternatively, there are alternative installation methods available if needed.
Is It Necessary to Shut off the Water Supply Before Removing the Toilet Seat?
Yes, it is necessary to shut off the water supply before removing the toilet seat. It’s also recommended to wear gloves for hygiene purposes. You can remove the seat without any tools by following the proper steps.
Are There Any Specific Cleaning Products I Should Use to Clean the Toilet Seat?
I recommend using a mild disinfectant cleaner or a mixture of vinegar and water to clean the toilet seat. Avoid using harsh chemicals as they can damage the surface. Alternatively, you can also use antibacterial wipes for quick and easy cleaning.
How Often Should I Replace My Toilet Seat?
I replace my toilet seat when it starts showing signs of wear and tear. Regular toilet seat maintenance is important to ensure hygiene and comfort. Don’t wait for it to become a pain in the butt!
Conclusion
Well folks, we’ve reached the end of this exhilarating journey on how to remove that pesky American Standard toilet seat.
I hope you’ve enjoyed this thrilling adventure as much as I have.
Now, armed with your trusty tools and newfound knowledge, you can tackle this task with ease.
Just remember, the fate of your bathroom throne rests in your hands.
So, go forth and conquer, my fellow toilet seat removal experts.
And may your future bathroom endeavors be filled with triumph and clean toilet seats.

Mateo’s flair for writing is matched only by his keen eye for design. As an interior designer turned writer, Mateo brings a unique perspective. He blends aesthetics with functionality in every piece he pens, providing readers with beautifully crafted content that’s also supremely useful.
Mateo loves exploring the latest bathroom tech trends and is our expert on smart toilets. When he’s not writing or designing, Mateo can be found sketching ideas for his next big project at local coffee shops.