Have you ever found yourself struggling to remove an old toilet seat?
Well, fear not, my friend, for I have the solution you seek.
In this informative guide, I will walk you through the step-by-step process of removing that pesky old seat.
With the right tools and a little bit of know-how, you’ll have that seat off in no time.
So, let’s roll up our sleeves and get ready to bid farewell to that worn-out throne.
Key Takeaways
- Gather all necessary tools before starting the removal process
- Assess the type of toilet seat and its maintenance requirements
- Remove the seat cover by loosening and removing screws or bolts
- Unscrew the seat bolts using a screwdriver or adjustable wrench before removing the old seat and installing a new one.
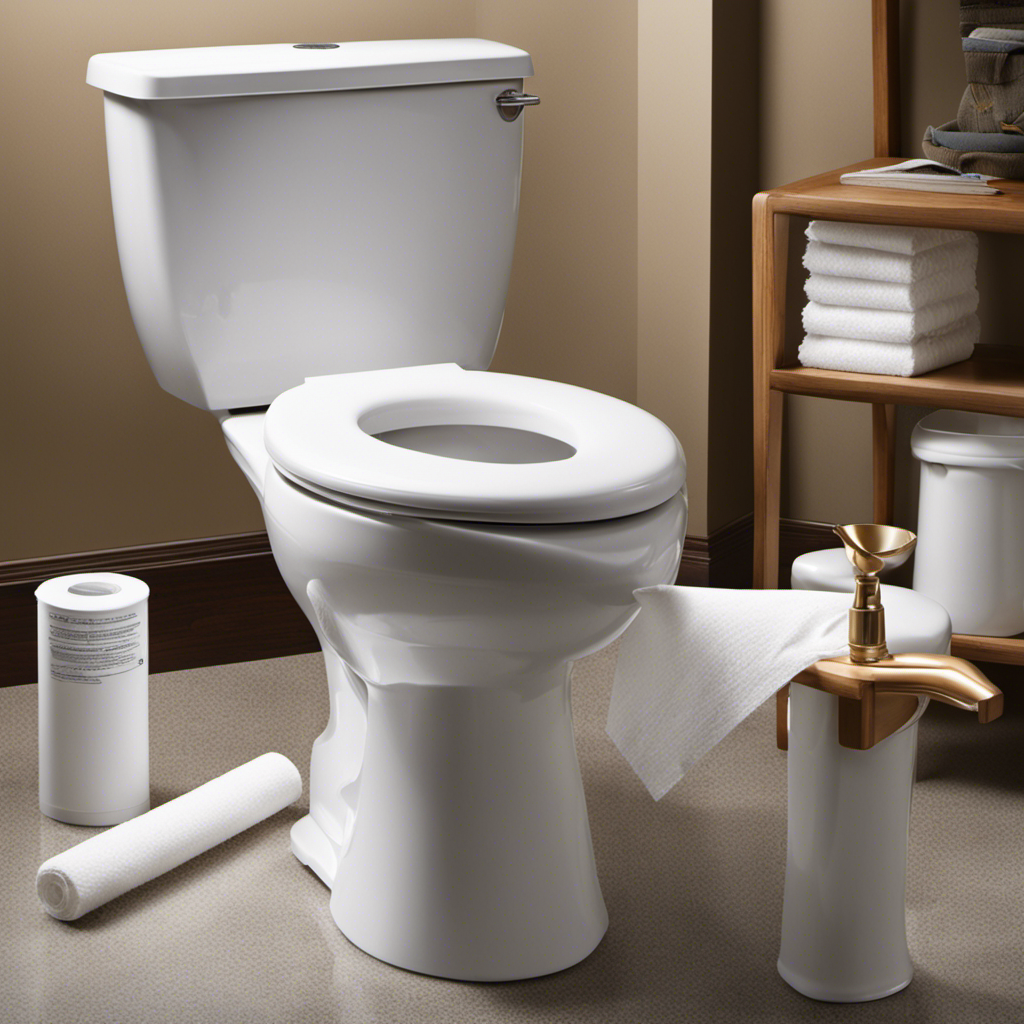
Gathering the Necessary Tools
Before you start removing the old toilet seat, make sure you have all the necessary tools. Choosing the right replacement toilet seat is crucial for a successful installation. You will need a measuring tape to determine the size of your current seat, as well as a wrench or pliers to loosen and remove the bolts. Additionally, having a screwdriver handy will be useful for removing any screws that may be holding the seat in place.
Once the old seat is removed, it’s important to clean and sanitize the toilet area thoroughly. Use a disinfectant cleaner and a scrub brush to remove any dirt or grime. This will ensure a clean and hygienic surface for the new seat.
Now that the old seat is removed and the area is clean, it’s time to assess the type of toilet seat you need.
Assessing the Type of Toilet Seat
To determine the type of toilet seat you have, you can simply feel the material and check for any hinges or screws. Different types of toilet seat materials include plastic, wood, and cushioned seats.
Plastic seats are the most common and are easy to clean with a mild soap and water solution.
Wood seats give a more natural look but require special care to prevent splintering or cracking.
Cushioned seats provide added comfort but may require more frequent cleaning due to their porous nature.
To properly clean and maintain a toilet seat, it is important to regularly wipe it down with a disinfectant, avoid using harsh chemicals or abrasive cleaners, and remove any stains or debris promptly.
Now that we know how to assess the type of toilet seat and properly clean it, let’s move on to the next step of removing the seat cover.
Removing the Seat Cover
First, check for any screws or bolts securing the seat cover in place. Use a screwdriver or wrench to loosen and remove them.
Once the screws or bolts are removed, lift the seat cover straight up to detach it from the hinges.
Inspect the hinges for any dirt or grime buildup, as this can affect the proper functioning of the new seat cover. To clean the hinges, use a mild detergent or disinfectant and a soft cloth. Make sure to thoroughly dry the hinges before proceeding.
Now, you are ready to install a new toilet seat cover. Refer to the manufacturer’s instructions for the specific steps to follow.
Remember to securely fasten the screws or bolts to ensure a stable and safe toilet seat.
Unscrewing the Seat Bolts
Once you’ve loosened the seat bolts, simply lift the old seat cover straight up to detach it from the hinges.
Now, let’s focus on unscrewing the seat bolts. It is important to properly maintain toilet seat bolts to prevent any issues during removal.
Firstly, ensure that you have the correct tools, such as a screwdriver or an adjustable wrench, depending on the type of bolts used. Apply steady pressure while turning the bolts counterclockwise to loosen them.
In some cases, the bolts may be rusted or stuck, causing difficulty in unscrewing. To address this, you can try using penetrating oil or a rust dissolver to loosen the bolts.
If all else fails, you may need to resort to cutting the bolts using a reciprocating saw or a hacksaw. Remember, patience and caution are key when dealing with stubborn seat bolts.
Removing the Old Toilet Seat
After unscrewing the bolts, you can simply lift the old seat cover straight up to detach it from the hinges. Removing the old toilet seat is a straightforward process, but it’s important to handle it properly to ensure hygiene and safety. Here’s how to do it:
-
Proper disposal of old toilet seat: Once removed, wrap the old seat in a plastic bag before disposing of it in a garbage bag. This prevents any germs or dirt from spreading.
-
Cleaning the toilet bowl before installing a new seat: Use a toilet bowl cleaner and a brush to thoroughly clean the bowl. This ensures a clean surface for the new seat to be installed.
-
Inspect the hinges for any damage or wear. If necessary, replace them before installing the new seat.
-
Place the new seat onto the hinges and secure it with the bolts. Make sure it’s snug and stable before using the toilet again.
Frequently Asked Questions
How Do I Choose the Right Replacement Toilet Seat for My Old Toilet?
When choosing a replacement toilet seat for my old toilet, I consider the toilet seat measurements and the best materials for toilet seats. It’s important to ensure a proper fit and durability.
What Should I Do if the Seat Bolts Are Stuck and Difficult to Unscrew?
When the seat bolts are stuck, it can feel like trying to unscrew a rusted anchor. I’ve found that using penetrating oil and a wrench can help loosen them. If that fails, using a hacksaw as a last resort may be necessary.
Can I Reuse the Old Seat Bolts or Do I Need to Buy New Ones?
I can reuse the old seat bolts if they are in good condition and still fit securely. However, if they are damaged or don’t fit properly, it’s best to purchase new ones for a secure installation.
Is It Necessary to Shut off the Water Supply Before Removing the Old Toilet Seat?
Yes, it is necessary to shut off the water supply before removing an old toilet seat. This ensures a safe and clean removal process. Additionally, it is recommended to wear gloves for hygiene and to protect against any potential contaminants.
Are There Any Special Precautions to Take When Removing a Wooden Toilet Seat Compared to a Plastic One?
When removing a wooden toilet seat, it’s important to take extra precautions. Unlike plastic ones, wooden seats may require more care to avoid splinters or damage. Safety first!
Conclusion
After successfully removing the old toilet seat, I felt a sense of accomplishment. It was a task that required some effort, but with the right tools and knowledge, it was manageable.
As the saying goes, ‘Out with the old, in with the new,’ and that’s exactly what I did. Now, with a fresh toilet seat in place, my bathroom feels rejuvenated and ready for use.
Remember, with a little patience and determination, you can conquer any DIY project.

With an impeccable eye for detail and a passion for bathroom-related, Ava leads our editorial team gracefully and precisely.
Under her guidance, Best Modern Toilet has flourished as the go-to resource for modern bathroom enthusiasts. In her free time, you might find Ava exploring antique shops and looking for vintage bathroom fixtures to add to her collection.