
As I carefully grasp the wrench and gather my tools, I prepare myself for the task at hand: removing and replacing a toilet.
In this step-by-step guide, I will show you exactly how to tackle this project with confidence. From shutting off the water supply to installing the new toilet, I will walk you through each detailed step.
So, let’s get started and ensure a smooth and successful toilet replacement process.
Key Takeaways
- Gathering the necessary tools and supplies is essential for a smooth toilet removal and installation process.
- Shutting off the water supply is an important step before removing the old toilet.
- Properly disconnecting the water supply line ensures easy removal of the old toilet.
- Installing the new toilet involves securely positioning the base, attaching the tank, and checking for leaks.
Preparing the Tools and Supplies
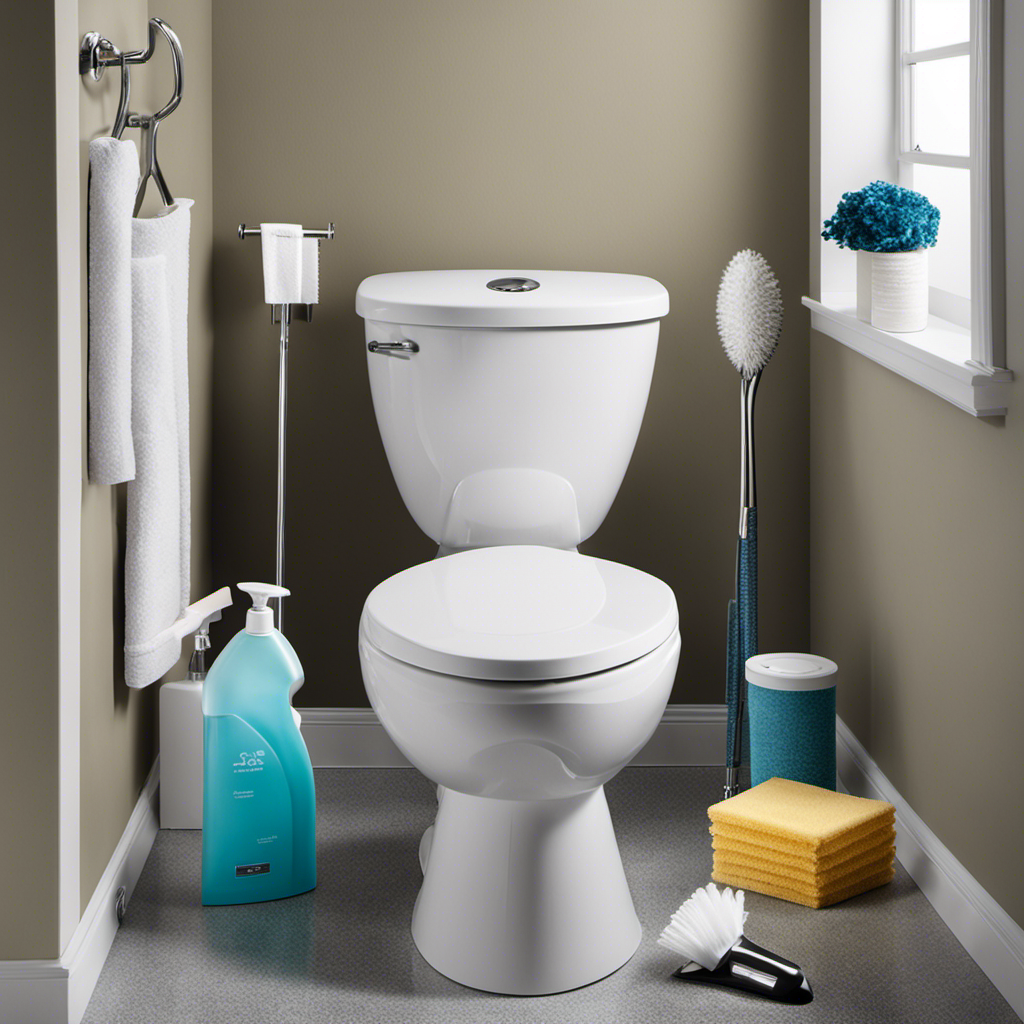
Before you can remove and replace a toilet, it’s important to gather all of the necessary tools and supplies.
Choosing the right toilet is crucial for a successful replacement. Consider factors such as the size, shape, and style of the toilet. Measure the rough-in distance to determine the correct size of the new toilet. This is the distance from the wall to the center of the toilet flange.
Ensure you have the following tools: a wrench, pliers, a putty knife, a hacksaw, and a bucket. Additionally, you will need a new wax ring, toilet bolts, and a flexible water supply line. These supplies are essential for a smooth removal and installation process.
Shutting off the Water Supply
To shut off the water supply, you’ll need to locate the shut-off valve near the base of the toilet. This valve controls the flow of water into the toilet tank. Here is a step-by-step guide to help you turn off the water:
-
Look for the water supply valve. It is usually located on the wall behind or beside the toilet.
-
Turn the valve clockwise to shut off the water. You may need to use a wrench or pliers if the valve is difficult to turn.
-
Once the valve is fully closed, check if the water flow has stopped. You can do this by flushing the toilet and observing if the tank refills or if water continues to flow.
-
If the water flow stops, you have successfully shut off the water supply. If not, double-check the valve and make sure it is fully closed.
Removing the Old Toilet
When removing the old toilet, you’ll want to start by disconnecting the water supply line. This is an important step to ensure that water doesn’t leak everywhere during the removal process.
Here are the steps to follow for removing the old toilet:
-
Turn off the water supply: Locate the shut-off valve behind the toilet and turn it clockwise to shut off the water supply.
-
Empty the tank: Flush the toilet to empty the tank. Use a sponge or a towel to soak up any remaining water in the tank and bowl.
-
Disconnect the water supply line: Use an adjustable wrench to loosen the nut connecting the water supply line to the bottom of the toilet tank. Once loose, carefully remove the water supply line.
Now that you have successfully disconnected the water supply line, you can proceed with the next steps in removing the old toilet.
When disposing of the old toilet, it is important to follow proper procedures for waste disposal. Check with your local waste management facility for guidelines on how to dispose of the old toilet responsibly.
Installing the New Toilet
Once you have properly disconnected the water supply line, it’s time to install the new toilet.
Start by positioning the toilet base over the flange, ensuring it is properly aligned with the drainage pipe.
Carefully lower the toilet onto the flange, making sure it sits evenly and securely.
Next, secure the toilet base to the floor using the mounting bolts. Tighten them evenly, alternating between sides, to prevent any wobbling.
Once the toilet base is securely in place, it’s time to attach the tank.
Line up the tank with the base and gently lower it into position.
Secure it using the provided bolts and washers, making sure they are tightened enough to prevent any leaks.
Testing and Finishing Touches
Now it’s time to make sure everything is working properly and add those finishing touches to your newly installed toilet. Before you start using it, there are a few important steps to follow to ensure a secure and leak-free installation.
Firstly, check for any leaks around the base of the toilet. This is a common mistake that can lead to water damage and costly repairs. Tighten the bolts on the base if necessary, but be careful not to overtighten and crack the porcelain.
Next, test the flushing mechanism. Flush the toilet several times to make sure it is working smoothly and effectively. Check that the water fills up to the correct level in the tank and stops when it should.
Finally, inspect the supply line and connections. Look for any signs of leaks or dripping water. Make sure the water shut-off valve is securely closed to prevent any future leaks.
Frequently Asked Questions
How Often Should I Replace My Toilet?
I should replace my toilet when it shows signs of damage or wear, such as cracks, leaks, or constantly running water. Regular maintenance and inspections can help identify when a toilet needs to be replaced.
Are There Any Specific Tools Required for Removing a Toilet?
To remove a toilet, you will need specific tools such as a wrench, plunger, and putty knife. These tools are necessary for disconnecting the water supply, unscrewing bolts, and scraping off old wax.
Can I Reuse the Wax Ring From My Old Toilet?
No, it is not recommended to reuse the wax ring from an old toilet. Although it may seem like a cost-saving option, there is a high risk of leaks. It is best to use a new wax ring or explore alternative sealing methods.
How Long Does It Take to Install a New Toilet?
Installing a new toilet can be done in a few hours. Time-saving tips include gathering all necessary tools beforehand and reading the instructions thoroughly. Common mistakes to avoid are not tightening the bolts properly and not sealing the wax ring correctly.
Can I Install a Bidet Attachment on My New Toilet?
Yes, you can install a bidet attachment on a new toilet. It offers a hygienic and convenient solution. The pros include reduced toilet paper usage and improved cleanliness. However, consider the cons like initial cost and potential maintenance.
Conclusion
Toilets transformed, troubles tamed!
Triumphantly, I tackled the task of removing and replacing my toilet. With tools in tow and supplies secured, I shut off the water supply and bid adieu to the old commode.
Skillfully, I installed the gleaming new throne, ensuring a snug fit and leak-free connection. Then, with bated breath, I tested its flushing prowess and added the finishing touches.
Truly, a triumphant transformation of the lavatory landscape!

Liam’s journey with us started as a consumer. Having faced challenges while setting up his own modern bathroom, he delved deep into research.
Recognizing his knack for simplifying complex information and his authentic writing style, we were thrilled to welcome him aboard. Liam’s articles often merge practicality with style, ensuring readers find the perfect fit for their homes. Liam is an avid hiker off-duty and often jokes about finding the best “natural toilets” Mother Earth has to offer.