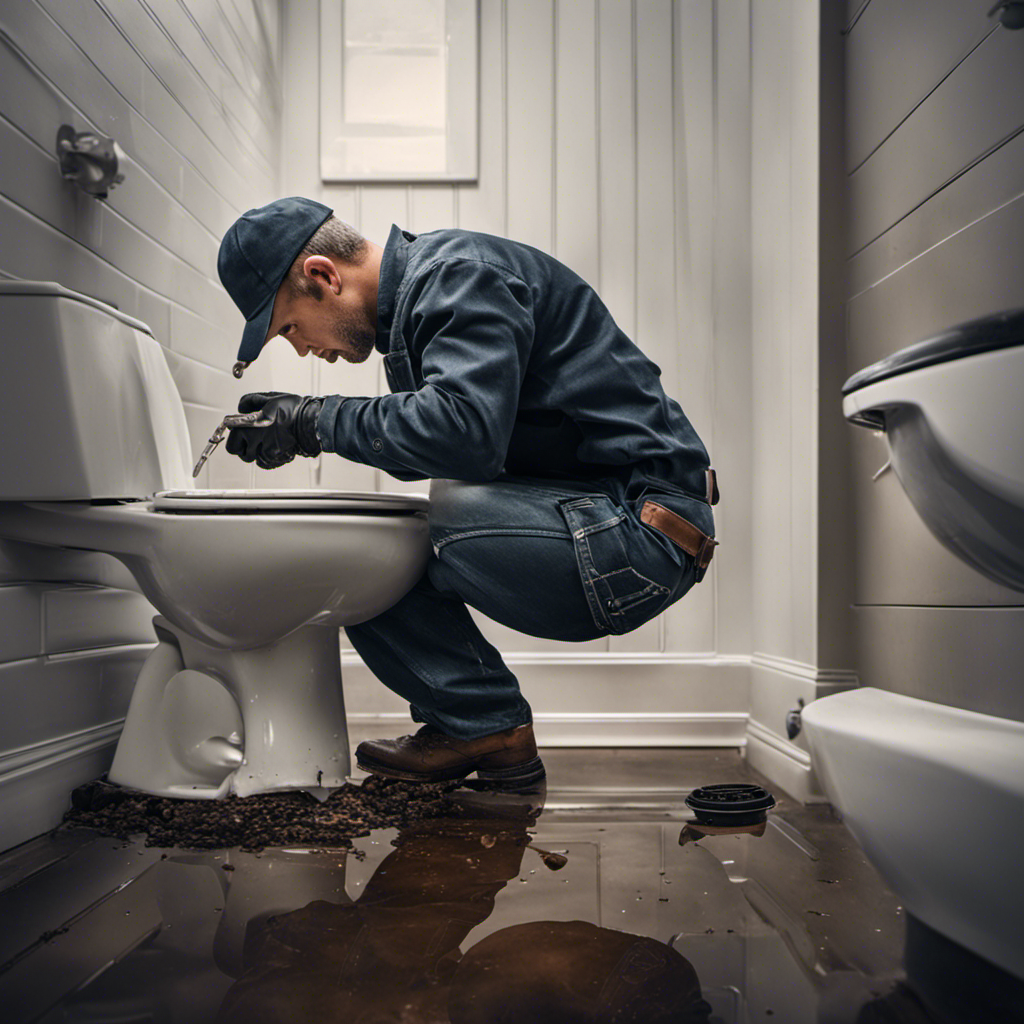
I’ve tackled my fair share of DIY projects, but removing a stubborn cast iron toilet flange was a whole new level of challenge. Let me tell you, it felt like I was battling a stubborn giant! But fear not, I’ve cracked the code and I’m here to guide you through the process step by step.
With the right tools, techniques, and a little bit of elbow grease, you’ll have that cast iron toilet flange out of your bathroom in no time. So, let’s get down to business!
Key Takeaways
- Use the proper tools such as a hammer, chisel, reciprocating saw, wrench, and screwdriver for removing the cast iron toilet flange.
- Take precautions and avoid common mistakes like applying excessive force or not wearing protective gloves during the removal process.
- Clean the flange thoroughly before installing a new wax ring to ensure a proper seal.
- Use penetrating oil to loosen rust and corrosion on the flange, making it easier to remove.

Flange-Off Toilet Flange Removal Tool
For professional use only to safely remove a toilet flange
As an affiliate, we earn on qualifying purchases.
As an affiliate, we earn on qualifying purchases.
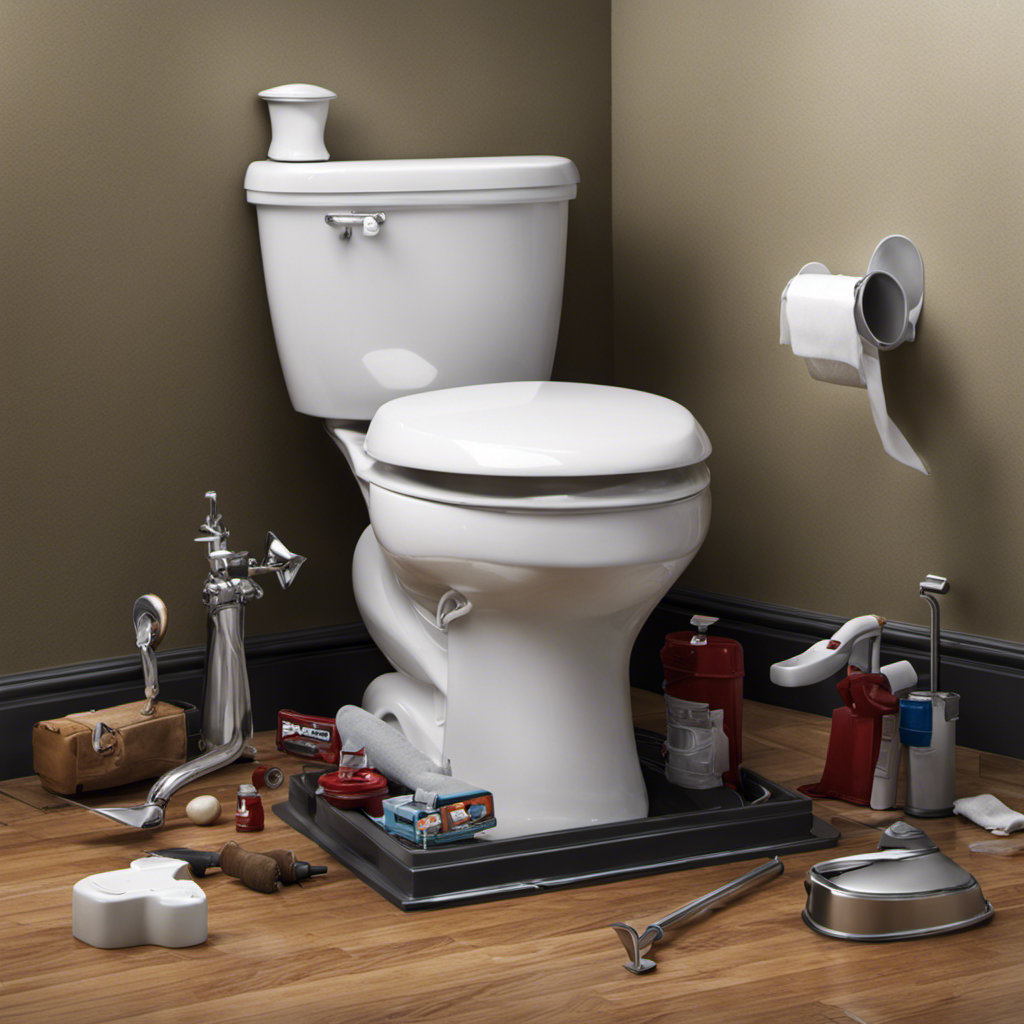
Tools Required for Removing Cast Iron Toilet Flange
You’ll need a few tools to remove a cast iron toilet flange. When it comes to repairing a cast iron toilet flange, there are a few alternatives to removing it, but sometimes removal is necessary.
To successfully remove a cast iron toilet flange, you will need the following tools: a hammer, a chisel, a reciprocating saw, a wrench, and a screwdriver. These tools will help you dislodge the flange and detach it from the floor.
The hammer and chisel will be used to break the seal between the flange and the floor. The reciprocating saw will come in handy for cutting through any bolts or screws that may be holding the flange in place. The wrench and screwdriver will be used to remove any remaining fasteners.
With these tools in hand, you’ll be well-prepared to tackle the task of removing a cast iron toilet flange. In the following section, I will provide you with a step-by-step guide to successfully remove the flange.

One N Done Toilet Flange Repair Kit – Toilet Kit For Low or Broken Flange. Toilet Wax Ring Replacement Kit W/Toilet Flange Extender Kit, Easy Toilet Bolts, & Toilet Caps For Bottom of Toilet. (1 Ea.)
Save Time & Money | No wax ring for toilet required. The One N Done toilet flange repair…
As an affiliate, we earn on qualifying purchases.
As an affiliate, we earn on qualifying purchases.
Step-By-Step Guide to Removing Cast Iron Toilet Flange
To begin, I carefully detach the wax ring from the old toilet flange. This step is crucial in removing the cast iron toilet flange without causing any damage. Here are some alternative methods and common mistakes to keep in mind:
- Use a putty knife to gently pry the wax ring away from the flange. Be careful not to scratch or chip the flange during this process.
- Apply heat to the wax ring using a hairdryer or heat gun. The heat will soften the wax, making it easier to remove.
- Use a plunger to create suction and pull the wax ring away from the flange. This method works best for stubborn or hardened wax rings.
Common mistakes to avoid:
- Applying too much force when detaching the wax ring can cause the flange to crack or break.
- Neglecting to wear protective gloves can result in burns or injury from the hot wax.
- Not properly cleaning the flange before installing a new wax ring can lead to leaks or improper sealing.

DEWALT ATOMIC 20V MAX* Reciprocating Saw, One-Handed, Cordless, Tool Only (DCS369B)
The cordless reciprocating saw is compact at only 12.5-inch front to back
As an affiliate, we earn on qualifying purchases.
As an affiliate, we earn on qualifying purchases.
Preparing the Bathroom Before Removing Cast Iron Toilet Flange
Before starting, make sure you have all the necessary tools and materials ready for the task. Removing a rusty cast iron toilet flange can be a challenging process, but with the right preparation, it can be done efficiently.
Firstly, gather a pair of safety gloves, safety goggles, adjustable wrench, hammer, hacksaw, and a putty knife. These tools will help you tackle any unforeseen obstacles that may arise during the removal process.
It’s also important to have a replacement toilet flange on hand in case the old one is beyond repair. If you’re looking for alternatives to removing a cast iron toilet flange, one option is using a repair kit specifically designed for this purpose. These kits often include a repair plate that can be installed over the existing flange, making the removal process unnecessary.
Another alternative is hiring a professional plumber who specializes in cast iron plumbing, as they may have more experience and expertise in dealing with this type of situation.

Clorox Toilet Plunger and Bowl Brush Combo with Caddy, 6.75 x 7 x 19.5 in, White/Gray
TOILET PLUNGER & BOWL BRUSH SET: This toilet brush and plunger set includes a coordinating hideaway caddy for…
As an affiliate, we earn on qualifying purchases.
As an affiliate, we earn on qualifying purchases.
Techniques for Loosening a Stubborn Cast Iron Toilet Flange
One effective technique for loosening a stubborn cast iron toilet flange is by using penetrating oil to help break up any rust or corrosion. This lubricant can seep into the tight spaces between the flange and the surrounding pipes, making it easier to remove. Here are three reasons why using effective lubricants can be beneficial in this process:
-
Penetrating oil: Penetrating oils, such as WD-40 or PB Blaster, are specifically designed to break up rust and corrosion. They can loosen the flange and make it easier to remove without damaging the surrounding pipes.
-
Ease of application: Applying penetrating oil is a simple process. Just spray or pour the lubricant onto the flange, making sure to cover all the affected areas. Allow it to sit for a few minutes to penetrate the rust and corrosion before attempting to remove the flange.
-
Cost-effective solution: Using effective lubricants is a cost-effective solution compared to other methods. It can save you time and money by preventing potential damage to the surrounding pipes and fittings during the removal process.
When removing a cast iron toilet flange, several common challenges can arise:
-
Rust and corrosion: Over time, the flange can become rusted or corroded, making it difficult to loosen and remove. Effective lubricants can help break down the rust and corrosion, facilitating the removal process.
-
Stubborn bolts: The bolts securing the toilet to the flange can become stuck due to rust or over-tightening. Proper lubrication can help loosen these bolts, making them easier to remove.
-
Flange damage: Removing a cast iron toilet flange can be tricky, and if not done carefully, it can lead to flange damage or even pipe damage. Using effective lubricants can reduce the risk of damage by making the removal process smoother and less forceful.
Tips for Safely Removing and Disposing of a Cast Iron Toilet Flange
When safely disposing of a cast iron toilet flange, make sure to follow local regulations for proper waste disposal.
Before removing the flange, take safety precautions such as wearing gloves and eye protection.
Start by shutting off the water supply and flushing the toilet to empty the tank and bowl.
Next, use a wrench or pliers to disconnect the bolts securing the flange to the floor.
Once the flange is detached, inspect it for any cracks or damage.
If it is in good condition, you can dispose of it as scrap metal at a local recycling center.
However, if it is damaged, it may need to be disposed of as hazardous waste.
Contact your local waste management facility for guidance on proper disposal methods.
Always prioritize safety and environmental responsibility when disposing of any material.
Frequently Asked Questions
Can a Cast Iron Toilet Flange Be Removed Without Removing the Toilet?
Yes, a cast iron toilet flange can be replaced without removing the toilet. However, it is recommended to remove the toilet for easier access and to ensure proper installation and sealing of the new flange.
How Long Does It Typically Take to Remove a Cast Iron Toilet Flange?
Typically, removing a cast iron toilet flange takes around 30-60 minutes. Tools needed include a reciprocating saw, chisel, hammer, and pliers. Start by removing the toilet, then use the tools to break and remove the rusted flange.
Can a Homeowner Remove a Cast Iron Toilet Flange on Their Own, or Is Professional Help Recommended?
As a homeowner, I’ve often wondered if I should tackle removing a cast iron toilet flange on my own. While DIY tips abound, there are undeniable benefits to seeking professional help.
What Should I Do if the Cast Iron Toilet Flange Is Too Rusted to Remove?
If the cast iron toilet flange is too rusted to remove, I would first try using a penetrating oil like WD-40 to loosen it. If that doesn’t work, alternative solutions could include using a reciprocating saw or calling a professional plumber. Rust prevention is important to avoid future issues.
Are There Any Special Precautions I Should Take When Removing a Cast Iron Toilet Flange to Prevent Damage to the Floor or Surrounding Plumbing?
To prevent floor and plumbing damage when removing a cast iron toilet flange, it’s important to take special precautions. Use the proper tools and techniques, such as gentle prying and lubrication, to ensure a successful and safe removal process.
Conclusion
After successfully removing the cast iron toilet flange, I felt a sense of satisfaction and relief. The process required patience, precision, and the right tools.
By following the step-by-step guide, I was able to loosen the stubborn flange and safely dispose of it.
The bathroom now awaits the installation of a new flange, ready to provide a sturdy and reliable foundation for the toilet.
Don’t hesitate to tackle this task yourself, as with the right techniques and precautions, it can be a rewarding DIY project.