I’ve got a handy guide for you on how to remove the flapper from your toilet. Trust me, it’s easier than it sounds!
In just a few simple steps, I’ll show you how to tackle this task like a pro. We’ll cover the tools you’ll need, walk you through the process, and even address common issues that may arise.
So, let’s roll up our sleeves and get ready to bid farewell to that pesky flapper!
Key Takeaways
- Regularly replacing the flapper ensures proper toilet function and prevents leaks.
- Signs it’s time to replace the flapper include constant water running, weak flush, and visible wear and tear.
- Flapper removal is a DIY plumbing project that requires turning off the water supply, disconnecting the flapper from the overflow tube, and removing it.
- If the flapper is stuck or difficult to remove, use pliers to grip and wiggle it while pulling upwards, or apply lubricant to the hinge to help loosen it.

Korky Ultra Standard 2-Inch Universal Toilet Flapper – Long Lasting Rubber – Easy to Install – Made in USA, 100BP
TOILET FLAPPER VALVE FITS MOST POPULAR 2 inch toilet brands including, but not limited to: American Standard, Kohler,…
As an affiliate, we earn on qualifying purchases.
As an affiliate, we earn on qualifying purchases.
Tools Needed for Flapper Removal
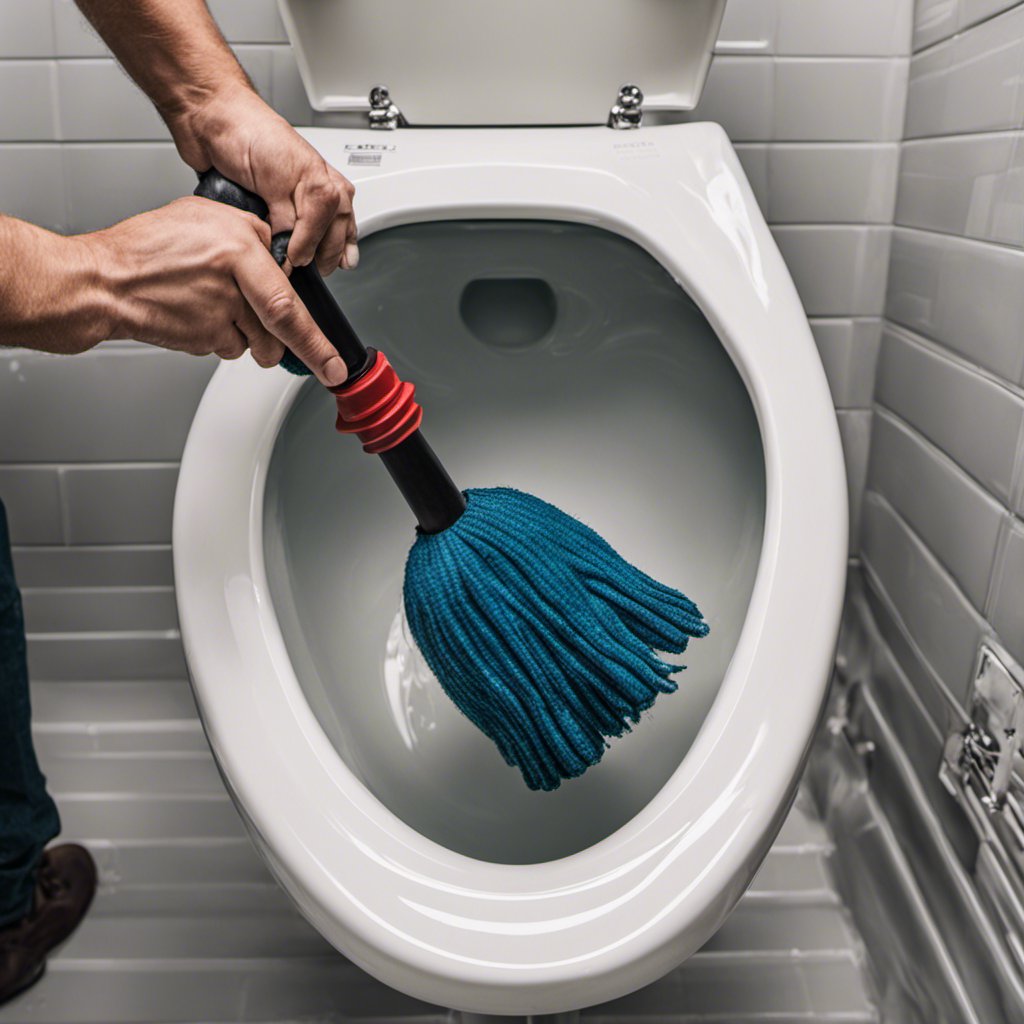
You’ll need a pair of pliers to help you remove the flapper from the toilet. Flapper removal is an essential part of toilet maintenance and can be easily done as a DIY plumbing project.
The flapper, located at the bottom of the toilet tank, controls the flow of water into the bowl. Over time, it may become worn or damaged, causing leaks or inefficient flushing.
To remove the flapper, start by turning off the water supply to the toilet. Then, flush the toilet to drain the tank. Use the pliers to disconnect the flapper from the overflow tube. Gently pull the flapper up and out of the tank.
With proper tools and knowledge, you can perform this simple task to maintain your toilet’s functionality.

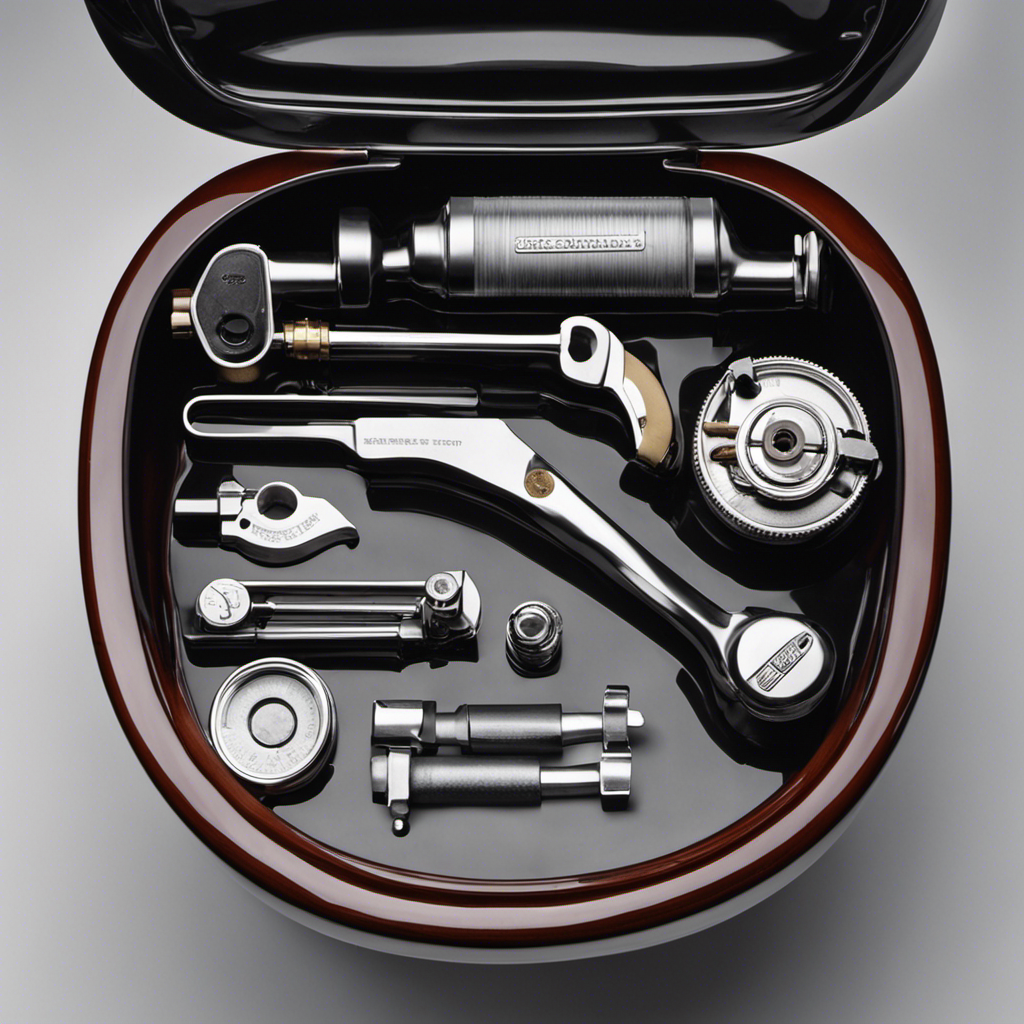
Fluidmaster Universal Install/Uninstall Toilet Repair Tool
Fluidmaster’s universal install and uninstall toilet tool makes any toilet repair job simple
As an affiliate, we earn on qualifying purchases.
As an affiliate, we earn on qualifying purchases.
Step-by-Step Guide to Removing the Flapper
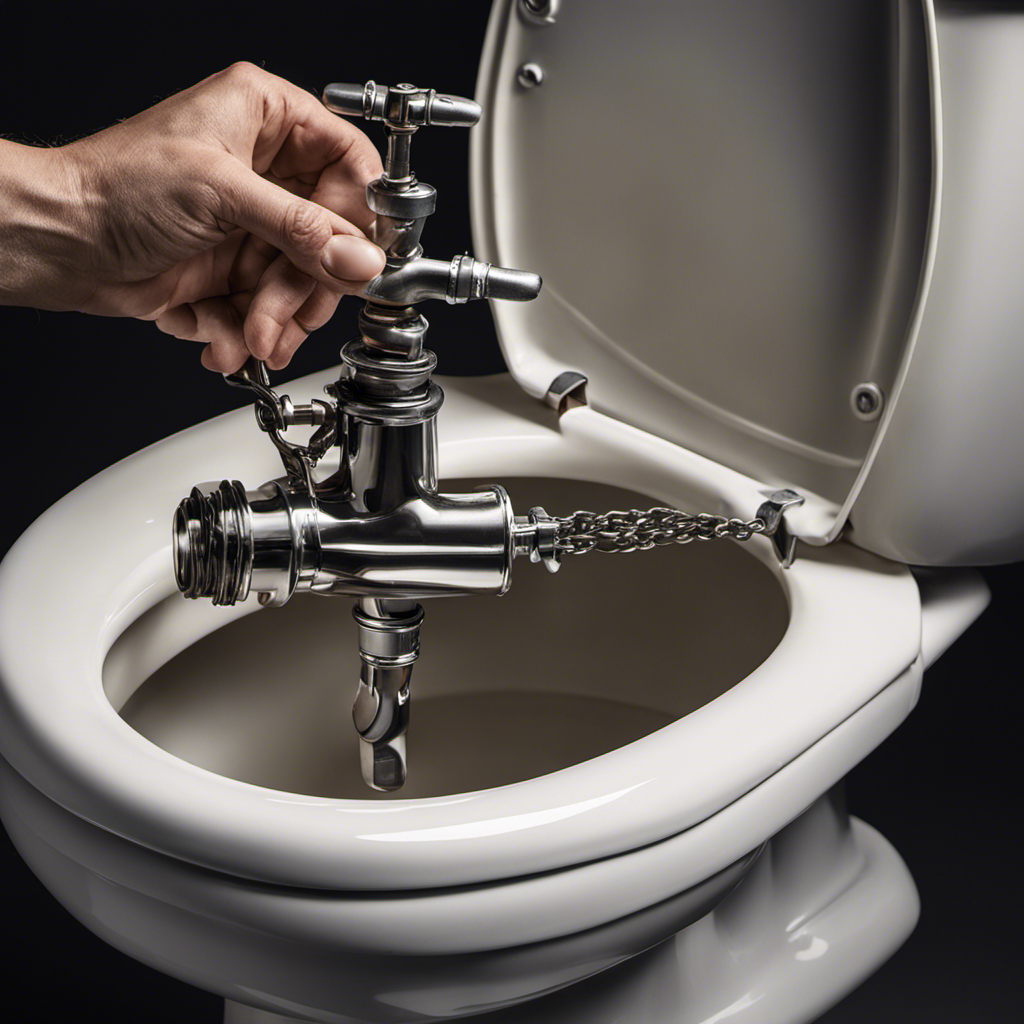
To begin, start by turning off the water supply to your toilet before proceeding with the step-by-step guide to taking out the flapper. Troubleshooting flapper removal can be a daunting task, but with the right tools and knowledge, it can be done efficiently.
Here is a detailed guide to help you in the process:
- Remove the tank lid and place it in a safe location.
- Flush the toilet to drain out any remaining water in the tank.
- Locate the flapper chain and disconnect it from the flush lever.
- Identify the flapper attachment points and remove any screws or clips holding it in place.
- Gently lift the flapper out of the tank and set it aside.
Fluidmaster Universal Install/Uninstall Toilet Repair Tool
Fluidmaster’s universal install and uninstall toilet tool makes any toilet repair job simple
As an affiliate, we earn on qualifying purchases.
As an affiliate, we earn on qualifying purchases.
Common Issues When Removing Flapper and How to Solve Them
If encountering difficulties, it’s helpful to seek professional assistance for any common issues that may arise when removing the flapper. However, there are some troubleshooting steps you can try before calling in the experts.
One common issue when removing the flapper is that it may be stuck or difficult to remove. In such cases, you can try using a pair of pliers to grip the flapper and gently wiggle it back and forth while pulling it upwards.
Another alternative method is to apply some lubricant, such as WD-40, to the flapper’s hinge to help loosen it. If the flapper is still not budging, you may need to disconnect the chain or lever arm attached to it before attempting to remove it.

WD-40 Specialist Silicone Lubricant with SMART STRAW SPRAYS 2 WAYS, 11 OZ
Use on a variety of surfaces – metal, rubber, vinyl, plastic and more. Use on 100s of items…
As an affiliate, we earn on qualifying purchases.
As an affiliate, we earn on qualifying purchases.
Tips and Tricks for a Smooth Flapper Removal Process
Before attempting to remove it, make sure to turn off the water supply to the toilet to avoid any potential water leakage.
Removing a flapper from a toilet can sometimes be challenging, but with the right techniques, it can be done smoothly. Here are some tips and tricks to help you in the process:
-
Troubleshooting flapper removal difficulties:
- Ensure the water supply is completely shut off.
- Use a wrench or pliers to loosen any stuck bolts or nuts.
- Apply lubricant to loosen any stuck parts.
- Gently wiggle and twist the flapper to loosen it from the flush valve.
-
Alternative methods for flapper removal:
- Try using a flapper removal tool, specifically designed for easy removal.
- Consider using a rubber glove or cloth for better grip and traction.
- Use a hairdryer to warm up the flapper, making it more pliable.
Regularly removing and replacing the flapper is essential to maintain the proper functioning of your toilet and prevent leaks.
Importance of Regularly Removing and Replacing the Flapper
Regularly replacing the flapper ensures your toilet functions properly and prevents potential leaks. The flapper is a crucial component of the toilet’s flushing mechanism, responsible for controlling the water flow from the tank to the bowl. Over time, the flapper can deteriorate, leading to problems such as continuous running water or weak flushes. By replacing the flapper, you can restore the efficiency of your toilet and prevent water wastage. Additionally, opting for a dual flush flapper offers even more benefits. Dual flush flappers allow you to choose between a partial flush for liquid waste and a full flush for solid waste, saving water with every use. So, how do you know when it’s time to replace your flapper? Look out for signs such as water constantly running into the bowl, a weak flush, or visible wear and tear on the flapper. Regular maintenance and prompt replacements will keep your toilet functioning optimally and save you from potential headaches down the line.
| BENEFITS OF USING A DUAL FLUSH FLAPPER | SIGNS THAT IT’S TIME TO REPLACE YOUR TOILET FLAPPER |
|---|---|
| Saves water with every flush | Water constantly running into the bowl |
| Allows for partial or full flush | Weak flush |
| Reduces water wastage | Visible wear and tear on the flapper |
Conclusion
In conclusion, removing the flapper from your toilet is a straightforward process that can be easily done with the right tools and a bit of patience. By following the step-by-step guide and addressing any common issues that may arise, you can ensure a smooth removal process.
Just like fixing a leaky faucet, removing the flapper is like unclogging the flow of water in your life. It’s a small task that can have a big impact on the overall performance and efficiency of your toilet.
So, don’t neglect this important maintenance task and keep your toilet running smoothly.