Hello there! Today, I’m going to guide you through the process of removing an old toilet. Trust me, it’s not as daunting as it may seem.
By following these step-by-step instructions, you’ll be able to handle this task with ease. From assessing the situation to detaching the toilet bowl, I’ll provide you with all the necessary information and tools you’ll need along the way.
So, let’s dive in and get that old toilet out of your way!
Key Takeaways
- Evaluate any plumbing issues (leaks, water damage).
- Ensure the new toilet will fit properly in the space.
- Shut off the water supply and repair any leaks before removing the toilet.
- Follow proper disposal methods and safety precautions throughout the process.
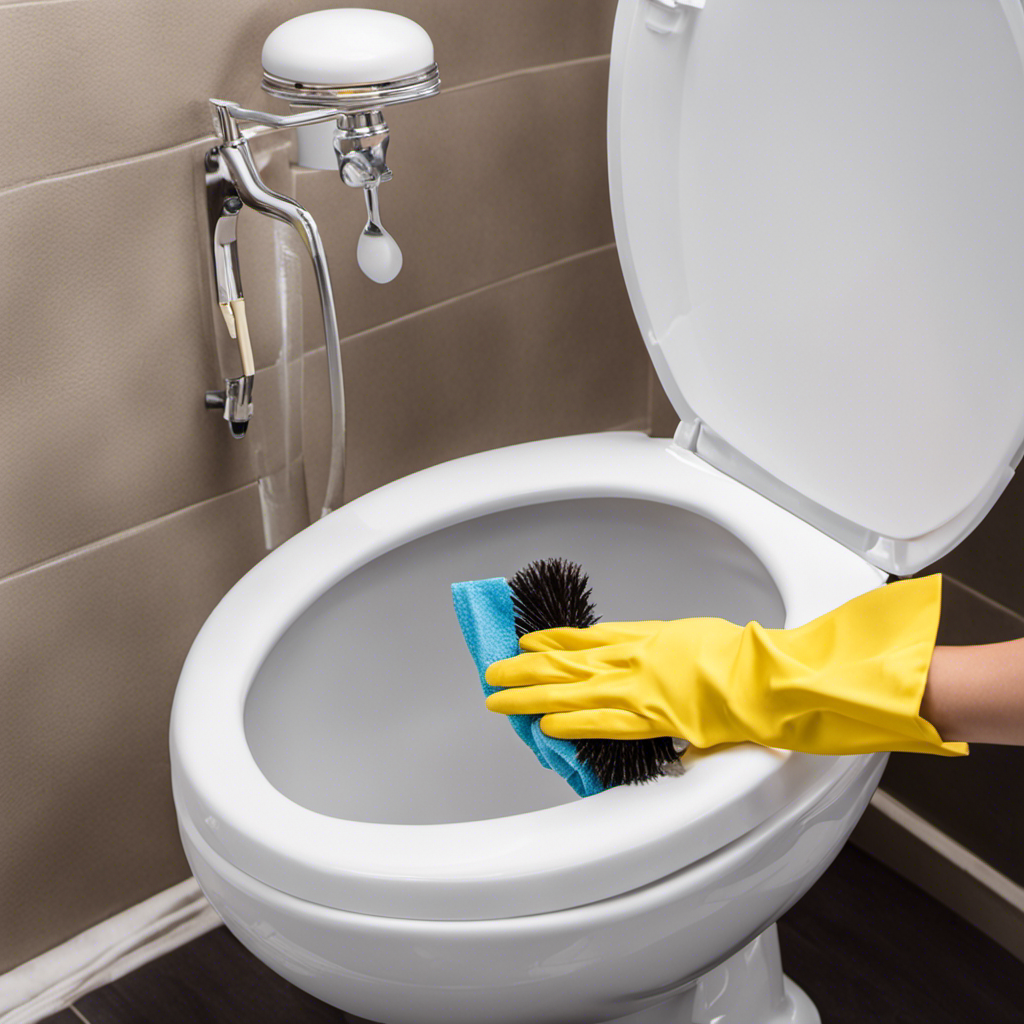
Assessing the Situation
Before you can remove the old toilet, you’ll need to take a look at the current situation. Start by evaluating any plumbing issues. Check for leaks or water damage around the base of the toilet and inspect the flushing mechanism to ensure it’s functioning properly. If there are any problems, it’s important to address them before proceeding with the removal process.
Additionally, consider your replacement options. Are you planning to install a new toilet of the same size and style, or are you considering upgrading to a different model? Take measurements of the space to ensure the new toilet will fit properly.
Once you have assessed the situation and made your decisions, you can move on to gathering the necessary tools for the removal process.
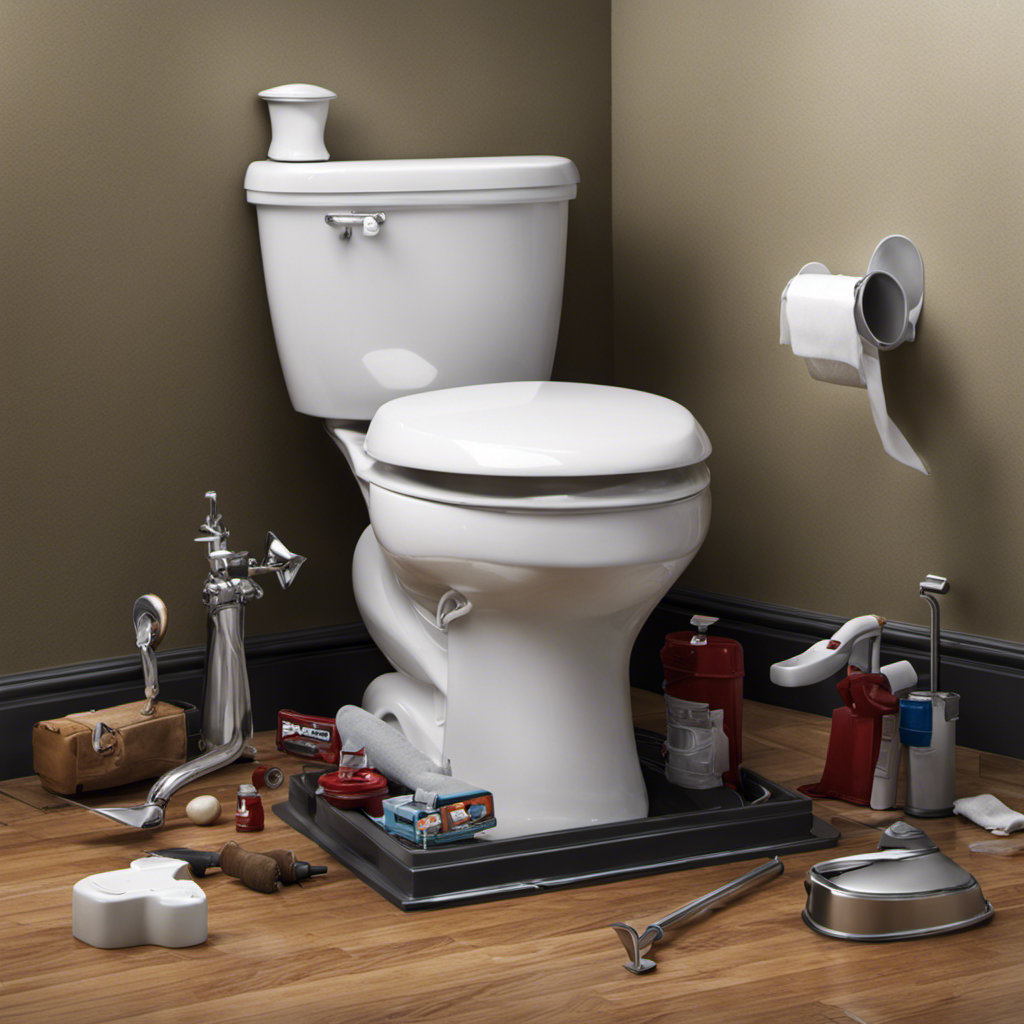
Gathering the Necessary Tools
To get started, you’ll need a few tools for the job.
When removing an old toilet, it’s important to follow proper disposal methods and take safety precautions.
First, gather a pair of gloves to protect your hands from any potential contaminants.
You’ll also need an adjustable wrench to loosen and remove the nuts that secure the toilet to the floor.
Additionally, a putty knife will come in handy for scraping off any old wax or caulk.
Lastly, a bucket or large container will be necessary to catch any water that may spill during the removal process.
Now that you have the necessary tools, let’s move on to the next step: shutting off the water supply.
Shutting Off the Water Supply
Once you’ve gathered the necessary tools, it’s important to shut off the water supply before proceeding. This step is crucial to ensure a smooth and safe repair or replacement process.
To shut off the water supply, follow these steps:
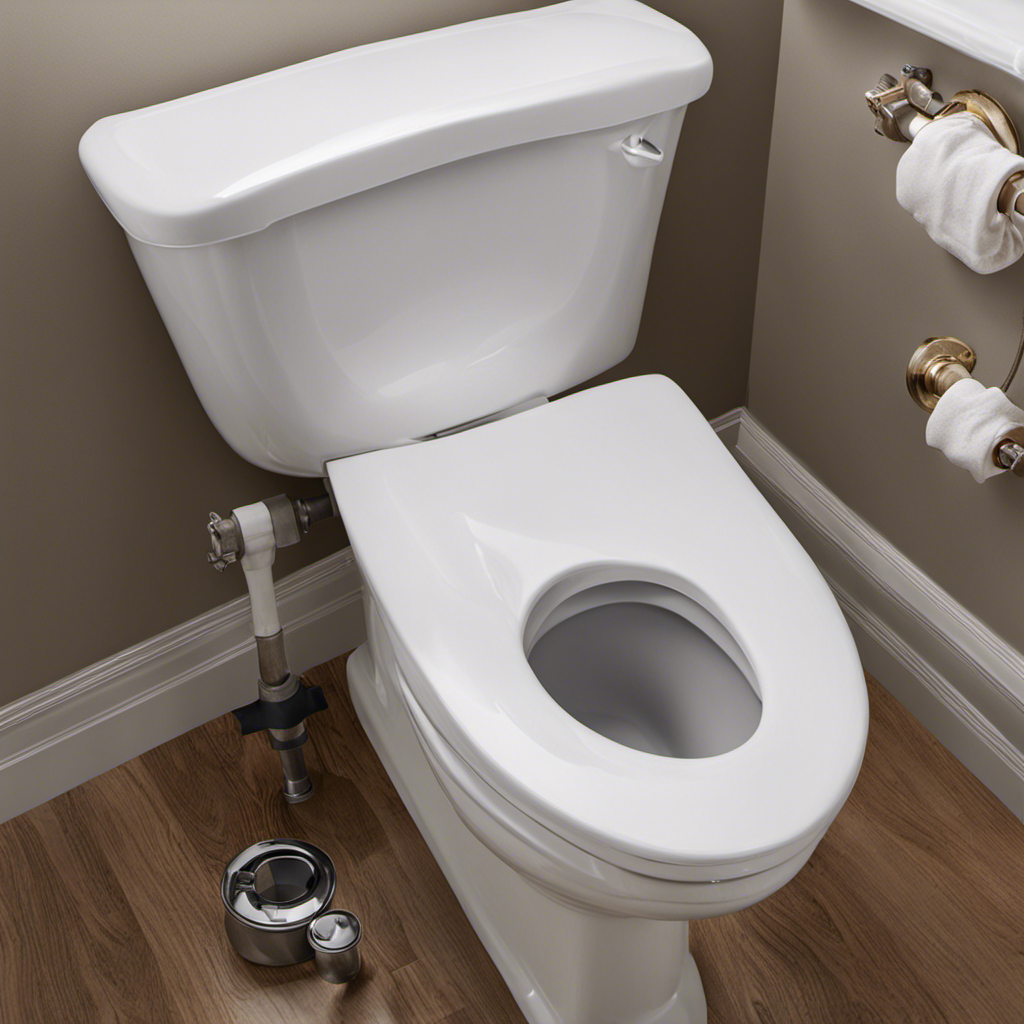
- Locate the water shut off valve, usually located near the base of the toilet or on the wall behind it.
- Turn the valve clockwise to shut off the water flow.
- Test the shut off by flushing the toilet and ensuring that no water fills the tank.
- If the shut off valve is faulty or leaking, consider replacing it to prevent further issues.
- Repair any leaking water supply lines before continuing with the removal process.
Removing the Toilet Tank
Now that the water supply is shut off, you can proceed with removing the tank. The toilet tank is an essential part of the toilet system, and it may need to be replaced if it is cracked, leaking, or outdated. Removing the tank requires a few simple steps:
-
First, gather the necessary tools: an adjustable wrench, a sponge or towel to soak up any remaining water, and a bucket to catch any water that may spill during the process.
-
Start by disconnecting the water supply line from the bottom of the tank using the adjustable wrench. Be careful not to damage the supply line or the fill valve.
-
Once the water supply line is disconnected, remove the nuts or bolts that secure the tank to the bowl. These can typically be found underneath the tank.
-
Carefully lift the tank away from the toilet bowl and set it aside. Be cautious as the tank can be heavy, and it may still have some water inside.
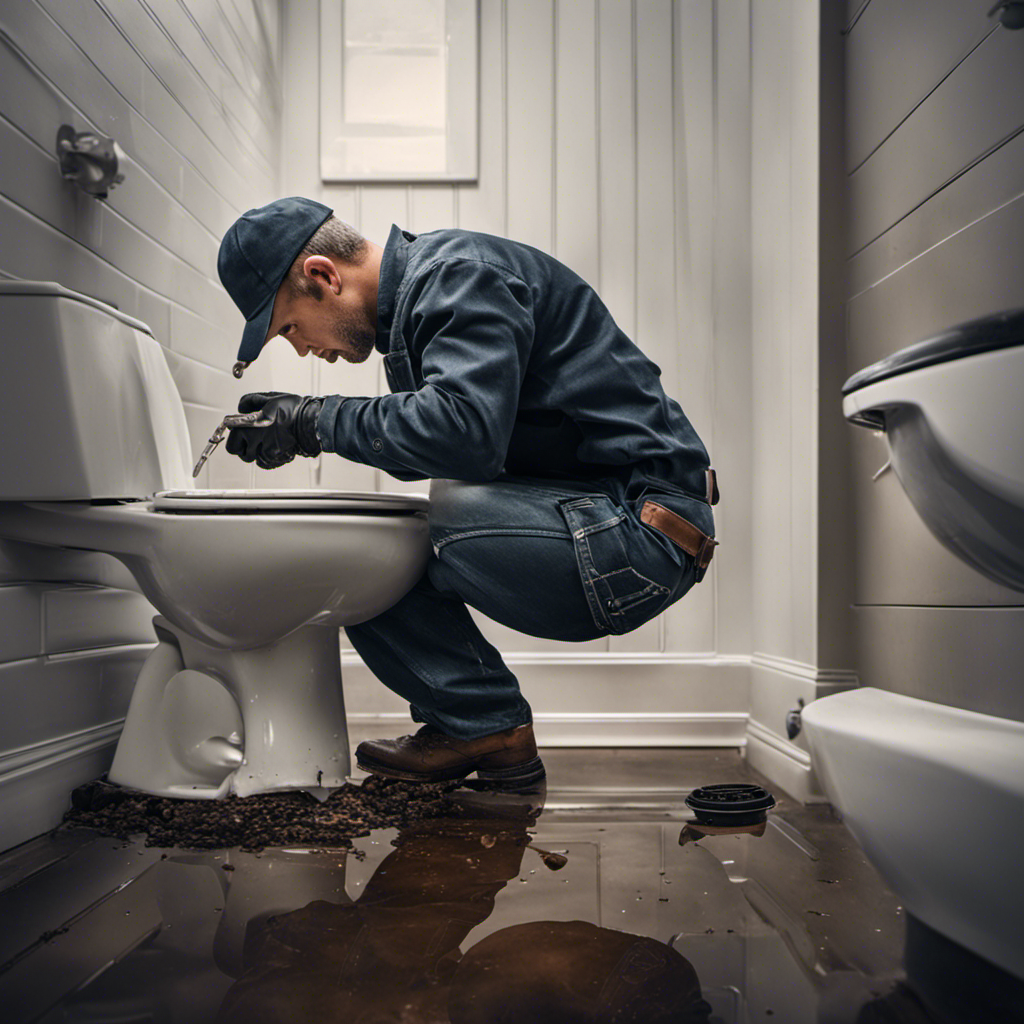
Detaching the Toilet Bowl
After disconnecting the tank, it’s time to detach the toilet bowl from the floor. This is an important step in the process of toilet bowl replacement or troubleshooting toilet leaks. Here are the steps to follow:
-
Turn off the water supply: Locate the shut-off valve near the toilet and turn it clockwise to stop the water flow.
-
Empty the tank: Flush the toilet and hold down the handle to drain as much water as possible from the tank.
-
Remove the caps: Unscrew the caps covering the bolts at the base of the toilet bowl.
-
Loosen the bolts: Use a wrench to loosen and remove the nuts from the bolts, which secure the bowl to the floor.
-
Lift and detach: With caution, lift the toilet bowl straight up to detach it from the floor flange.
Following these steps will allow you to successfully detach the toilet bowl and proceed with the necessary repairs or replacement.
Conclusion
Well, congratulations! You’ve successfully mastered the art of removing an old toilet. It may not be an Olympic sport, but it certainly requires skill, determination, and a strong stomach.
Now that you’ve bid farewell to your porcelain throne, you can revel in the joy of a bathroom free from the clutches of an outdated commode.
So go forth, my fellow toilet warriors, and spread the knowledge of toilet removal far and wide. May you never be burdened with a stubborn old toilet again!