Alright, folks, get ready for the ultimate guide on how to remove an RV toilet. I’ve got all the know-how and step-by-step instructions to make this daunting task a breeze.
With just a few tools and some preparation, we’ll have that old toilet out in no time. So, let’s dive in and get our hands dirty – trust me, it’ll be worth it to have a fully functioning and fresh-smelling RV bathroom.
Let’s get started!
Key Takeaways
- The tools needed for removing an RV toilet include gloves, protective eyewear, a wrench, a screwdriver, a bucket, and a tarp or trash bag.
- Preparing the RV for toilet removal involves using a wrench or pliers to disconnect the water line, using a bucket or container to catch any water or waste, wearing rubber gloves, and using an RV safe toilet cleaner to clean the toilet before removal.
- The step-by-step guide to removing an RV toilet includes removing the access panel, disconnecting the water line, unscrewing the nuts securing the toilet to the floor, lifting the toilet straight up, and cleaning and maintaining the toilet.
- Troubleshooting common issues during RV toilet removal involves inspecting nuts for rust or corrosion, using penetrating oil or lubricant to loosen stuck nuts, tapping nuts with a hammer to break rust or corrosion, considering replacing severely rusted or corroded nuts, and overcoming difficulties during the removal process.
Tools Needed for Removing an RV Toilet
To remove an RV toilet, you’ll need a few tools. Firstly, ensure your safety by wearing gloves and protective eyewear. The key tools required are a wrench, a screwdriver, and a bucket.
Before starting the removal process, it’s important to turn off the water supply and disconnect any electrical connections. Taking precautions during removal is crucial to avoid any damage or leaks.
Carefully unscrew the nuts and bolts securing the toilet to the floor. Once detached, lift the toilet and place it gently on a tarp or trash bag to prevent any mess. Remember to empty any remaining water from the toilet into the bucket.
With these tools and precautions, you’ll be able to safely remove your RV toilet.
Preparing the RV for Toilet Removal
Before you can begin taking out the RV toilet, you’ll want to make sure you have all the necessary tools and materials. Here are the items you’ll need to prepare for the task of replacing and cleaning your RV toilet:
- Wrench or pliers
- Bucket or container
- Rubber gloves
- RV safe toilet cleaner
Having these tools and materials ready will ensure a smooth and efficient process. To start, turn off the water supply to the toilet and flush it to remove any remaining water. Use the wrench or pliers to disconnect the water line and the bolts securing the toilet to the floor. Place the bucket or container underneath to catch any remaining water or debris. Once the toilet is detached, carefully lift it and set it aside. Now, you’re ready to move on to the step-by-step guide to removing an RV toilet.
Preparing the RV for toilet removal is an important step in the process of replacing and cleaning the RV toilet.
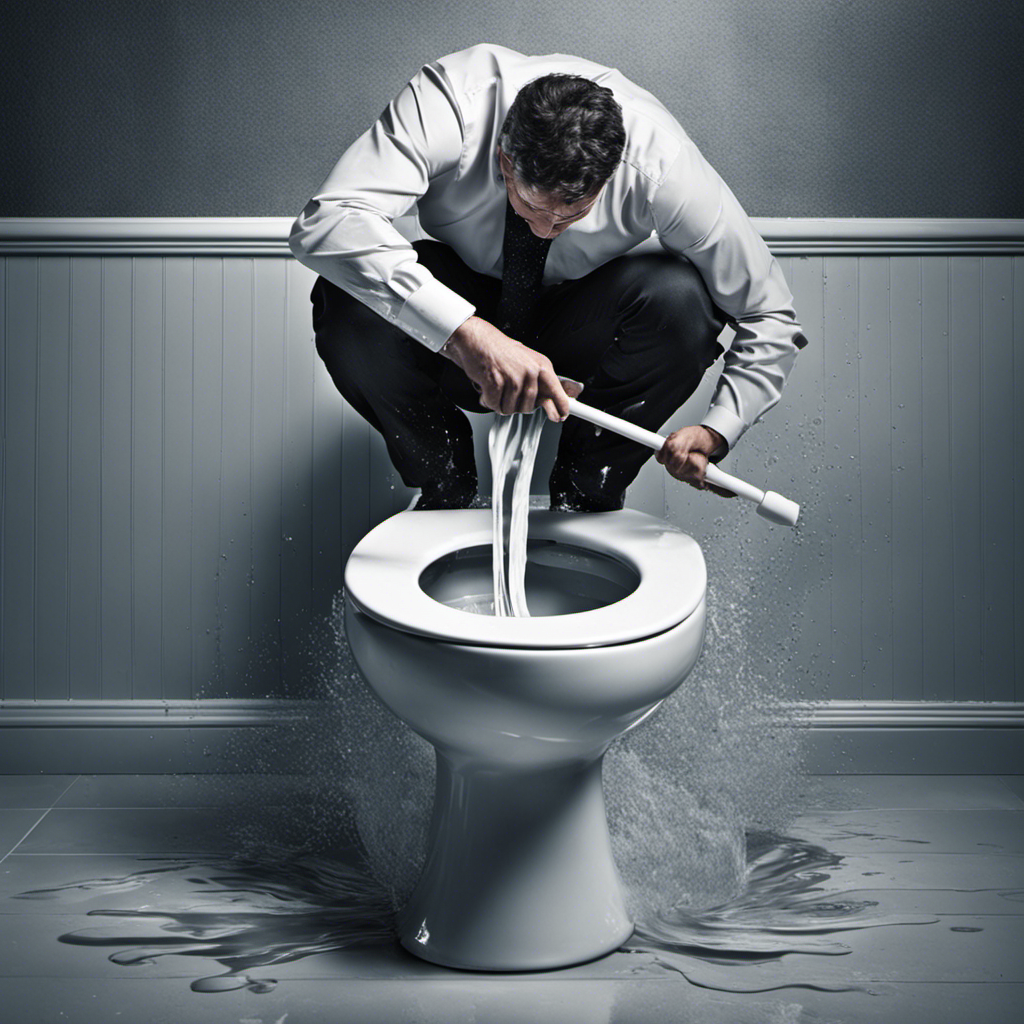
Step-by-Step Guide to Removing an RV Toilet
Once you’ve gathered all the necessary tools and materials, you can begin removing the RV toilet by following this step-by-step guide. It’s important to approach this task carefully to avoid common mistakes during RV toilet removal. Before starting, make sure to turn off the water supply and disconnect any electrical connections. Begin by removing the access panel at the base of the toilet. Next, disconnect the water line and unscrew the nuts that secure the toilet to the floor. Once the toilet is free, carefully lift it straight up, being cautious not to spill any remaining water. Now, let’s take a look at how to clean and maintain an RV toilet to ensure its longevity and functionality. You can refer to the table below for a quick overview of the cleaning and maintenance steps.
| Cleaning Steps | Maintenance Steps |
|---|---|
| Use RV-specific toilet cleaner | Regularly inspect and clean the seals |
| Scrub the bowl with a brush | Check for any leaks or cracks |
| Flush the toilet multiple times | Lubricate moving parts with silicone spray |
| Clean the exterior surfaces | Empty and clean the holding tank regularly |
| Use a deodorizer for a fresh scent | Keep the toilet covered when not in use |
Troubleshooting Common Issues During RV Toilet Removal
If you’re experiencing difficulties during the removal process, try checking the nuts securing the toilet to the floor for any signs of rust or corrosion. This could be a common issue affecting the removal process of an RV toilet.
Here are some troubleshooting tips to help you overcome such problems:
- Inspect the nuts securing the toilet to the floor for rust or corrosion.
- Use a penetrating oil or lubricant to loosen the nuts if they are stuck.
- Gently tap the nuts with a hammer to break any rust or corrosion.
- If the nuts are severely rusted or corroded, consider replacing them with new ones.
Tips for Properly Disposing of an RV Toilet
When disposing of an RV toilet, make sure to follow local regulations and guidelines for proper waste disposal. It is important to consider the proper disposal methods to minimize the environmental impact.
One option is to empty the waste tank at designated RV dump stations. These stations are equipped with facilities to safely dispose of waste, preventing contamination of water sources.
Another method is to hire professional waste removal services that specialize in RV waste disposal. They have the necessary equipment and knowledge to handle and dispose of the waste properly.
It is crucial to avoid dumping RV waste in unauthorized areas, such as storm drains or public restrooms, as this can lead to pollution and health hazards.
Conclusion
In conclusion, removing an RV toilet can be a daunting task, but with the right tools and preparation, it can be done smoothly.
Just like removing a toilet symbolizes a fresh start or a clean slate, removing an RV toilet can symbolize a new adventure or journey.
By following the step-by-step guide and troubleshooting any issues that may arise, you can ensure a successful removal.
Remember to dispose of the toilet properly, as it is an important part of maintaining a clean and sanitary RV.

Liam’s journey with us started as a consumer. Having faced challenges while setting up his own modern bathroom, he delved deep into research.
Recognizing his knack for simplifying complex information and his authentic writing style, we were thrilled to welcome him aboard. Liam’s articles often merge practicality with style, ensuring readers find the perfect fit for their homes. Liam is an avid hiker off-duty and often jokes about finding the best “natural toilets” Mother Earth has to offer.