
As I stand before the porcelain throne, its time has come to be dethroned.
In this guide, I will share the steps to remove a toilet bowl with ease. From shutting off the water supply to disassembling the components, I will provide you with detailed instructions to complete this task.
So, grab your tools and prepare to bid farewell to the old bowl as we embark on this journey of toilet transformation together.
Let’s get started!
Key Takeaways
- Prepare the necessary tools and materials for removal, including pliers or wrench, bucket or towels, putty knife or scraper, utility knife, lubricant, and adjustable wrench.
- Locate and shut off the water supply valve, then flush the toilet to drain remaining water and disconnect the water supply line from the tank.
- Remove the tank and detach the bowl from the floor by loosening and removing nuts, lifting the tank gently, and cleaning and repairing the floor.
- When removing the old toilet bowl and installing a new one, dispose of the old bowl according to guidelines, place a wax ring onto the flange for a watertight seal, lower the new bowl onto the wax ring, and ensure stability and leveling using a level and by tightening the bolts evenly.

Plumber's Toilet Lift & Carry Tool | Easily Line up T-Bolts | USA & Patented | Pick Up Stix®
Adds lifting handle to toilet, Move Toilets with 1 Hand
As an affiliate, we earn on qualifying purchases.
As an affiliate, we earn on qualifying purchases.
Preparing for Removal
Before you can remove the toilet bowl, you’ll need to gather the necessary tools and materials. Here is a preparation checklist to ensure you have everything you need.
- First, you’ll need a pair of pliers or a wrench to loosen the bolts.
- It’s also a good idea to have a bucket or towels on hand to catch any water that may spill during the process.
- Next, you’ll need a putty knife or scraper to remove the wax ring that seals the toilet to the floor.
- Additionally, you may need a utility knife to cut through any caulk or adhesive that may be holding the toilet in place.
- Finally, make sure you have some lubricant, such as WD-40, to help loosen any stubborn bolts.
Now that you have your tools ready, let’s move on to some tips for removing stubborn bolts.

Hibbent Extra Thick Toilet Wax Ring Replacement Kit, Universal Toilet Seal Ring with Brass Toilet Floor Bolts and Retainer Washers, PE Flange Fits 3 Inch and 4 Inch Drain Pipes
Universal Toilet Wax Ring: The Hibbent toilet flange is compatible with 3-inch and 4-inch waste lines, suitable for…
As an affiliate, we earn on qualifying purchases.
As an affiliate, we earn on qualifying purchases.
Shutting Off the Water Supply
To prevent any leaks, you’ll need to shut off the water supply before starting the removal process. This is an important step in preventing water damage and ensuring a smooth removal. Here’s how I recommend turning off the water supply:
- Locate the water shut-off valve, which is usually located behind or near the toilet.
- Turn the valve clockwise to shut off the water flow. You may need to use a wrench if the valve is difficult to turn.
Once the water supply is shut off, flush the toilet to drain any remaining water in the tank and bowl. Then, disconnect the water supply line from the bottom of the tank using an adjustable wrench.

WORKPRO 2-Piece Adjustable Wrench Set, 6-Inch & 10-Inch Wide Jaw Black Oxide Wrench, Cr-V Steel, Metric & SAE Scales, Max Jaw Opening 15/16" & 1-5/16", for Home Repairs, Plumbing, Garage Work
DUAL-SIZE SET FOR VERSATILE USE: This 2-piece set includes 6-inch and 10-inch adjustable wrenches, designed for everyday household…
As an affiliate, we earn on qualifying purchases.
As an affiliate, we earn on qualifying purchases.
Removing the Tank
When it comes to removing the tank of a toilet, there are a few key points to keep in mind.
First and foremost, it is important to follow the proper steps to ensure a smooth and successful removal process.
Additionally, having the right tools on hand will make the task much easier and more efficient.
In this discussion, I will guide you through the proper tank removal process and highlight the essential tools you will need to get the job done.
Proper Tank Removal
The first step in removing the toilet tank is by disconnecting the water supply. This is an important step to prevent any water spills or leaks during the removal process.
To do this, locate the shut-off valve near the base of the toilet and turn it clockwise until it is fully closed. Once the water is shut off, flush the toilet to remove any remaining water in the tank.
Now you’re ready to remove the tank. Here are some tips to ensure proper tank removal:
- Remove the tank lid by lifting it straight up and setting it aside.
- Use an adjustable wrench to loosen and remove the nuts connecting the tank to the bowl.
- Carefully lift the tank straight up and set it down on a soft surface to avoid any damage.
Tools Needed for Removal
You’ll need an adjustable wrench to loosen and remove the nuts connecting the tank to the bowl. This is an essential tool for this task.
In addition to the adjustable wrench, you will also need a screwdriver, preferably a flathead or Phillips head, depending on the type of screws used to secure the tank to the bowl. These tools are necessary for a smooth and successful removal process.
When working with these tools, it is important to take safety precautions. Make sure to wear protective gloves to prevent any injuries. Additionally, shut off the water supply to the toilet before starting the removal process. This will ensure that no water leaks occur during the process.
Plumber's Toilet Lift & Carry Tool | Easily Line up T-Bolts | USA & Patented | Pick Up Stix®
Adds lifting handle to toilet, Move Toilets with 1 Hand
As an affiliate, we earn on qualifying purchases.
As an affiliate, we earn on qualifying purchases.
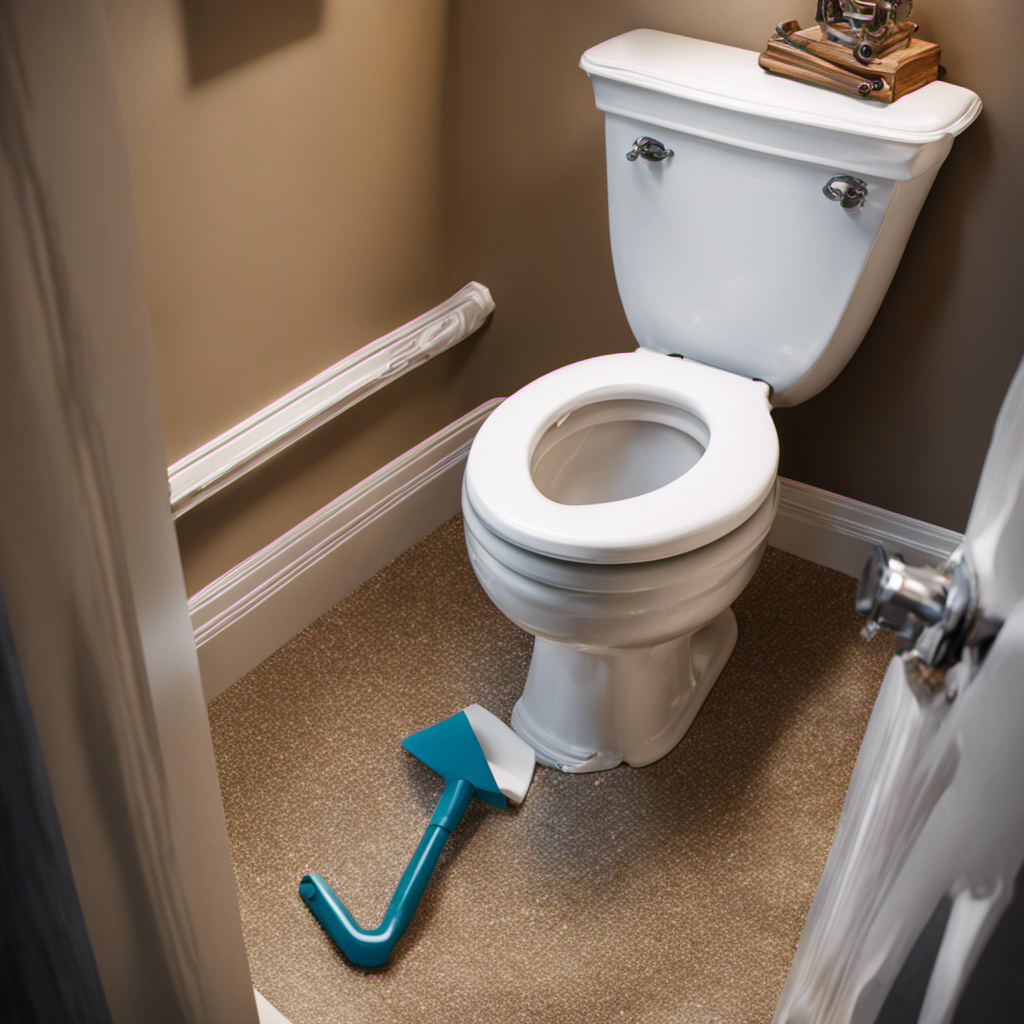
Detaching the Bowl From the Floor
When it comes to properly detaching the toilet bowl from the floor, there are a few key points to keep in mind.
First, it is important to ensure that the floor is prepared for removal by disconnecting the water supply and draining the tank.
Additionally, having the right tools on hand is crucial for a successful removal. These tools include a wrench or pliers to loosen the bolts, a putty knife to scrape away any old wax or caulk, and a bucket to catch any excess water.
Proper Floor Detachment
First, check if the floor around the toilet is securely attached before attempting to remove the toilet bowl. Proper floor cleaning and repair are essential to ensure a smooth and successful removal process. Here are some important steps to follow:
-
Start by thoroughly cleaning the floor around the toilet. Use a gentle cleaner to remove any dirt, grime, or stains.
-
Inspect the floor for any signs of damage or rot. If there are any issues, it is crucial to address them before proceeding with the removal.
-
Repair any cracks or loose tiles in the floor. This will help prevent further damage during the removal process.
By taking the time to properly clean and repair the floor, you can ensure a secure and stable base for the toilet bowl removal. This will make the entire process much easier and safer.
Now, let’s move on to the tools needed for removal.
Tools Needed for Removal
To ensure a smooth removal process, make sure you have all the necessary tools on hand. Having the right tools is essential when it comes to toilet bowl replacement or repair. Here are the tools you’ll need:
-
Adjustable wrench: This will help you loosen the nuts that hold the toilet bowl in place.
-
Screwdriver: You’ll need a screwdriver to remove any screws or bolts that secure the toilet bowl to the floor.
-
Putty knife: A putty knife will come in handy for scraping off any old caulk or wax ring that may be holding the toilet bowl in place.
-
Bucket: It’s important to have a bucket nearby to catch any water that may spill during the removal process.
Having these tools ready will make the removal process much easier. Now that you have everything you need, let’s move on to disassembling the toilet components.
Disassembling the Toilet Components
Before you begin disassembling the toilet components, make sure to turn off the water supply. This is an important step to prevent any water damage or leaks during the process.
Now, let’s get started with the disassembly.
- Remove the toilet tank lid by lifting it straight up and setting it aside.
- Disconnect the water supply line from the fill valve by unscrewing the nut.
- Use a wrench to loosen and remove the bolts that secure the toilet tank to the bowl.
- Carefully lift the tank off the bowl and set it aside.
Next, remove the bolt caps at the base of the toilet bowl.
- Loosen and remove the nuts that secure the toilet bowl to the floor flange.
- Gently rock the bowl from side to side to break the seal, then lift it off the flange.
Remember to handle each component with care to avoid any damage. Proper disassembly is crucial for future toilet bowl installation and maintenance.
Cleaning and Disposing of the Old Bowl
Now, it’s time to clean and dispose of the old bowl. Cleaning the toilet bowl is an essential part of the removal process to ensure a hygienic environment.
Begin by wearing rubber gloves and using a toilet brush to scrub the bowl thoroughly, paying attention to any stains or mineral deposits.
Next, flush the toilet to remove any remaining water.
To dispose of the old toilet bowl, check with your local waste management facility for specific guidelines. Some areas may allow you to place it curbside for regular trash pickup, while others may require you to take it to a designated disposal site. Proper disposal is important to prevent any environmental hazards.
With the old bowl removed and disposed of, it’s time to move on to installing a new toilet bowl.
Installing a New Toilet Bowl
You’ll want to start by placing the wax ring onto the flange, making sure it is centered and secure. This is an important step in installing a new toilet bowl because it creates a watertight seal and prevents leaks.
Once the wax ring is in place, you can lower the toilet bowl onto it, making sure it lines up with the flange bolts.
Here are some tips to consider when installing a new toilet bowl:
- Choose the right toilet bowl: Consider the size, shape, and style of the toilet bowl that will best fit your bathroom decor and personal preferences.
- Measure the rough-in: Make sure to measure the distance from the wall to the center of the flange to ensure the toilet bowl will fit properly.
- Use a level: Ensure that the toilet bowl is level before tightening the bolts to prevent rocking or instability.
Conclusion
In conclusion, removing a toilet bowl may seem daunting, but it can be done successfully with the right preparation and steps.
First, shut off the water supply and drain the tank. Next, remove the tank from the bowl. Then, detach the bowl from the floor by loosening the bolts and carefully lifting it off. Finally, disassemble the components and clean them before disposing of the old bowl.
It is important to dispose of the old bowl properly and follow any local regulations.
One example of the emotional impact of toilet bowl removal is when a family’s bathroom renovation project is complete. They can finally enjoy a fresh and updated space, which brings a sense of satisfaction and joy.