
Hey there! Ever wondered how to remove a stubborn toilet paper holder from your bathroom wall? Well, I’ve got you covered.
In this article, I’ll walk you through the step-by-step process of removing that pesky holder with ease.
From locating the mounting screws to patching up the wall afterwards, I’ll provide all the knowledge and guidance you need.
So, let’s get started and bid farewell to that old toilet paper holder once and for all!
Key Takeaways
- Screwdriver and pliers are necessary tools for removing the toilet paper holder.
- Different types of holders require specific removal steps (wall-mounted, recessed, freestanding).
- When removing a wall-mounted holder, locate and unscrew the mounting screws first, then detach the holder from the wall by unscrewing the mounting brackets.
- After removal, patch and repair the wall by filling the holes, smoothing the compound, and applying a coat of primer before cleaning and finishing touches.

GIOTOHUN Cat Water Fountain Filter: 12 Cat Fountain Filter Replacement - 12 Pet Fountains Filters Replacement - 6 Filters & 6 Sponges - Suitable for ATMZIQXR GIOTOHUN KOOGMOON UMOCUOY IHOUONE HOOISE
- Compatible with GIOTOHUN Stainless Steel Fountain: Fits GIOTOHUN 2.2L cat water dispenser
- Set of 12 Filters: Includes 6 carbon and 6 sponge filters
- Long-lasting Filters: Suitable for 3-6 months of use
As an affiliate, we earn on qualifying purchases.
Tools and Materials Needed
To remove the toilet paper holder from the wall, you’ll need a screwdriver and some pliers. Proper installation techniques are crucial to ensure the durability and stability of the toilet paper holder.
There are different types of toilet paper holders available in the market, such as wall-mounted holders, freestanding holders, and recessed holders. Each type requires specific steps for removal.
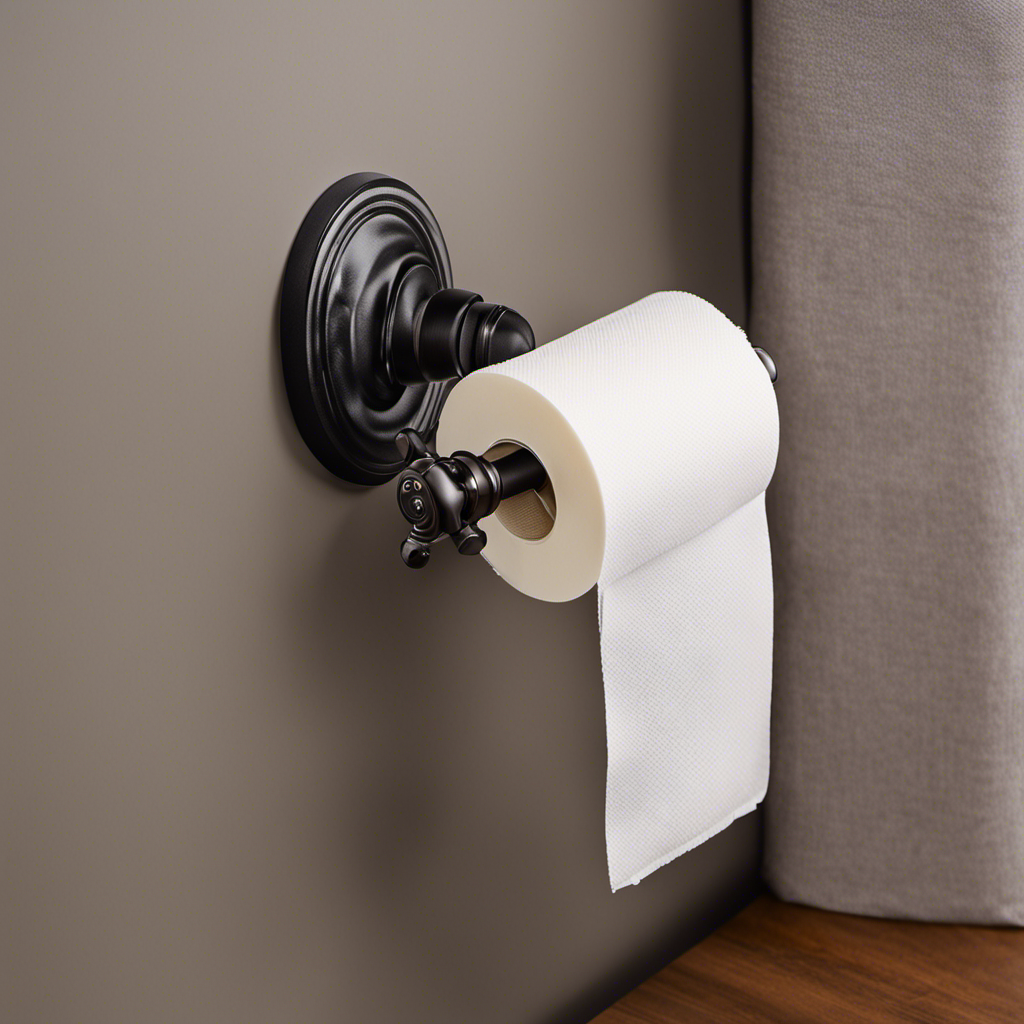
For wall-mounted holders, locate the screws securing the holder to the wall and use a screwdriver to loosen them. Once the screws are removed, gently pull the holder away from the wall.
If the holder is recessed, carefully pry it out using pliers. Freestanding holders can be easily lifted off the floor.
Remember to follow the manufacturer’s instructions for proper removal to avoid any damage to the wall or the holder itself.
Step 1: Locating and Removing Mounting Screws
First, you’ll need to find the mounting screws and take them out. Locating and removing the mounting screws is an essential step in removing a toilet paper holder from the wall. Here’s how to do it:
-
Look for the screws: Start by visually inspecting the toilet paper holder. The screws are usually located on the underside of the holder or on the sides near the wall.
-
Gather the necessary tools: To remove the screws, you’ll need a screwdriver that matches the type of screws used. It could be a flathead or Phillips head screwdriver.
-
Unscrew the mounting screws: Insert the screwdriver into the screw heads and turn counterclockwise to loosen and remove the screws. Be careful not to apply too much force to avoid damaging the wall or the holder.
Step 2: Detaching Toilet Paper Holder From Wall
Now you’ll need to detach the toilet paper holder from the wall by carefully unscrewing the mounting brackets. This step is crucial in the process of repairing your bathroom or replacing the toilet paper holder.
To begin, locate the screws that hold the brackets in place. Once located, use a screwdriver to turn them counterclockwise, loosening them until the brackets are no longer secured to the wall. Take care not to damage the wall surface during this process.
Once the mounting brackets are removed, gently pull the toilet paper holder away from the wall.
Now, we can move on to step 3: patching and repairing the wall, ensuring a seamless finish for your bathroom.
Step 3: Patching and Repairing Wall
Once the brackets are unscrewed, you can proceed to patch and repair the wall for a seamless finish. Here are the steps to follow:
-
Clean the area: Use a damp cloth to remove any dust or debris from the wall surface. This will ensure a clean and smooth patching process.
-
Patch the holes: Fill the holes left by the screws using a drywall patching compound. Smooth it out with a putty knife and let it dry completely.
-
Sand and prime: Once the compound is dry, sand it lightly to create a smooth surface. Then, apply a coat of primer to the patched area. This helps the paint adhere better and provides a consistent finish.
Now that the wall is patched and primed, it’s time to move on to the next step: cleaning and finishing touches.
Step 4: Cleaning and Finishing Touches
After the wall has been patched and primed, you can start cleaning and adding the finishing touches. Cleaning is an essential step to ensure a polished look for your newly repaired wall.
To clean the area, use a mild detergent mixed with warm water and a soft cloth. Gently wipe the surface, removing any dust or residue that may have accumulated during the repair process.
Once the wall is clean, it’s time to consider alternative storage options. If you’re looking to free up space or add a decorative element, consider installing floating shelves or a wall-mounted organizer. These options not only provide storage but also enhance the overall aesthetic of the room.
Remember to measure and install them properly to ensure stability and functionality.
Conclusion
Removing a toilet paper holder from the wall may seem like a simple task, but it requires careful attention to detail. By following the steps outlined in this article and using the proper tools and materials, you can successfully remove the holder without causing any damage to your wall.
Remember to take your time and be patient throughout the process. So, are you ready to tackle this DIY project?
Stay tuned for the full step-by-step guide and get ready to transform your bathroom!