Looking to remove that pesky toilet wax ring? Wondering how to tackle the task with ease and expertise? Well, have no fear! This article is here to guide you through the process step-by-step, providing all the necessary information and tips to ensure a successful removal.
From the required tools and materials to troubleshooting tips, we’ve got you covered.
So, are you ready to become a plumbing pro and bid farewell to that wax ring once and for all? Let’s get started!
Key Takeaways
- Use gloves, a putty knife, and a wrench for the removal process.
- Disconnect the water supply and remove excess water before starting.
- Inspect and clean the area, including the wax ring and flange.
- Properly dispose of the wax ring in a designated trash bin.
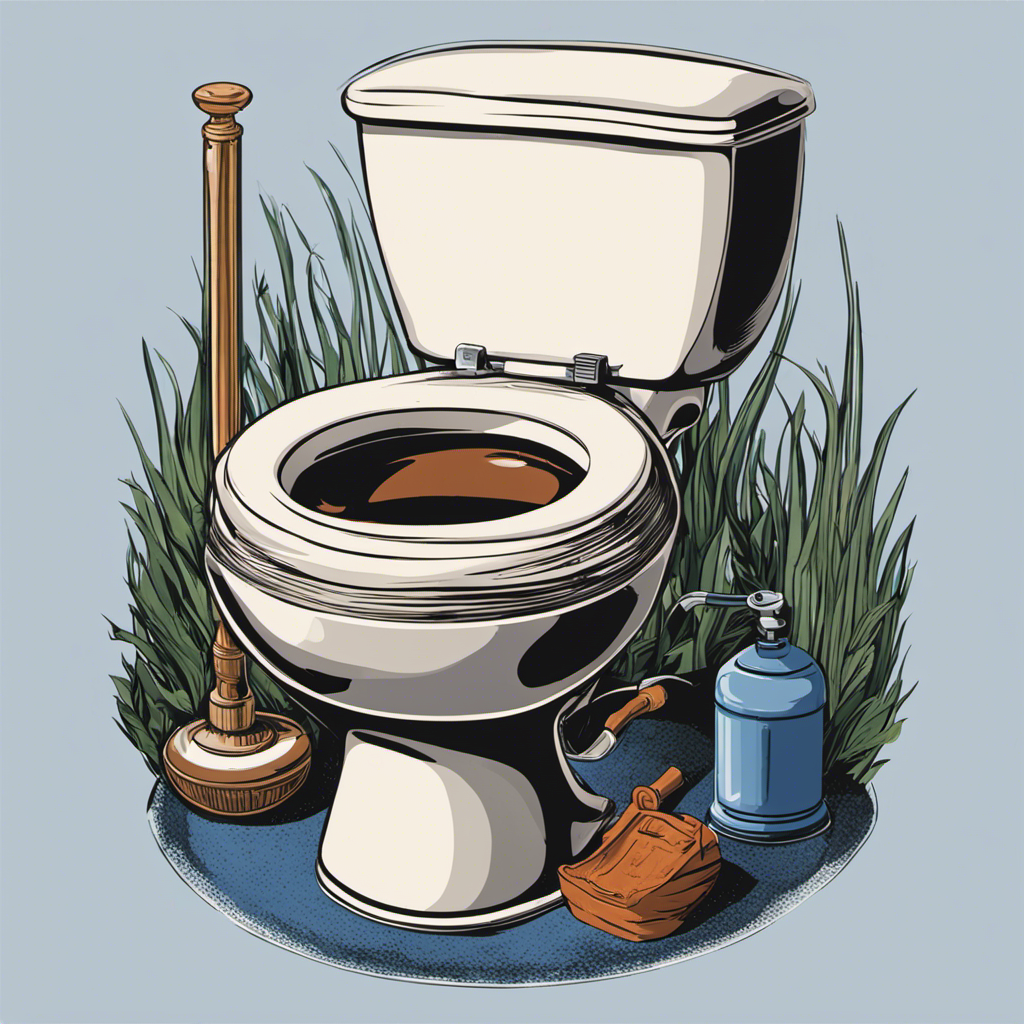
toilet wax ring removal tool
As an affiliate, we earn on qualifying purchases.
As an affiliate, we earn on qualifying purchases.
Required Tools and Materials
You’ll need a few tools and materials to properly remove the toilet wax ring. First, gather a pair of gloves, a putty knife, and a wrench. Additionally, have a bucket or container ready to catch any water that may spill during the process.
To begin, shut off the water supply to the toilet by turning the valve clockwise. Next, flush the toilet to drain as much water as possible.
Now, locate the bolts securing the toilet to the floor. Use the wrench to loosen and remove these bolts. Carefully lift the toilet, keeping it level, and place it aside.
With the toilet removed, you will now see the toilet flange, which is the connection between the toilet and the sewer pipe. This is where the wax ring is located, sealing the connection.
In the next section, we will discuss the steps involved in removing the wax ring and completing the toilet installation.

Hibbent Extra Thick Toilet Wax Ring Replacement Kit, Universal Toilet Seal Ring with Brass Toilet Floor Bolts and Retainer Washers, PE Flange Fits 3 Inch and 4 Inch Drain Pipes
Universal Toilet Wax Ring: The Hibbent toilet flange is compatible with 3-inch and 4-inch waste lines, suitable for…
As an affiliate, we earn on qualifying purchases.
As an affiliate, we earn on qualifying purchases.
Preparation Steps
Before starting, make sure you have all the necessary tools and supplies for the preparation steps. Gathering these items will ensure a smooth and efficient process of removing the toilet wax ring.
You will need:
- Adjustable pliers
- Putty knife
- Bucket
- Gloves
- Towel
Safety precautions are crucial, so make sure to wear protective gloves to avoid any contact with harmful bacteria or chemicals. Additionally, it’s recommended to turn off the water supply to the toilet and flush it to empty the tank before starting. This will prevent any water leakage or spillage during the removal process.
Alternative methods may include using a wax ring remover tool or applying heat to soften the wax before removal. However, the standard method described below is the most commonly used and effective technique for removing a toilet wax ring.
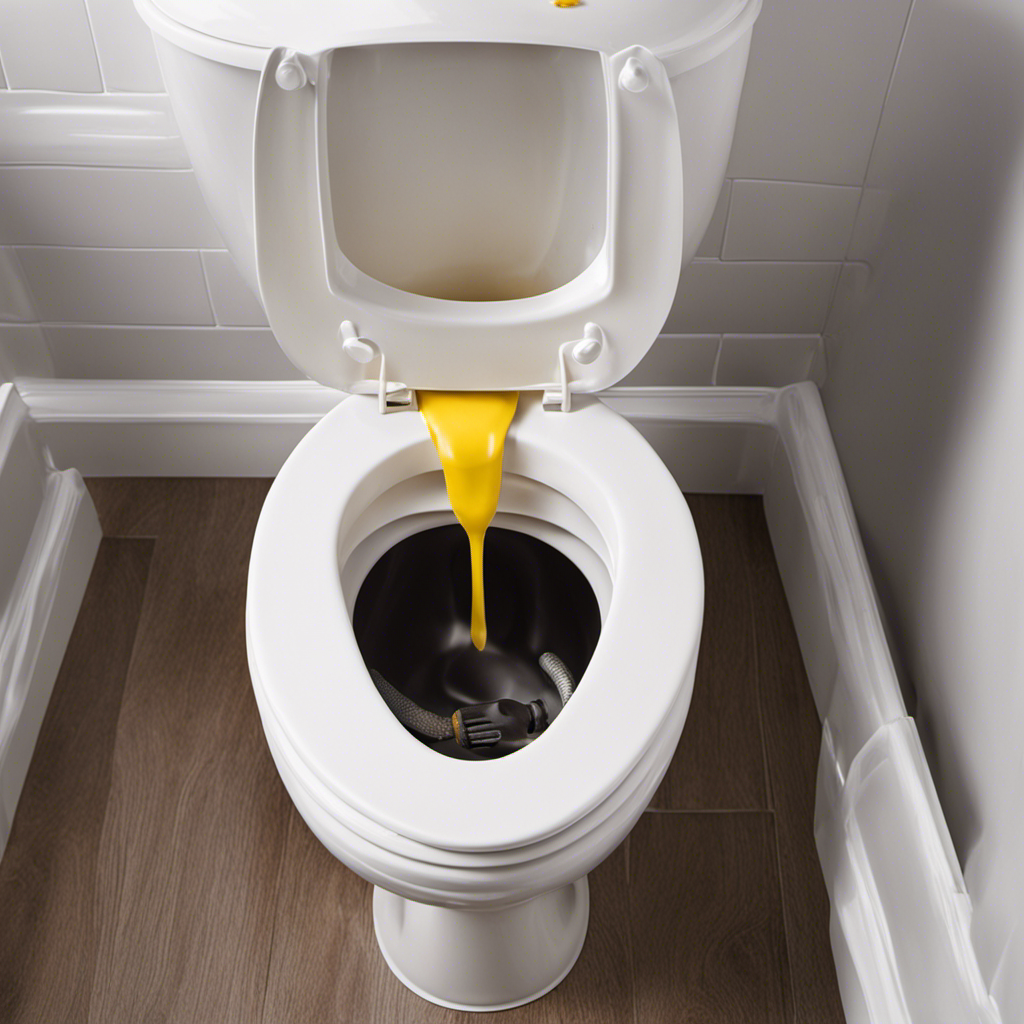
plumbing repair gloves
As an affiliate, we earn on qualifying purchases.
As an affiliate, we earn on qualifying purchases.
Step-by-Step Removal Process
To start the step-by-step removal process, gather all the necessary tools and supplies. You’ll need a pair of gloves, a putty knife, a wrench, and a bucket to catch any water that may spill.
Before beginning, make sure to turn off the water supply to the toilet and flush it to drain any remaining water from the tank and bowl.
Next, remove the nuts that secure the toilet to the floor using a wrench. Carefully lift the toilet and place it on the nearby towels or drop cloth to protect the floor.
With the toilet removed, you can now see the wax ring. Use the putty knife to scrape away any remaining wax residue and inspect the condition of the ring. If it is damaged or worn out, it’s important to replace it with a new wax ring or consider alternative wax ring options for better durability. Proper maintenance of the wax ring is crucial to prevent leaks and water damage.
Now that you have successfully removed the toilet wax ring, you can move on to troubleshooting tips to address any potential challenges that may arise during the installation process.

One N Done Toilet Flange Repair Kit – Toilet Kit For Low or Broken Flange. Toilet Wax Ring Replacement Kit W/Toilet Flange Extender Kit, Easy Toilet Bolts, & Toilet Caps For Bottom of Toilet. (1 Ea.)
Save Time & Money | No wax ring for toilet required. The One N Done toilet flange repair…
As an affiliate, we earn on qualifying purchases.
As an affiliate, we earn on qualifying purchases.
Troubleshooting Tips
If you encounter any difficulties during the installation process, it’s crucial to troubleshoot the issue to ensure a successful outcome.
Common issues with toilet wax rings can include leaks, improper sealing, or a broken wax ring. To troubleshoot these problems, start by inspecting the wax ring for any signs of damage or wear. If the wax ring is cracked or flattened, it will need to be replaced.
Additionally, check the flange to ensure it is securely attached to the floor. If there are any loose or damaged parts, they should be repaired or replaced.
To prevent future wax ring problems, make sure to regularly inspect the wax ring for any signs of deterioration and replace it if necessary. Also, ensure that the toilet is properly aligned and tightened to avoid placing excessive pressure on the wax ring.
Proper Disposal of the Wax Ring
When disposing of it, you should wrap the wax ring in a plastic bag before placing it in the trash. This helps contain any residue and prevents it from coming into contact with other items in the garbage. Proper disposal of the wax ring is important to maintain a clean and hygienic environment.
Here are some key points to remember:
- Use a plastic bag to wrap the wax ring tightly.
- Double-bagging is recommended to minimize any potential leaks or odors.
- Dispose of the wrapped wax ring in a designated trash bin.
- Avoid flushing the wax ring down the toilet or disposing of it in the sink as it can cause blockages and plumbing issues.
Conclusion
To conclude, removing a toilet wax ring requires a few essential tools and materials, careful preparation, and a step-by-step process. By following the instructions provided, you can successfully complete this task and ensure a proper disposal of the wax ring.
Remember, attention to detail is crucial in plumbing, so take your time and troubleshoot any challenges that may arise. Just like a skilled plumber, you can tackle this job with technical expertise and a clear and concise approach.
So go ahead and confidently remove that wax ring, knowing you have the knowledge to get the job done right.