Did you know that a leaky toilet can waste up to 200 gallons of water per day? Don’t worry though, because I’m here to help you fix that pesky leak.
In this article, I will guide you through the step-by-step process of repairing a leaky toilet. By following these simple instructions, you’ll be able to:
- Identify the source of the leak
- Gather the necessary tools and materials
- Replace the faulty parts
Say goodbye to wasted water and hello to a properly functioning toilet!
Key Takeaways
- Check the tank, supply line, flush valve, and flapper for signs of wear or damage to identify the source of the leak.
- Gather the necessary tools and materials, such as a wrench, sealant, new wax seal or rubber gasket, bucket, and towels, before starting the repair.
- Shut off the water supply by locating the shut-off valve, turning it clockwise, and flushing the toilet to drain most of the water.
- Replace the faulty toilet parts, such as the flapper or fill valve, and adjust the fill valve if needed to control the water level in the tank. Test the repaired toilet by turning on the water supply and monitoring for leaks and proper functioning.

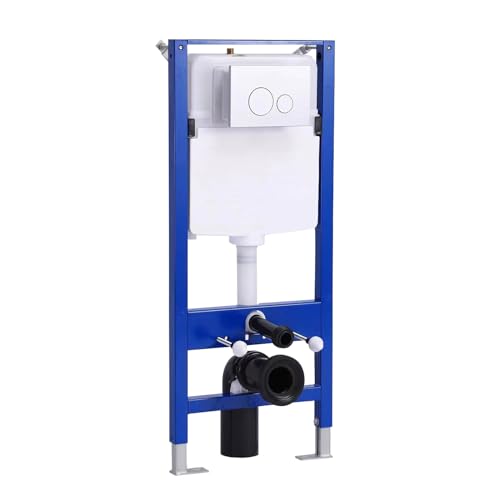
Geberit G111902005 Duofix Carrier 2x6 Installation for 1.28 GPF Wall Hung Toilets with Concealed Dual Flush Tank
Tank and carrier covered by limited lifetime warranty
As an affiliate, we earn on qualifying purchases.
Identifying the Source of the Leak
To pinpoint the cause of the leak, you’ll need to check a few key areas in your toilet.
Common toilet leaks can occur from the tank, bowl, or supply line.
The first step is to inspect the tank for any signs of water damage. Look for water pooling around the base or on the floor, as this could indicate a leak from the bowl.
Next, examine the supply line for any cracks or loose connections. A faulty supply line can lead to water leakage.
Additionally, check the flush valve and flapper for any signs of wear or damage. These components are often the culprits behind toilet leaks.
HOROW Concealed Toilet Tank Carrier, In-Wall Carrier System for Wall Hung Toilets, Wall Mounted Toilet Carrier with Chrome Actuator Plate, 1.1 GPF / 1.6 GPF Dual Flush
Widely Compatible: Our HOROW wall mounted toilet tank carrier is compatible with most wall hung toilets.
As an affiliate, we earn on qualifying purchases.
Gathering the Necessary Tools and Materials
You’ll need a few specific tools and materials to fix the problem with your toilet.
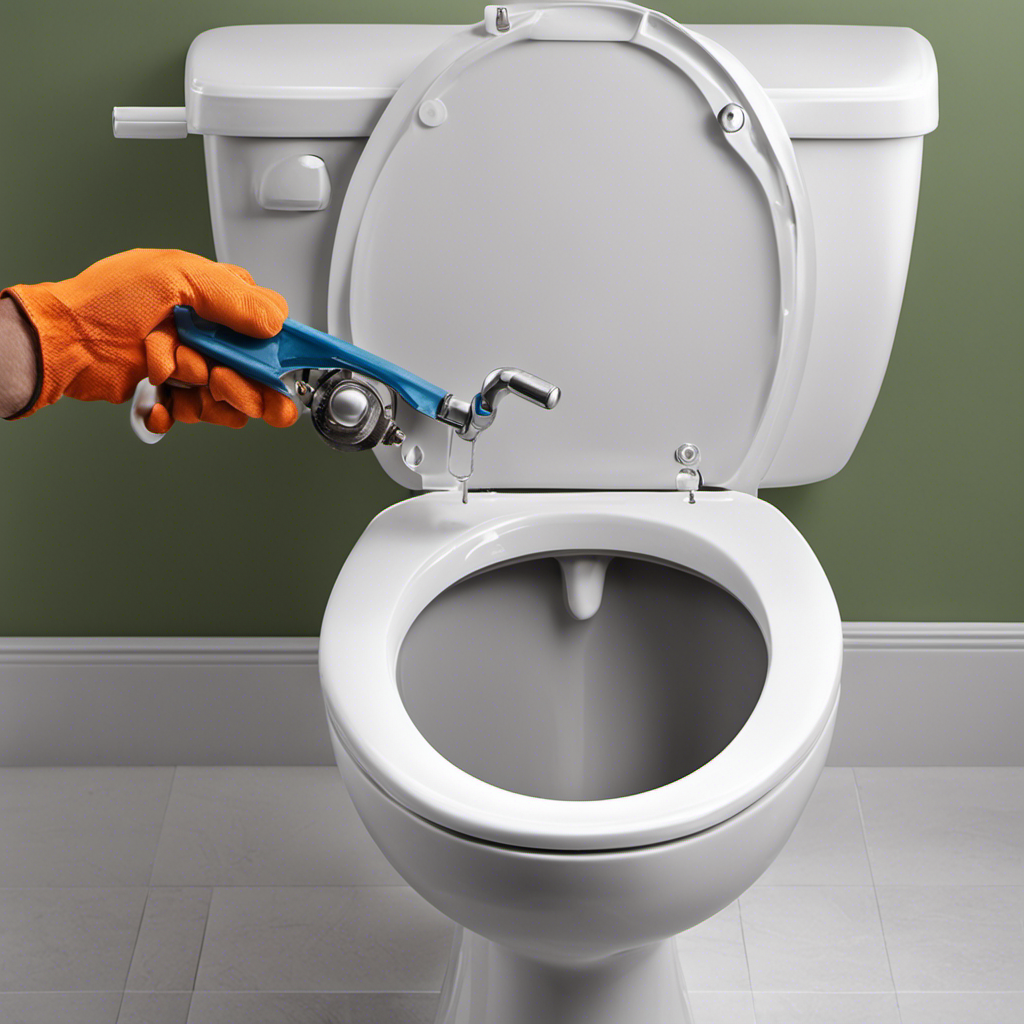
First and foremost, you’ll need a wrench or pliers to remove the bolts and nuts that hold the toilet in place.
Additionally, you’ll need a new wax seal or a rubber gasket, depending on the type of toilet you have.
When choosing the right sealant, make sure to consider the type of flooring you have and any specific instructions from the manufacturer.
It’s also important to have a bucket and towels on hand to catch any water that may spill during the repair process.
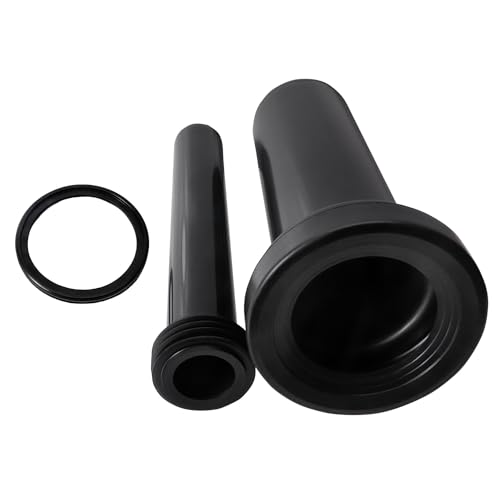
OasisFlow Wall Hung Toilet Extended Pipe Connector, Easy Installation and Leak Prevention Compatible with Geberit 152.438.46.1 Toilets and Bidets Parts, Reliable Wall Hung Toilet Gasket Included
Compatible with Geberit Wall-Hung Toilets: Specifically designed for use with Geberit wall-hung toilet hidden water tanks, this connector...
As an affiliate, we earn on qualifying purchases.
Shutting off the Water Supply
Before tackling the issue, it’s crucial to shut off the water supply to prevent any further damage.
To repair a leaky toilet and fix the flush, follow these steps:
-
Locate the water shut-off valve: It’s usually located behind the toilet, near the floor. Turn it clockwise to shut off the water supply.
-
Flush the toilet: This will drain most of the water from the tank and bowl.
-
Remove the tank lid: Place it on a flat surface to prevent any damage.
-
Identify the faulty parts: In my case, it was the toilet handle that needed repairing.
-
Use a wrench or pliers to remove the nut securing the handle inside the tank.
By shutting off the water supply, you ensure that no water will continue to leak while you repair or replace the faulty toilet parts.
Now, let’s move on to the next step of replacing the handle and fixing the flush.
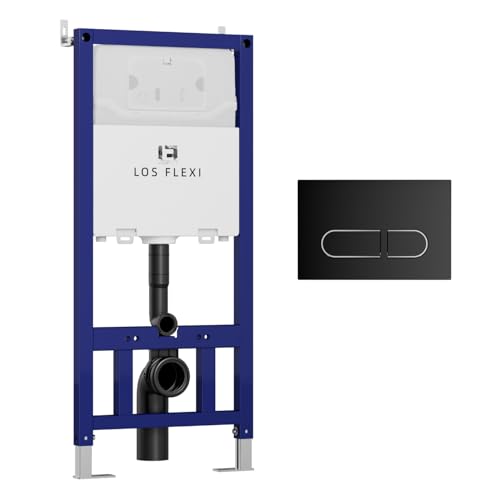
Los Flexi Concealed In-Wall Toilet Tank Carrier for Wall Hung Toilets, 0.8/1.6 GPF Dual Flush, Adjustable Height Tank Carrier, Includes Flush Actuator Plate for Wall Mount Toilet Setup
Durable Steel Construction: This in-wall toilet tank system supports most wall hung toilets with a sturdy steel frame,...
As an affiliate, we earn on qualifying purchases.
Replacing the Faulty Toilet Parts
After shutting off the water supply, it’s time to replace the faulty toilet parts. Here’s what you need to do:
-
Identify the faulty parts: In most cases, a leaky toilet is caused by a worn-out flapper or a malfunctioning fill valve. Inspect these components to determine which one needs to be replaced.
-
Start with the flapper: The flapper is responsible for sealing the flush valve and preventing water from continuously flowing into the toilet bowl. Turn off the water supply, flush the toilet to empty the tank, and remove the old flapper. Install a new flapper, ensuring a tight seal.
-
Adjust the fill valve: If the flapper replacement didn’t solve the issue, it’s time to check the fill valve. This valve controls the water level in the tank. Adjust the float or the height of the fill valve to ensure the water stops at the correct level.
-
Test and monitor: Once you’ve replaced the faulty parts and made necessary adjustments, turn on the water supply and flush the toilet multiple times to ensure that the leaks have stopped. Keep an eye on the toilet over the next few days to ensure that it is working properly.
Testing for Leaks and Ensuring Proper Functioning
To ensure proper functioning and detect any leaks, regularly check the water level in the tank and monitor the toilet for any signs of continuous water flow. This is an essential step in troubleshooting any issues with your toilet. There are several testing methods you can use to identify leaks and ensure that your toilet is working correctly. One effective technique is to add a few drops of food coloring to the tank. If the water in the bowl changes color without flushing, it indicates a leak. Another method is to use a toilet leak detection tablet, which can be placed in the tank to identify any leaks. By employing these testing methods and troubleshooting techniques, you can quickly identify and fix any issues with your toilet, saving both water and money.
| Testing Methods | Troubleshooting Techniques |
|---|---|
| Add food coloring to the tank and check for color change in the bowl | Check for any loose or worn out parts |
| Use a toilet leak detection tablet in the tank | Look for cracks or damage in the toilet bowl or tank |
| Listen for any hissing sounds coming from the toilet | Adjust the water level in the tank if necessary |
| Inspect the base of the toilet for any signs of water | Clean or replace the flapper valve if it is not sealing properly |
Conclusion
In conclusion, repairing a leaky toilet is a task that can be easily accomplished with the right tools and knowledge. By identifying the source of the leak, shutting off the water supply, and replacing the faulty parts, you can ensure that your toilet functions properly once again.
Remember the saying ‘a stitch in time saves nine,’ as addressing the leak early on can prevent further damage and save you from costly repairs in the future.
Now, go forth and fix that leaky toilet like a pro!