
Ever experienced the frustration of a malfunctioning toilet flush? Fear not, for I am here to guide you through the process of repairing it.
In this article, we will delve into the technical intricacies of identifying the problem, gathering the necessary tools, and disassembling the flush mechanism.
We will then tackle the cleaning or replacing of faulty components before testing and adjusting the flush.
So, let’s roll up our sleeves and get ready to fix that troublesome flush!
Key Takeaways
- Identify common problems with toilet flush and gather necessary tools
- Shut off the water supply and disassemble the flush mechanism
- Clean or replace faulty components like the flush valve and rubber seal
- Replace the flapper chain and adjust the water level for proper flush operation

Fluidmaster 400AKRP10 Universal, All In One, Complete Toilet Tank Repair Kit For 2-Inch Flush Valve Toilets
RESTORES OVERALL TOILET PERFORMANCE: All in one toilet repair kit replaces inefficient fill and flush valves, leaky flappers,…
As an affiliate, we earn on qualifying purchases.
As an affiliate, we earn on qualifying purchases.
Identifying the Problem
Toilet won’t flush? Let’s figure out what’s going on.
When faced with a malfunctioning toilet flush, it’s important to troubleshoot the problem before calling a plumber. Common toilet flush problems can include weak or incomplete flushing, water level issues, or a completely non-functioning flush.
To begin troubleshooting, first check the water supply valve to ensure it is fully open and providing sufficient water pressure. Next, inspect the flapper valve, which may be worn or misaligned, causing inadequate flushing. Additionally, a clogged or partially blocked toilet trap can hinder proper flushing.

Fluidmaster 400H-002 Performax Universal Toilet Fill Valve High Performance Tank and Bowl Water Control, 1-Pack, Multicolor
Fix noisy, or slow filling fill valves with the quietest, most powerful toilet fill valve available
As an affiliate, we earn on qualifying purchases.
As an affiliate, we earn on qualifying purchases.
Gathering the Necessary Tools
First, you’ll need to gather all the necessary tools for the job.
To repair a toilet flush, you’ll need a few specific items. Start by obtaining a new toilet flush lever, which is the mechanism that controls the flushing action. This lever connects to the toilet tank and is responsible for initiating the flushing process.
Additionally, you’ll need a toilet fill valve, which is responsible for refilling the tank after each flush. This valve regulates the water flow into the tank. These two components are key to ensuring a properly functioning toilet flush.
Once you have these tools ready, you can move on to the next step of shutting off the water supply, which is crucial for a safe and effective repair.
toilet flapper and chain set
As an affiliate, we earn on qualifying purchases.
As an affiliate, we earn on qualifying purchases.
Shutting Off the Water Supply
Before starting the repair, make sure to shut off the water supply to avoid any potential flooding.
To check the water pressure, turn off the main water valve by rotating it clockwise until it stops. This will stop the flow of water to the toilet.
Next, flush the toilet to release any remaining water in the tank and bowl.
Now, you can proceed with replacing the water supply line. Start by unscrewing the nut connecting the line to the bottom of the toilet tank. Use a wrench to loosen the nut, then gently pull the line out.
Take the new water supply line and attach it to the tank, tightening the nut securely.
toilet flush lever replacement
As an affiliate, we earn on qualifying purchases.
As an affiliate, we earn on qualifying purchases.
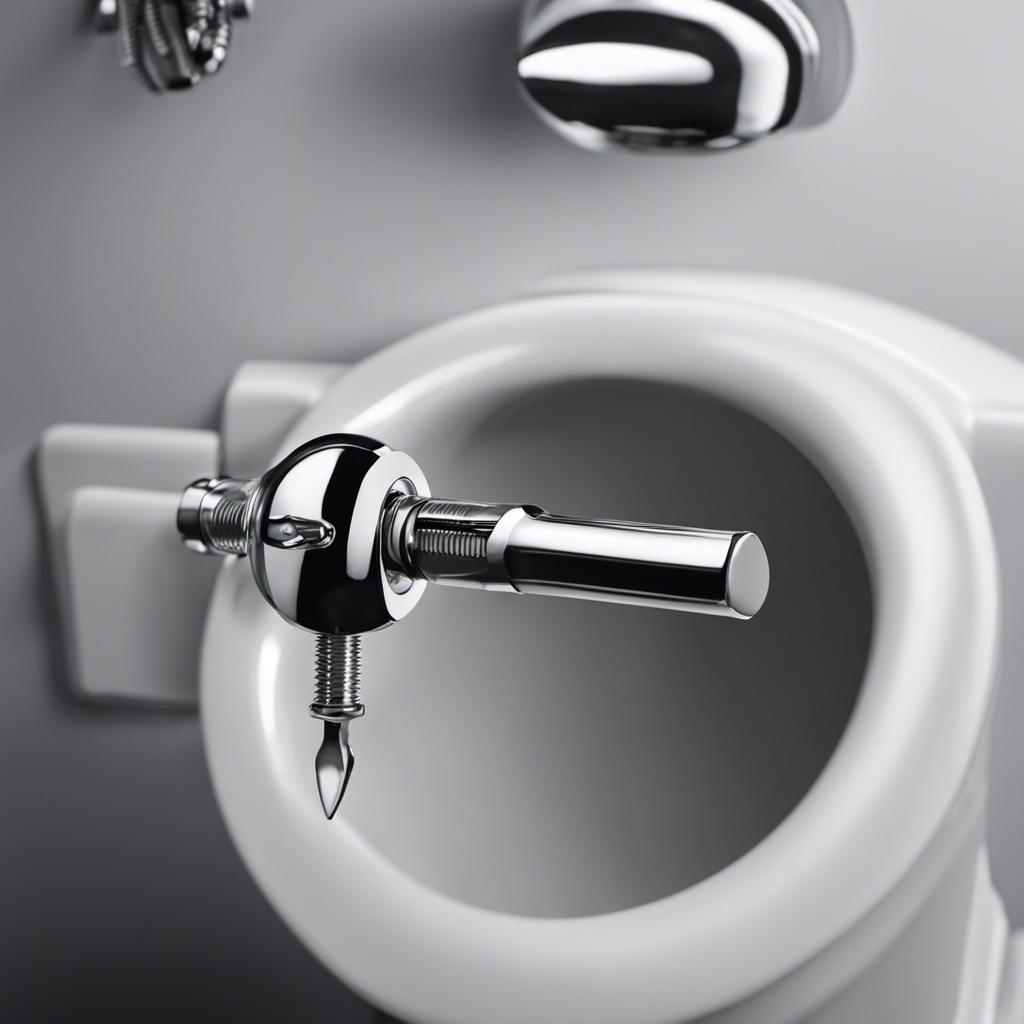
Disassembling the Flush Mechanism
Now that you’ve shut off the water supply, you can begin disassembling the flush mechanism. This is an important step in flush mechanism maintenance and troubleshooting toilet flush problems. Follow these steps to ensure a successful disassembly:
-
Remove the toilet tank lid: Carefully lift the lid off the tank and set it aside in a safe place.
-
Locate the flush valve: The flush valve is usually a large rubber or plastic piece at the bottom of the tank. Identify it for further disassembly.
-
Disconnect the chain: The chain connects the flush handle to the flush valve. Unhook the chain from the flush valve to detach it.
-
Remove the flush valve assembly: Unscrew the nut holding the flush valve assembly in place. Gently lift the assembly out of the tank.
Cleaning or Replacing Faulty Components
When it comes to maintaining a properly functioning toilet, two key components that often require attention are the flush valve and the flapper chain.
The flush valve can become clogged over time, leading to a weak or incomplete flush. Cleaning the flush valve can help restore its efficiency.
Additionally, the flapper chain may become worn or disconnected, causing problems with the flushing mechanism. Replacing the flapper chain is a straightforward task that can greatly improve the overall performance of the toilet.
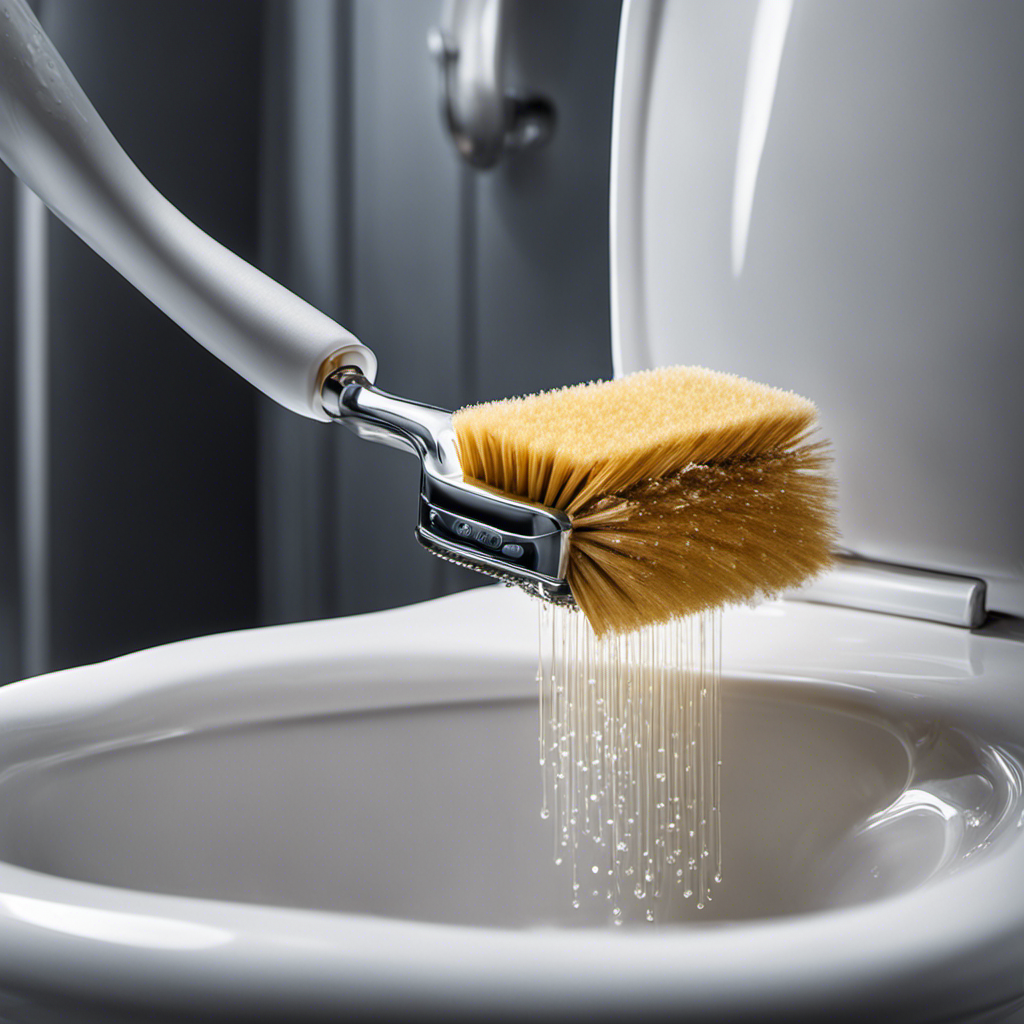
Cleaning Flush Valve
To clean the flush valve, you’ll need to shut off the water supply and detach the flush valve assembly. Here are some cleaning techniques and troubleshooting tips:
-
Use a soft brush or sponge to scrub away any mineral deposits or debris that may be clogging the flush valve. Be sure to clean both the inside and outside of the valve thoroughly.
-
If the flush valve is still not working properly after cleaning, try soaking it in a mixture of equal parts vinegar and water. This can help to dissolve any stubborn buildup.
-
Inspect the rubber seal on the flush valve for any signs of wear or damage. If necessary, replace the seal to ensure a proper seal and prevent leaks.
-
After cleaning and reassembling the flush valve, turn the water supply back on and test the flush to ensure it is working correctly.
Replacing Flapper Chain
If you’re experiencing issues with the flapper chain, check to see if it is tangled or too loose. Flapper chain maintenance is crucial for a properly functioning toilet flush.
A tangled or loose chain can prevent the flapper from sealing properly, leading to water leakage or a weak flush. To troubleshoot flapper chain issues, start by inspecting the chain for any tangles or knots. If it is tangled, carefully untangle it using your fingers or a pair of pliers.
If the chain is too loose, adjust the length by removing or adding links until it has a slight tension when the flapper is closed. A properly adjusted flapper chain ensures a smooth and efficient flush.
Now, let’s move on to testing and adjusting the flush.
Testing and Adjusting the Flush
When it comes to testing and adjusting the flush of a toilet, there are three key points to consider: water level adjustment, flush valve replacement, and flapper chain adjustment.
The water level adjustment is crucial for ensuring proper flushing and preventing overflow.
If the flush valve is worn out or faulty, it may need to be replaced to maintain optimal performance.
Additionally, adjusting the flapper chain can help improve the flushing mechanism and prevent leaks.
Water Level Adjustment
The water level in the toilet can be adjusted by turning the screw on the float. This is a common issue when troubleshooting toilet flush problems. Here are four things to keep in mind when adjusting the water level:
-
Locate the float: The float is usually a plastic or metal device that rises and falls with the water level in the tank. It is connected to the fill valve by a rod or arm.
-
Turn the screw: Look for a screw on the float that can be turned clockwise or counterclockwise. This screw controls the height of the float and, consequently, the water level in the toilet.
-
Adjust the water level: To raise the water level, turn the screw clockwise. To lower it, turn the screw counterclockwise. Make small adjustments and test the flush after each adjustment until you find the desired water level.
-
Test the flush: After adjusting the water level, flush the toilet and observe the water level in the bowl. It should be at the appropriate level, neither too high nor too low.
Flush Valve Replacement
To replace the flush valve, you’ll need to turn off the water supply and disconnect the fill tube.
The flush valve is an essential component of your toilet’s flushing mechanism. Over time, it may develop issues that require maintenance or replacement. Common problems include leaks, incomplete flushes, or constant running water. If you notice any of these issues, it’s important to troubleshoot the flush valve.
Start by turning off the water supply valve located near the base of the toilet. Next, disconnect the fill tube from the flush valve. This will allow you to access the valve for maintenance or replacement. Remember to follow the manufacturer’s instructions and use the appropriate tools to ensure a proper fit.
Regular flush valve maintenance will help keep your toilet in optimal working condition.
Flapper Chain Adjustment?
Make sure you adjust the flapper chain properly to ensure smooth and efficient flushing. The flapper chain is an essential component of the toilet flush system that connects the flapper to the flush handle. If the chain is too loose or too tight, it can cause common flapper chain issues such as incomplete flushing or constant running water.
To adjust the flapper chain, follow these steps:
- Turn off the water supply to the toilet.
- Remove the tank lid and locate the flapper chain.
- Adjust the chain length by either tightening or loosening the chain links.
- Test the flush by pressing the flush handle. Make sure the chain has enough slack to fully open the flapper but is not too loose.
If the flapper chain is damaged or beyond repair, consider flapper chain replacement to ensure optimal toilet performance.
Conclusion
In conclusion, repairing a toilet flush may seem like a daunting task, but with the right tools and a little know-how, it can be easily accomplished.
By identifying the problem, shutting off the water supply, and disassembling the flush mechanism, you can quickly get to the root of the issue.
Cleaning or replacing faulty components is crucial in restoring proper functionality.
Finally, don’t forget to test and adjust the flush to ensure everything is working as it should.
With these steps, you’ll be a DIY plumbing expert in no time.