
As a homeowner, I recently encountered a frustrating issue with my toilet – a faulty float causing constant water running. After trying various temporary fixes, I decided it was time to replace the float.
If you’re facing a similar problem, fear not! In this article, I will guide you through the step-by-step process of replacing a toilet float. With the right tools and a little know-how, you’ll have your toilet working flawlessly again in no time.
So, let’s dive in!
Key Takeaways
- Shut off the water supply before removing the old float
- Choose a replacement float based on durability and buoyancy
- Consider using a universal float kit for easy installation
- Regular float maintenance is essential for proper toilet performance

Fluidmaster 400H-002 Performax Universal Toilet Fill Valve High Performance Tank and Bowl Water Control, 1-Pack, Multicolor
Fix noisy, or slow filling fill valves with the quietest, most powerful toilet fill valve available
As an affiliate, we earn on qualifying purchases.
As an affiliate, we earn on qualifying purchases.
Tools and Materials Needed
To replace a toilet float, you’ll need a wrench, a new float assembly, and a pair of pliers.
The float is an essential component of a toilet’s flushing mechanism, responsible for regulating the water level in the tank. Float adjustment is crucial to ensure proper flushing and prevent issues like constant running or insufficient flush.
Troubleshooting problems with the float can often be resolved by replacing the float assembly.
Here’s how you can do it:
-
Using a wrench, disconnect the water supply line from the fill valve.
-
Next, remove the old float assembly by loosening the nut securing it in place.
-
Install the new float assembly, tightening the nut with a wrench.
-
Finally, reconnect the water supply line and ensure the float is adjusted correctly before testing the toilet’s flushing function.
Fluidmaster 400H-002 Performax Universal Toilet Fill Valve High Performance Tank and Bowl Water Control, 1-Pack, Multicolor
Fix noisy, or slow filling fill valves with the quietest, most powerful toilet fill valve available
As an affiliate, we earn on qualifying purchases.
As an affiliate, we earn on qualifying purchases.
Shutting Off the Water Supply
First, you’ll want to locate the water shut-off valve under the toilet tank. This valve is responsible for controlling the flow of water to the toilet. To shut off the water supply, follow these steps:
-
Turn the valve clockwise until it is fully closed. This will stop the flow of water to the toilet.
-
Make sure to check if the valve is fully closed by flushing the toilet. If no water fills the tank, then the valve is successfully shut off.
-
If the water continues to flow, you may need to turn off the main water supply to your house. Locate the main shut-off valve, usually found near the water meter, and turn it clockwise until it is fully closed.

ProForm 67443 Carburetor Float Adjustment Tool with 5/8" Socket and Built-in Screwdriver Blade
Package Dimensions: 5.842 H x 26.162 L x 12.953 W (centimetres)
As an affiliate, we earn on qualifying purchases.
As an affiliate, we earn on qualifying purchases.
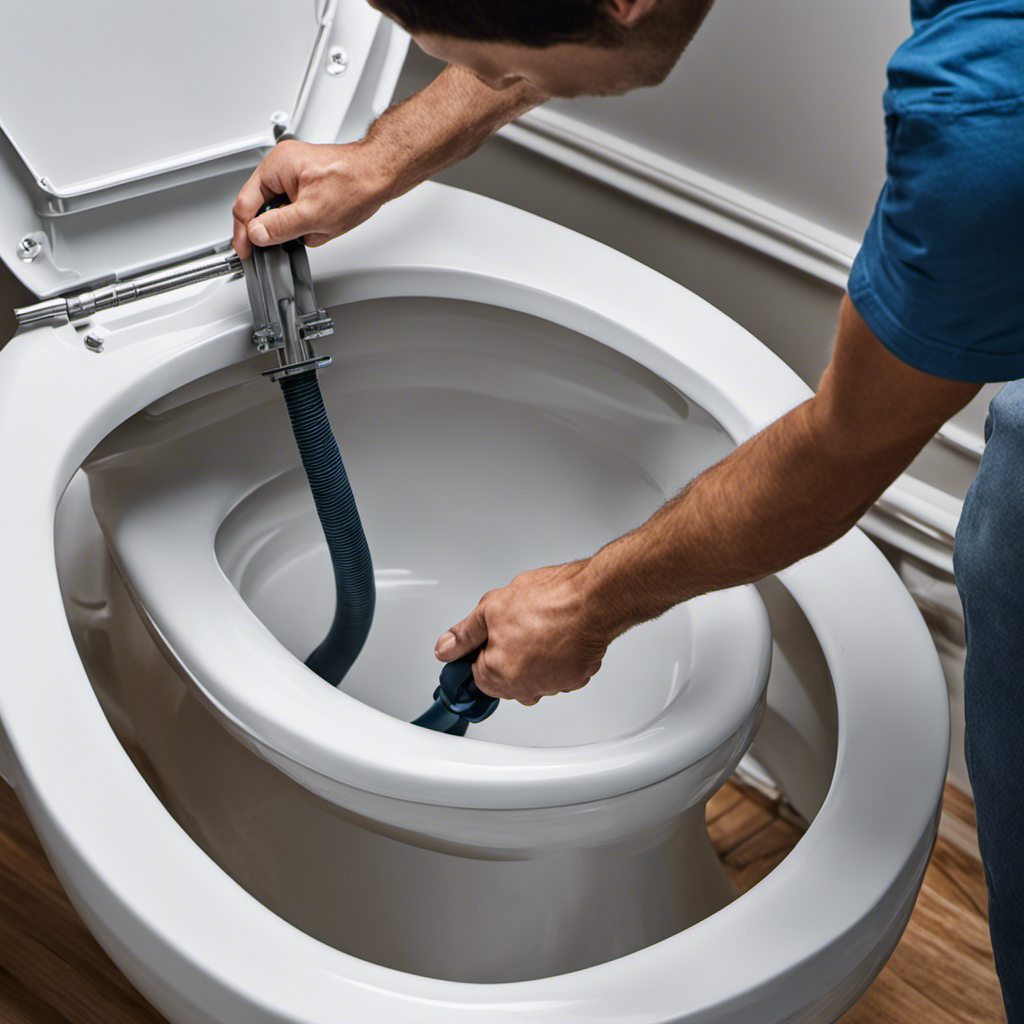
Removing the Old Float
Once you’ve shut off the water supply, you can easily remove the old float. Float repair is a common issue in toilets, but with the right troubleshooting tips, it can be a simple fix.
To remove the old float, start by locating the float arm and disconnecting it from the fill valve. Next, unscrew the nut that holds the float in place and carefully lift it out of the tank. Inspect the float for any signs of damage or wear, such as cracks or leaks. If you notice any issues, it’s time to replace the float.
Removing the old float is the first step in the process of choosing the right replacement float.
universal toilet float replacement
As an affiliate, we earn on qualifying purchases.
As an affiliate, we earn on qualifying purchases.
Choosing the Right Replacement Float
When it comes to choosing the right replacement float for your toilet, there are two key points to consider:
-
Float material comparison: This involves assessing the different materials available for floats, such as plastic, brass, or stainless steel, and understanding their durability and performance.
-
Easy installation options: This refers to the various methods of installing the replacement float, such as clip-on or threaded, which can save time and effort during the replacement process.
Float Material Comparison
To get started, you’ll want to compare the different materials used for toilet floats. When it comes to float durability, there are several options to consider:
- Plastic floats: These are common and affordable, but they may not last as long as other materials due to their potential to crack or break over time.
- Brass floats: These are highly durable and resistant to corrosion, making them a great choice for long-lasting performance.
- Stainless steel floats: Similar to brass floats, stainless steel floats offer excellent durability and corrosion resistance, ensuring they can withstand the test of time.
When it comes to float buoyancy, each material has its own unique properties:
- Plastic floats tend to be lightweight, providing good buoyancy for efficient flushing.
- Brass floats are heavier, offering increased buoyancy and stability.
- Stainless steel floats strike a balance between weight and buoyancy, providing efficient water level control.
By understanding the different materials and their characteristics, you can choose a float that best suits your needs for both durability and buoyancy. This knowledge will help you make an informed decision when replacing your toilet float.
Now, let’s explore the easy installation options available.
Easy Installation Options
One option for easily installing a new float is by using a universal float kit. Float maintenance is an essential part of toilet maintenance, as a faulty float can lead to issues like constant running water or inadequate flushing.
When it comes to troubleshooting tips, it’s important to first identify the problem with the float. If it’s not filling the tank properly, it may need to be adjusted or replaced. A universal float kit can simplify this process, as it includes all the necessary components for installation. These kits typically come with a float, fill valve, and other necessary hardware.
With the right tools and proper instructions, replacing a toilet float using a universal float kit can be a straightforward and effective solution.
Installing the New Float
When it comes to installing a new float, there are several key points to consider.
First, understanding float adjustment techniques is crucial to ensuring proper functionality and water level control.
Additionally, it is important to be aware of common installation mistakes that can lead to leaks or inefficiencies.
Lastly, choosing the right float for your specific toilet model is essential for optimal performance.
Float Adjustment Techniques
There’s a simple way to adjust the toilet float position for optimal water level. Float maintenance is essential for the proper functioning of your toilet, and troubleshooting techniques can help you identify and fix any issues with the float.
Here are three important things to keep in mind when adjusting the float:
-
Check the water level: Ensure that the water level in the toilet tank is at the recommended level. If it is too high or too low, adjust the float accordingly.
-
Adjust the float arm: The float arm is responsible for controlling the water level. By bending it slightly, you can raise or lower the float to achieve the desired water level.
-
Test and observe: After making adjustments, flush the toilet and observe the water level. Make further adjustments if necessary.
Common Installation Mistakes
To avoid common installation mistakes, it’s important to properly adjust the water level in your toilet tank. This ensures that the float, a crucial component in regulating water flow, functions correctly. Float maintenance and repair are essential for the overall performance of your toilet.
A faulty float can lead to water wastage, constant refilling, and even flooding. Regularly inspecting and cleaning the float can prevent issues such as sediment buildup or damage to the float arm. If you notice any signs of wear or damage, it’s important to repair or replace the float promptly.
Choosing the Right Float
Make sure you select the proper float for your toilet tank so that it can effectively regulate the water flow. The float is an essential component of the toilet’s fill valve assembly, responsible for controlling the water level in the tank.
Here are some important considerations when choosing the right float:
- Material: Opt for a float made from durable materials like plastic or brass to ensure longevity.
- Size: Measure the space available in your toilet tank and choose a float that fits properly.
- Adjustable: Look for a float with adjustable settings to allow for fine-tuning of water levels.
Proper float maintenance is crucial for optimal toilet performance. Regularly clean the float and check for any signs of wear or damage. Troubleshooting tips include checking for leaks, adjusting the float height, and ensuring proper alignment with the fill valve.
Testing the Float and Adjusting Water Level
You can easily test and adjust the water level by gently pushing on the float. This will help you determine if the float is functioning properly and if the water level needs to be adjusted. To effectively troubleshoot your toilet float, here are some testing techniques and troubleshooting tips:
| Testing Technique | Troubleshooting Tip |
|---|---|
| Check for leaks | If you notice water leaking from the float, it may need to be replaced. |
| Observe the water level | If the water level is too low or too high, adjust the float accordingly. |
| Listen for unusual sounds | If you hear a continuous hissing noise, there may be a problem with the float valve. |
Troubleshooting Common Issues
Now that we have tested the float and adjusted the water level, let’s move on to troubleshooting common issues that may arise with the toilet float. It is important to address these issues promptly to ensure the proper functioning of your toilet.
Here are some common problems you may encounter:
-
Float not rising properly:
-
Check for any obstructions or debris that may be preventing the float from rising freely.
-
Inspect the float arm and ensure it is properly connected and not bent or damaged.
-
Adjust the float arm length if necessary to allow for proper movement.
-
Float constantly rising and falling:
-
Check for water leaks in the toilet tank that may be causing the float to continuously adjust.
-
Inspect the fill valve and ensure it is functioning properly.
-
Consider replacing the fill valve if it is worn out or malfunctioning.
-
Float not shutting off the water supply:
-
Check the float ball or cup for any cracks or damage that may be preventing it from creating a proper seal.
-
Clean the valve seat and ensure it is free from any debris that may be obstructing the seal.
-
Replace the fill valve if necessary to resolve the issue.
Conclusion
In conclusion, replacing a toilet float is a simple task that can be done with the right tools and some basic knowledge. By shutting off the water supply, removing the old float, and installing a new one, you can ensure efficient and reliable toilet function.
Remember to test the float and adjust the water level to prevent any issues. As the saying goes, "A stitch in time saves nine," taking care of this small maintenance task now can prevent larger problems in the future.