As a seasoned DIY enthusiast, I’ve encountered my fair share of household repairs. One task that often gets overlooked is replacing a faulty toilet lever.
Don’t let a loose or broken lever dampen your bathroom experience. In this step-by-step guide, I’ll walk you through the process of replacing a toilet lever with ease.
With the right tools and a little know-how, you’ll have your toilet flushing smoothly in no time.
So, let’s roll up our sleeves and get started!
Key Takeaways
- Shut off the water supply before replacing the toilet lever to prevent water damage or accidents.
- Use pliers or an adjustable wrench to remove the old lever from the toilet tank.
- Apply penetrating oil to remove a rusted lever and check for loose connections or adjust the chain length.
- Install the new toilet lever by aligning it with the mounting holes on the tank and securing it with nuts or screws, ensuring proper orientation and avoiding overtightening.
Tools and Materials Needed
To replace a toilet lever, you’ll need a pair of pliers and a new toilet lever.
The process of toilet lever installation is relatively simple, but it is important to follow these toilet lever replacement tips for a smooth and successful replacement.
First, turn off the water supply to the toilet by shutting off the valve located behind the toilet.
Flush the toilet to drain any remaining water from the tank.
Use the pliers to disconnect the old lever from the flush valve.
Then, attach the new lever by inserting it into the hole and securing it with the provided nut.
Make sure it is aligned properly and tighten the nut using the pliers.
Now, turn on the water supply and test the lever by flushing the toilet.
If it operates smoothly, congratulations! You have successfully replaced your toilet lever.
Step 1: Shutting off the Water Supply
First, you’ll need to locate the water shut-off valve. This valve is typically located behind the toilet, near the floor. It is important to shut off the water supply before attempting to replace a toilet lever to avoid any potential water damage or accidents.
Once you have located the shut-off valve, turn it clockwise to shut off the water supply. This will prevent any water from flowing into the toilet tank while you work on replacing the lever. Additionally, it is a good idea to adjust the water pressure after shutting off the supply to ensure that it is at a safe level. Troubleshooting common toilet lever problems, such as a loose or stuck lever, can also be done during this step.
Once the water supply is shut off, you can proceed to the next step: removing the old toilet lever.
Step 2: Removing the Old Toilet Lever
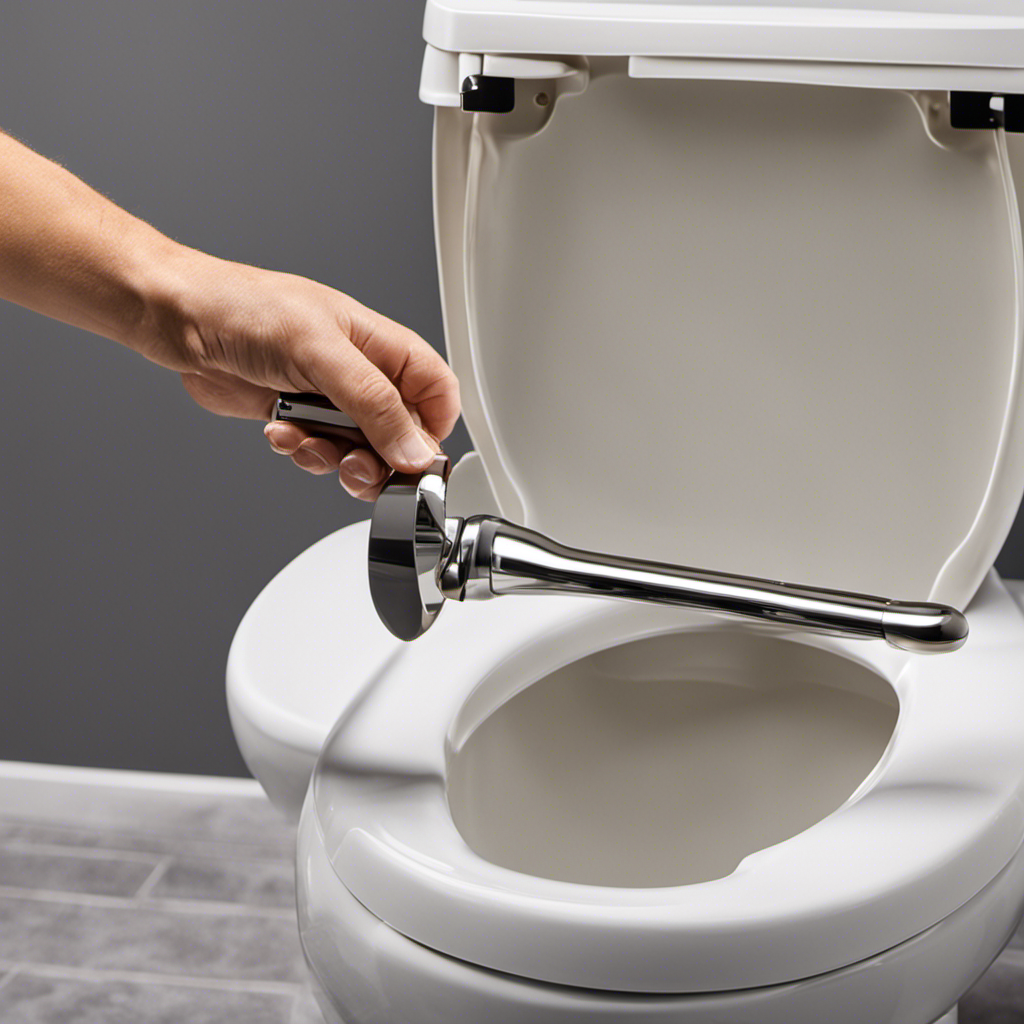
Now, you can easily remove the old lever by unscrewing it from the toilet tank. Start by locating the lever inside the tank, which is usually connected to a metal rod or chain. Use a pair of pliers or an adjustable wrench to loosen the nut that holds the lever in place. If the lever is rusted and difficult to unscrew, apply a penetrating oil and let it sit for a few minutes to loosen the rust. Once the nut is loose, carefully pull out the old lever from the tank.
Troubleshooting common lever issues includes checking for loose connections, adjusting the chain length, or replacing a broken lever arm. Remember to turn off the water supply before starting any repairs.
- Apply penetrating oil to remove rusted lever
- Use pliers or adjustable wrench to loosen the nut
- Check for loose connections and adjust chain length
Step 3: Installing the New Toilet Lever
Once you have successfully removed the old lever, it’s time to install the new one. Installing the lever correctly is crucial to ensure smooth operation of your toilet.
To begin, take the new lever and align it with the mounting holes on the side of the toilet tank. Insert the lever into the holes and secure it in place using the included nuts or screws. Make sure to tighten the nuts or screws firmly, but be careful not to overtighten as it may damage the lever or the tank.
One common mistake to avoid is installing the lever upside down or backwards, which can lead to improper flushing. Double-check the lever’s orientation before tightening it.
Now, let’s move on to the next step: testing and adjusting the lever to ensure it functions properly.
Step 4: Testing and Adjusting the Lever
To ensure the lever is functioning properly, you should test and make any necessary adjustments. Start by flushing the toilet several times to see if the lever is working smoothly. If the lever feels loose or doesn’t return to its original position, it may need some adjustments.
Here are some troubleshooting tips to help you with the adjusting technique:
-
Check the lever arm: Make sure the lever arm is properly attached to the flush valve and is aligned correctly. If it’s loose or misaligned, tighten the screws or adjust the positioning.
-
Adjust the chain length: The chain connecting the lever arm to the flapper valve should have a slight amount of tension. If it’s too loose, it may cause issues with flushing. Adjust the chain length accordingly.
-
Lubricate moving parts: Apply a small amount of silicone lubricant to the lever arm and pivot points to ensure smooth operation.
Conclusion
In conclusion, replacing a toilet lever is a simple task that can be easily done by following a few steps.
First, shut off the water supply and remove the old lever.
Next, install the new lever and test it for proper functioning.
Did you know that a faulty toilet lever can waste up to 200 gallons of water per day?
So, by replacing it, you not only save water but also save on your utility bills.
Remember, attention to detail is key when replacing a toilet lever to ensure a smooth and efficient process.

Liam’s journey with us started as a consumer. Having faced challenges while setting up his own modern bathroom, he delved deep into research.
Recognizing his knack for simplifying complex information and his authentic writing style, we were thrilled to welcome him aboard. Liam’s articles often merge practicality with style, ensuring readers find the perfect fit for their homes. Liam is an avid hiker off-duty and often jokes about finding the best “natural toilets” Mother Earth has to offer.