I’ve got a step-by-step guide for you on how to replace a toilet ring. It’s a simple fix that can prevent leaks and keep your bathroom in tip-top shape.
In this article, I’ll walk you through the process, from gathering the necessary tools and materials to testing and finishing up.
So grab your wrench and let’s get started!
Key Takeaways
- Properly inspect and clean the flange before installing the new toilet ring.
- Use a new wax ring or consider using alternative sealing products for a secure and leak-free installation.
- Ensure the floor is level before positioning the new wax ring to ensure a proper seal.
- Test for leaks and troubleshoot common issues during and after the toilet ring installation process.
Los Flexi Concealed In-Wall Toilet Tank Carrier for Wall Hung Toilets, 0.8/1.6 GPF Dual Flush, Adjustable Height Tank Carrier, Includes Flush Actuator Plate for Wall Mount Toilet Setup
Durable Steel Construction: This in-wall toilet tank system supports most wall hung toilets with a sturdy steel frame,...
As an affiliate, we earn on qualifying purchases.
Required Tools and Materials
You’ll need a few tools and materials to replace the toilet ring. Proper maintenance and regular inspection of your toilet ring are essential to prevent leaks and ensure a good seal. To replace the ring, you’ll need a pair of gloves, a putty knife, a wrench, a new wax ring, and a bucket.
Start by turning off the water supply valve and flushing the toilet to drain the water. Use the wrench to disconnect the water supply line and remove the nuts securing the toilet to the floor. Carefully lift the toilet and place it on a towel or old newspaper. Use the putty knife to scrape off the old wax ring from the toilet flange.
Install the new wax ring, ensuring it is centered on the flange. Carefully lower the toilet onto the wax ring and press down firmly to create a good seal. Reconnect the water supply line, turn on the water, and flush the toilet to check for any leaks. Proper maintenance and a good seal are crucial for a functioning toilet.

Casta Diva in Wall Toilet Tank Carrier, Concealed Wall Hung Toilet Tank System with Black Dual-Flush Actuator Plate (2x4 / 2x6 Studs)
Toilet tank brace wall, fit for most wall mount toilet bowls, a black tank actuator plate included in...
As an affiliate, we earn on qualifying purchases.
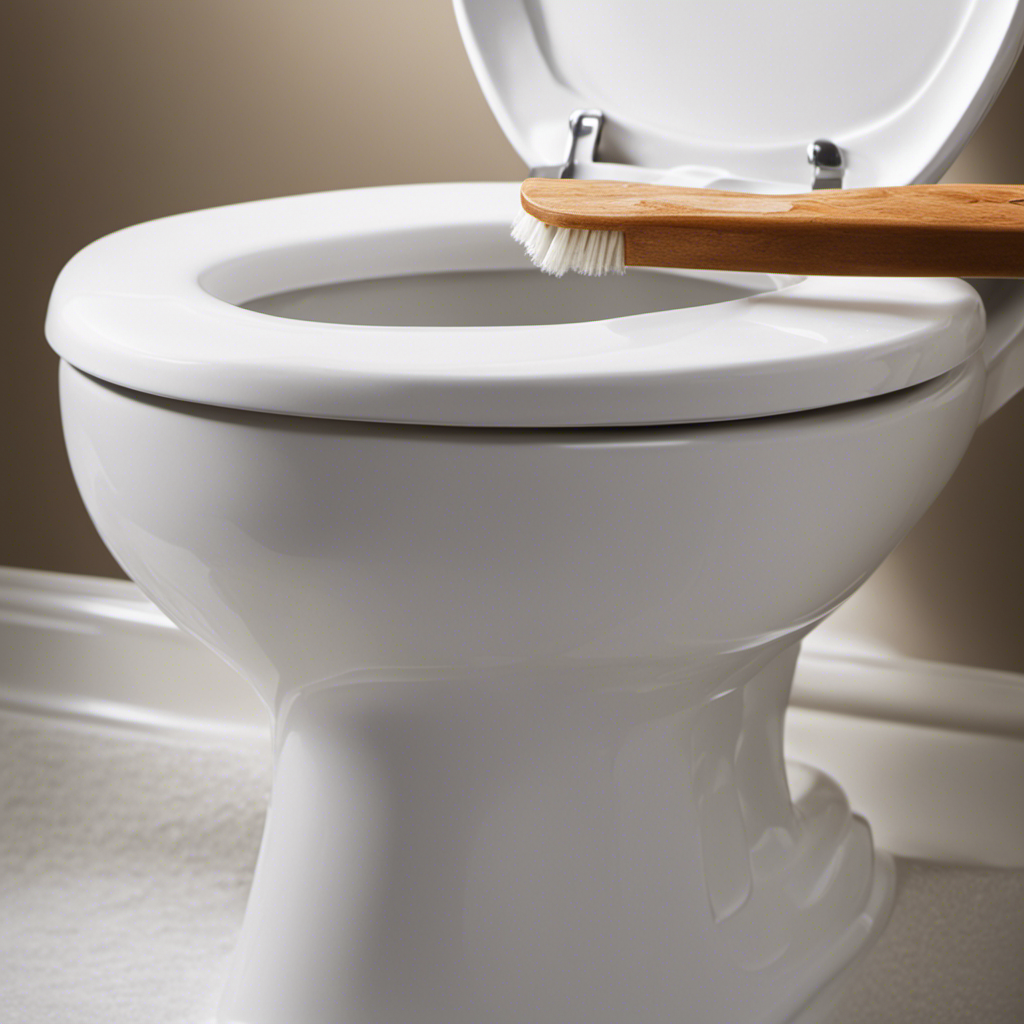
Preparing the Area
Make sure to thoroughly clean the area around the base of the toilet before beginning the replacement process. This step is crucial for ensuring a proper seal and avoiding common mistakes when preparing the area for replacing a toilet ring. Here are some tips to help you achieve a proper seal during the preparation stage:
| Tips for Proper Seal | Common Mistakes to Avoid | Importance |
|---|---|---|
| Remove old wax ring and residue completely | Leaving old wax residue | Prevent leaks |
| Clean the flange thoroughly | Neglecting to clean the flange | Ensure a tight fit |
| Inspect the flange for any damage | Ignoring flange damage | Prevent future issues |
| Ensure the floor is level | Installing on an uneven surface | Maintain stability |
| Use a new wax ring and/or an alternative sealing product | Reusing old wax ring | Secure seal |

Eridanus Wall Hung Toilet with Tank, 2x4 In-Wall Toilet Tank Carrier, Wall Mounted Toilet Combo Set, Dual-Flush Plate Included, Floating Bowl With Soft-Close Seat, Glossy White, 2 Separate Packages
【Please Note】Toilet and tank are shipped in two separate packages and may not arrive at the same time.
As an affiliate, we earn on qualifying purchases.
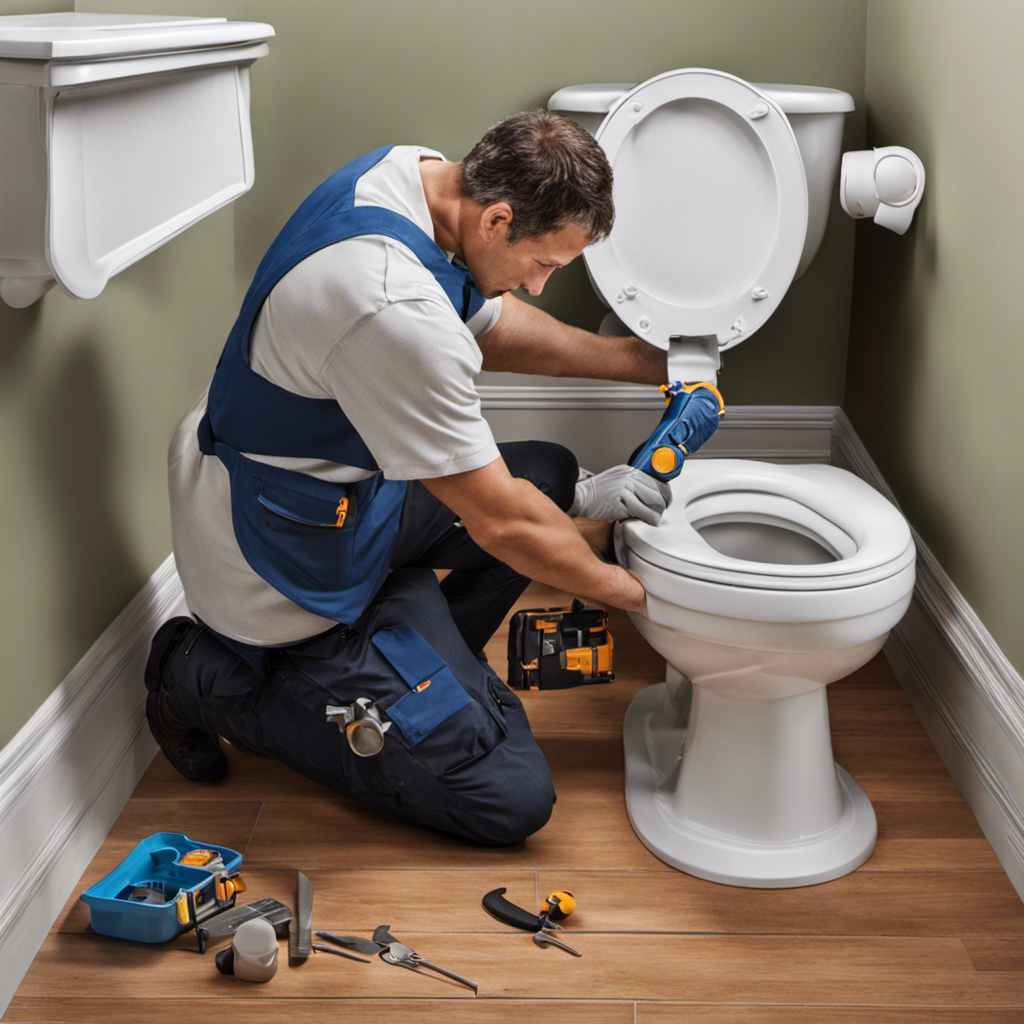
Removing the Old Toilet Ring
Before beginning the removal process, it’s important to inspect the old wax ring and surrounding area for any signs of damage or residue. This will ensure a smooth and successful removal. Here are the steps to follow:
-
Turn off the water supply: Locate the shut-off valve behind the toilet and turn it clockwise to shut off the water supply.
-
Empty the tank: Flush the toilet to empty the tank completely. Use a sponge or towel to soak up any remaining water.
-
Remove the toilet: Loosen the nuts on the bolts securing the toilet to the floor. Carefully lift the toilet and place it on a tarp or old towel to avoid any spills.
-
Dispose of the old wax ring properly: Wrap the old wax ring in a plastic bag and dispose of it in a trash bag. Avoid flushing it down the toilet as it can cause clogs.

SmartSylva In-Wall Toilet Tank Carrier with Dual-Flush Actuator Plate in Chrome Silver Color (Compitable with our #SS01-M1G Wall-Hung Smart Toilet to work as An Intelligent Toilet Combo)
[ Work with SmartSylva Wall Hung Smart Toilet ] : This Water Tank is Compatible with our #SS01-M1G...
As an affiliate, we earn on qualifying purchases.
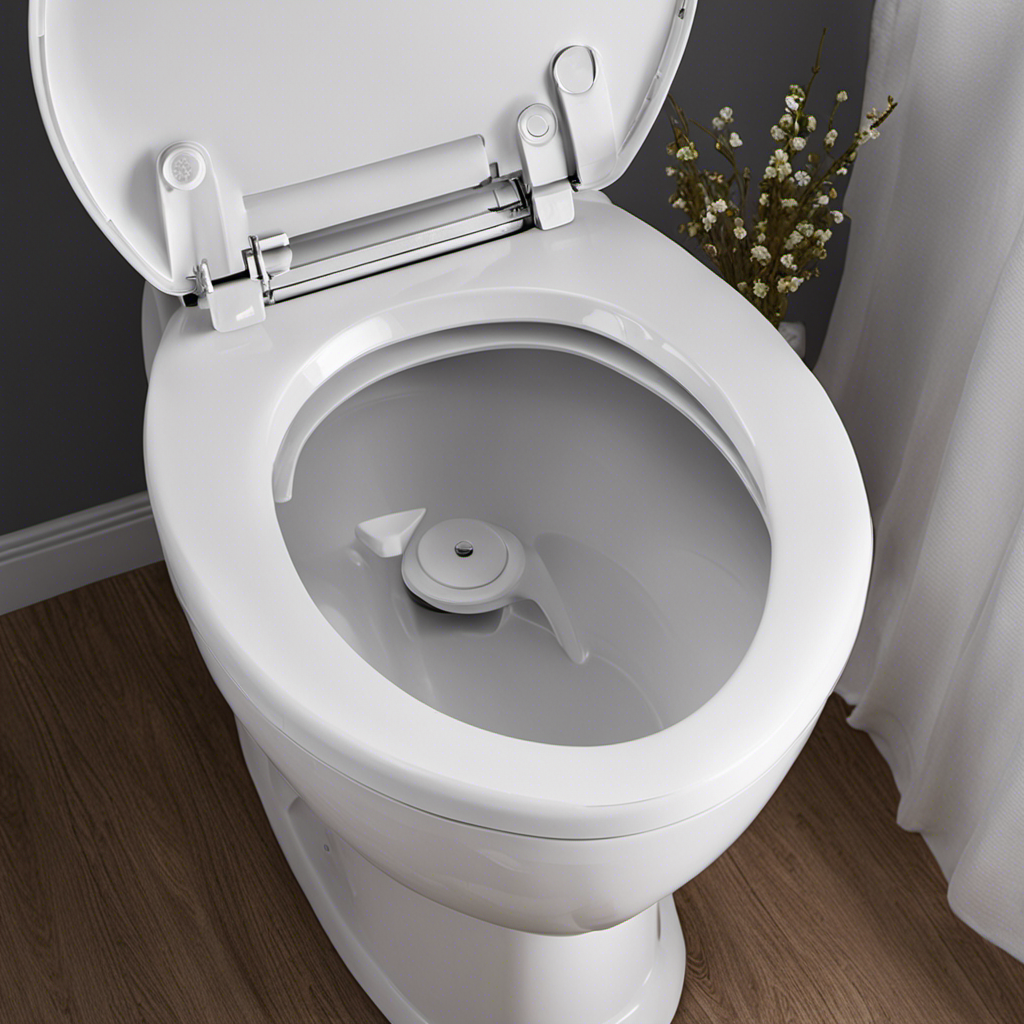
Installing the New Toilet Ring
Once the old wax ring has been properly disposed of, it’s time to install the new one. To ensure a secure and leak-free toilet ring installation, follow these step-by-step instructions:
-
Position the new wax ring: Place the wax ring on the flange, aligning it with the bolts.
-
Secure the toilet: Carefully lower the toilet onto the wax ring, ensuring that the bolts pass through the holes in the base.
-
Tighten the bolts: Hand-tighten the nuts onto the bolts, gradually alternating between them until they are snug.
-
Test for leaks: Flush the toilet and check for any signs of leakage around the base. If there is a leak, tighten the bolts a little more.
Table: Troubleshooting Common Issues during Toilet Ring Installation
| Issue | Solution |
|---|---|
| Leaking around the base of the toilet | Check if the wax ring is properly aligned and sealed. Reinstall if necessary. |
| Toilet wobbling or unstable | Ensure that the toilet is level and the bolts are securely tightened. |
| Water leaking from the tank to the bowl | Replace the tank-to-bowl gasket and tighten the bolts connecting the tank to the bowl. |
Testing and Finishing Up
To ensure a proper installation, it’s important to test for leaks and make any necessary adjustments. Here are the steps to follow:
-
Turn on the water supply: Once the new toilet ring is in place, turn on the water supply valve to allow water to fill the tank.
-
Check for leaks: Carefully inspect the area around the toilet base and the connection between the bowl and the floor. Look for any signs of water leakage, such as puddles or dampness.
-
Tighten the bolts: If you notice any leaks, try tightening the bolts that secure the toilet to the floor. Use a wrench to ensure they are securely fastened without over-tightening.
-
Flush and test: Flush the toilet a few times to ensure proper flushing and filling. Observe if there are any leaks or abnormal sounds during the flushing process.
Troubleshooting common toilet ring replacement issues:
- If there are persistent leaks, consider replacing the wax ring or seeking professional help.
Tips for maintaining a long-lasting toilet ring installation:
- Regularly inspect the toilet base for any signs of water leakage and address the issue promptly.
- Avoid using excessive force when tightening the bolts to prevent damaging the toilet or the flange.
- Clean the toilet bowl and surrounding area regularly to prevent buildup and potential damage to the wax ring.
- Consider using a toilet bowl cleaner that is safe for use with rubber or wax seals to avoid premature degradation of the ring.
Frequently Asked Questions
How Often Should the Toilet Ring Be Replaced?
The toilet ring should be replaced every few years or whenever there are signs of wear and leakage. Regular toilet ring maintenance is crucial to prevent water damage and ensure proper functioning of the toilet.
Can I Use Any Type of Toilet Ring for My Toilet?
Yes, you can use different types of toilet rings for your toilet. It’s important to consider compatibility with your toilet’s shape and size. Some of the best options include wax rings, rubber rings, and foam rings.
Is It Necessary to Shut off the Water Supply Before Replacing the Toilet Ring?
Yes, it is necessary to shut off the water supply before replacing the toilet ring. This ensures that no water leaks or spills occur during the installation process, making it safer and easier to complete.
Can I Reuse the Old Toilet Ring?
No, I cannot reuse the old toilet ring. While it may seem cost-effective, there are several advantages to using a new ring, such as ensuring a proper seal and preventing leaks.
What Should I Do if I Encounter Any Leaks After Replacing the Toilet Ring?
If I encounter any leaks after replacing the toilet ring, I would troubleshoot by checking the wax seal, tightening the bolts, and inspecting the water supply line. To prevent future leaks, I’ll ensure proper installation and regular maintenance.
Conclusion
Well, that’s it folks! With just a few simple steps, you can replace a toilet ring like a pro.
It’s amazing how something as small as a toilet ring can have such a big impact on your bathroom. By following the steps outlined in this article, you can ensure a tight and leak-free seal for your toilet.
So grab your tools, prepare the area, remove the old ring, install the new one, and test it out. You’ll be amazed at the difference it can make.
Happy toilet ring replacing!