Hey there!
Ever had a leaky RV toilet that’s driving you nuts? Well, I’ve got just the solution for you.
In this article, I’m going to walk you through the step-by-step process of replacing your RV toilet seal. Trust me, it’s easier than you might think.
Armed with the right tools and materials, you’ll be able to fix that pesky leak and get back to enjoying your road trips in no time.
So, let’s dive in and get that toilet seal replaced!
Key Takeaways
- The RV toilet seal is crucial for preventing leaks and maintaining sanitation.
- Proper maintenance is essential to ensure longevity and functionality of the seal.
- The old toilet seal should be properly removed before installing a new one.
- Regular maintenance and proper usage can prevent seal damage and costly repairs.
Understanding the RV Toilet Seal
To understand the RV toilet seal, you’ll need to know that it is a crucial component for preventing leaks and maintaining proper sanitation in your RV bathroom.
The toilet seal is located between the toilet bowl and the waste tank, creating a watertight seal that prevents any leakage or odors from escaping.
Proper maintenance of the toilet seal is essential to ensure its longevity and functionality. Over time, the seal can deteriorate due to exposure to chemicals, debris, and moisture.
Common toilet seal problems include leaks, foul odors, and difficulty flushing. Regular cleaning and inspection of the seal can help identify any issues early on and prevent further damage.
It’s important to replace the seal if it shows signs of wear and tear or if you encounter any of these problems.
Gathering the Necessary Tools and Materials
Make sure you have all the tools and materials you’ll need for this task. Having the right tools and materials is crucial for a successful and efficient toilet seal replacement or installation. Here are the essentials you’ll need:
- Wrench or pliers: These will help you loosen and tighten the bolts that secure the toilet to the floor.
- Putty knife: Use this to scrape away any old wax or residue from the previous seal.
- New toilet seal: Make sure to choose a high-quality seal that is compatible with your toilet model.
- Disposable gloves: It’s important to protect your hands during the process.
- Bucket or towels: These will come in handy to catch any water or debris that may spill during the removal and installation.
Removing the Old Toilet Seal
When it comes to removing the old toilet seal, there are a few key points to keep in mind.
Firstly, it’s important to ensure proper seal removal in order to prevent any damage or leaks.
Additionally, having the right tools for the job is crucial for a smooth and successful removal process.
Proper Seal Removal
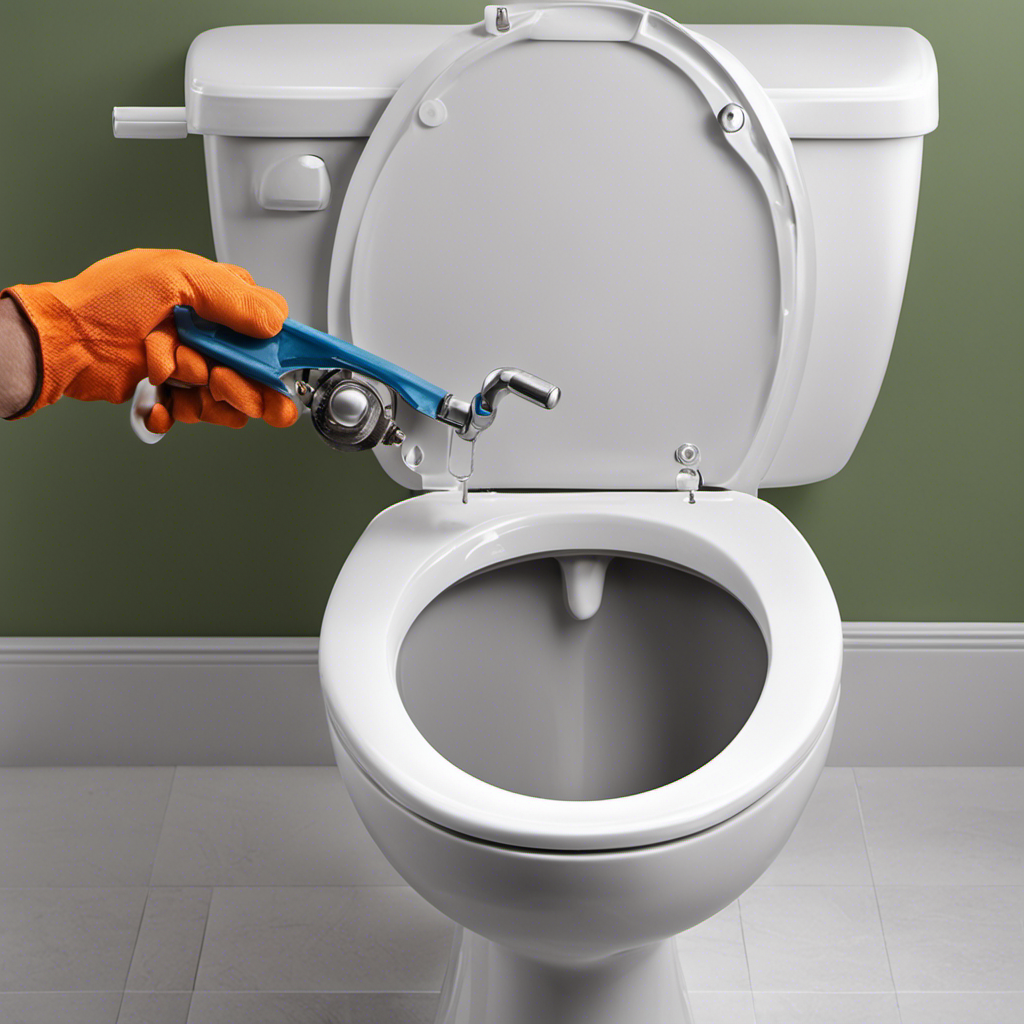
Start by ensuring that you have all the necessary tools for proper seal removal. Removing the old toilet seal is an important step in the process of toilet seal replacement. It is crucial to do it correctly to avoid any future problems. Here are some key steps to follow for proper seal removal:
-
Gather the following tools:
-
Adjustable wrench
-
Putty knife
-
Gloves
-
Turn off the water supply to the toilet and flush it to remove any remaining water.
-
Use the adjustable wrench to disconnect the water supply line from the toilet tank.
-
Carefully remove the bolts that secure the toilet to the floor using the wrench.
-
Gently rock the toilet back and forth to break the seal between the toilet and the floor.
-
Once the toilet is loose, lift it up and place it on a towel or old newspaper to avoid any mess.
Tools Needed for Removal
To ensure a successful removal, you’ll need a few tools. These include an adjustable wrench, putty knife, and gloves.
When it comes to toilet seal installation or replacement, having the right tools is key. The adjustable wrench will help you loosen the bolts securing the toilet to the floor. A putty knife is useful for scraping away any old wax or residue from the previous seal. Don’t forget to wear gloves to protect your hands from any dirt or bacteria.
These tools will make the removal process much easier and ensure a clean surface for the new toilet seal.
Following these toilet seal replacement tips, you’ll be well-prepared for a successful installation.
Installing the New Toilet Seal
When it comes to installing a new toilet seal, proper seal application is crucial to ensure a leak-free and properly functioning toilet. This involves carefully aligning and positioning the seal between the toilet base and the floor flange, making sure it is evenly and firmly pressed down for a secure fit.
However, even with proper installation, leaking issues can still arise, and troubleshooting these issues is essential to identify and resolve the problem effectively.
Proper Seal Application
Make sure you’ve thoroughly cleaned and dried the area before applying the new toilet seal. Proper seal application is crucial to ensure a leak-free and long-lasting seal.
Here are some common seal application mistakes to avoid and tips for a long-lasting toilet seal:
-
Apply even pressure: When applying the seal, make sure to evenly distribute pressure to ensure a tight and secure fit.
-
Use the right amount of adhesive: Too little adhesive may result in a weak seal, while too much adhesive can cause it to bulge and potentially leak.
-
Align the seal properly: Ensure that the seal is properly aligned with the toilet flange to create a tight seal and prevent any gaps.
By following these tips, you can ensure a properly sealed toilet that will last for years to come.
Now, let’s move on to troubleshooting any leaking issues that may arise.
Troubleshooting Leaking Issues
Check if the water is leaking from the base of your toilet, as this could indicate a problem with the seal.
To troubleshoot this issue, start by inspecting the seal for any signs of damage or cracks. If you notice any, it’s crucial to repair or replace the seal promptly.
Next, check the water pressure in your RV. High water pressure can put excessive strain on the seal, leading to leaks. Consider installing a pressure regulator to ensure a steady and safe water flow.
Additionally, make sure the toilet is securely fastened to the floor to prevent any movement that could compromise the seal.
Testing the Seal and Ensuring Proper Functionality
To ensure proper functionality of the seal, you should first flush the toilet and check for any leaks. Once you have done that, you can proceed to testing the seal using the following methods:
-
Visual Inspection:
-
Check for any visible signs of wear or damage on the seal.
-
Look for any gaps or spaces between the seal and the toilet bowl.
-
Ensure that the seal is properly aligned and seated in its place.
-
Water Test:
-
Fill a bucket with water and pour it into the toilet bowl.
-
Observe if there are any leaks around the seal area.
-
Pay attention to any water seepage or dripping sounds.
-
Smell Test:
-
Flush the toilet and then close the lid.
-
Wait for a few minutes and then open the lid.
-
If you detect any foul odor, it could indicate a faulty seal.
Maintenance and Care Tips for RV Toilet Seals
Now that we’ve covered how to test the seal and ensure proper functionality of your RV toilet, let’s dive into some maintenance and care tips to prevent future seal damage.
Troubleshooting common problems with RV toilet seals can save you time and money in the long run. One common issue is a leaking seal, which can be caused by debris or mineral buildup. To address this, regularly clean the seal with a mild cleaner and soft brush.
Another problem is a dried-out seal, leading to poor sealing performance. To prevent this, apply a seal lubricant regularly. Additionally, be mindful of what you flush down the toilet to avoid clogs and damage to the seal.
Frequently Asked Questions
How Long Does a RV Toilet Seal Typically Last Before It Needs to Be Replaced?
Typically, an RV toilet seal can last for several years before needing replacement. However, signs of a worn out toilet seal include leaks, odors, and difficulty flushing. Regular maintenance can help prolong the lifespan of the seal.
Can I Use Any Type of Sealant or Adhesive to Install a New Toilet Seal?
I can assure you that using the right type of sealant or adhesive is crucial when installing a new toilet seal. It’s important to avoid common mistakes to ensure a proper and leak-free installation.
Are There Any Special Precautions I Should Take When Removing the Old Toilet Seal to Avoid Damaging the Toilet or Surrounding Area?
When removing the old RV toilet seal, it’s important to take precautions to avoid damaging the toilet or surrounding area. Use the necessary tools for toilet seal replacement and proceed with care.
Can I Replace the Toilet Seal Myself, or Should I Hire a Professional?
DIY vs professional: Pros and cons of replacing RV toilet seal. It is possible to replace the toilet seal myself, but hiring a professional ensures proper installation. Common mistakes to avoid include damaging the toilet or surrounding area.
Are There Any Signs or Symptoms That Indicate a Faulty Toilet Seal, Other Than Visible Leaks?
Other signs of a faulty toilet seal, aside from visible leaks, can include unpleasant odors, loose toilet bowl, and difficulty flushing. The lifespan of an RV toilet seal can vary, but regular maintenance can help prolong its durability.
Conclusion
Well, congratulations! You’ve successfully replaced your RV toilet seal.
Now, you can rest easy knowing that your bathroom adventures will be leak-free and odor-free. Who needs that, right?
But hey, don’t forget to give your new seal some TLC every now and then. Maintenance is key, after all.
So go ahead, enjoy your seamless toilet experience in your luxurious RV. Just don’t forget to thank me when you’re showered with compliments on your toilet seal replacement skills.
Happy camping!

Liam’s journey with us started as a consumer. Having faced challenges while setting up his own modern bathroom, he delved deep into research.
Recognizing his knack for simplifying complex information and his authentic writing style, we were thrilled to welcome him aboard. Liam’s articles often merge practicality with style, ensuring readers find the perfect fit for their homes. Liam is an avid hiker off-duty and often jokes about finding the best “natural toilets” Mother Earth has to offer.