
Did you know that a leaking toilet seal can waste up to 200 gallons of water per day? It’s not just a nuisance, but also a drain on your wallet and the environment.
Thankfully, replacing the seal on your toilet is a straightforward DIY project that can save you money and prevent further damage. In this article, I will guide you through the step-by-step process of removing the old seal, installing a new one, and testing for leaks.
Let’s get started!
Key Takeaways
- A leaking toilet seal can waste up to 200 gallons of water per day.
- Replacing the seal can save you money and prevent further damage.
- The tools and materials needed for replacing a toilet seal include a wrench, putty knife, new wax ring seal, bucket, and shut-off valve.
- Testing for leaks and regular maintenance are crucial in preventing and detecting any damage early on.

Korky 6000BP Universal Toilet WaxFree Seal with Hardware – Toilet Installation Made Easy – Made in USA , Red
NO WAX, NO MESS – The easiest way to install a toilet seal ring & fix leaks
As an affiliate, we earn on qualifying purchases.
As an affiliate, we earn on qualifying purchases.
Tools and Materials Needed
You’ll need a few tools and materials to replace the seal on your toilet. First, gather a wrench, a putty knife, a new wax ring seal, and a bucket.
Make sure to turn off the water supply to the toilet by shutting off the valve located behind the toilet.
Next, flush the toilet to drain the water. Use the wrench to loosen the bolts that secure the toilet to the floor. Carefully lift the toilet and set it aside.
Use the putty knife to scrape off the old wax ring from the base of the toilet and the flange.
Now, place the new wax ring on the flange, ensuring a proper seal installation. Lower the toilet back onto the flange and press down firmly to create a tight seal.
Tighten the bolts, reconnect the water supply, and test for any leaks by flushing the toilet. If you notice any leaks, troubleshoot by checking the wax ring’s position and tightness of the bolts.

Fluidmaster K-400H-021-P8 PerforMAX 2-Inch Everything Toilet Repair Kit, Multicolor
The Everything Kit includes everything you need to fix your toilet in one trip and one purchase
As an affiliate, we earn on qualifying purchases.
As an affiliate, we earn on qualifying purchases.
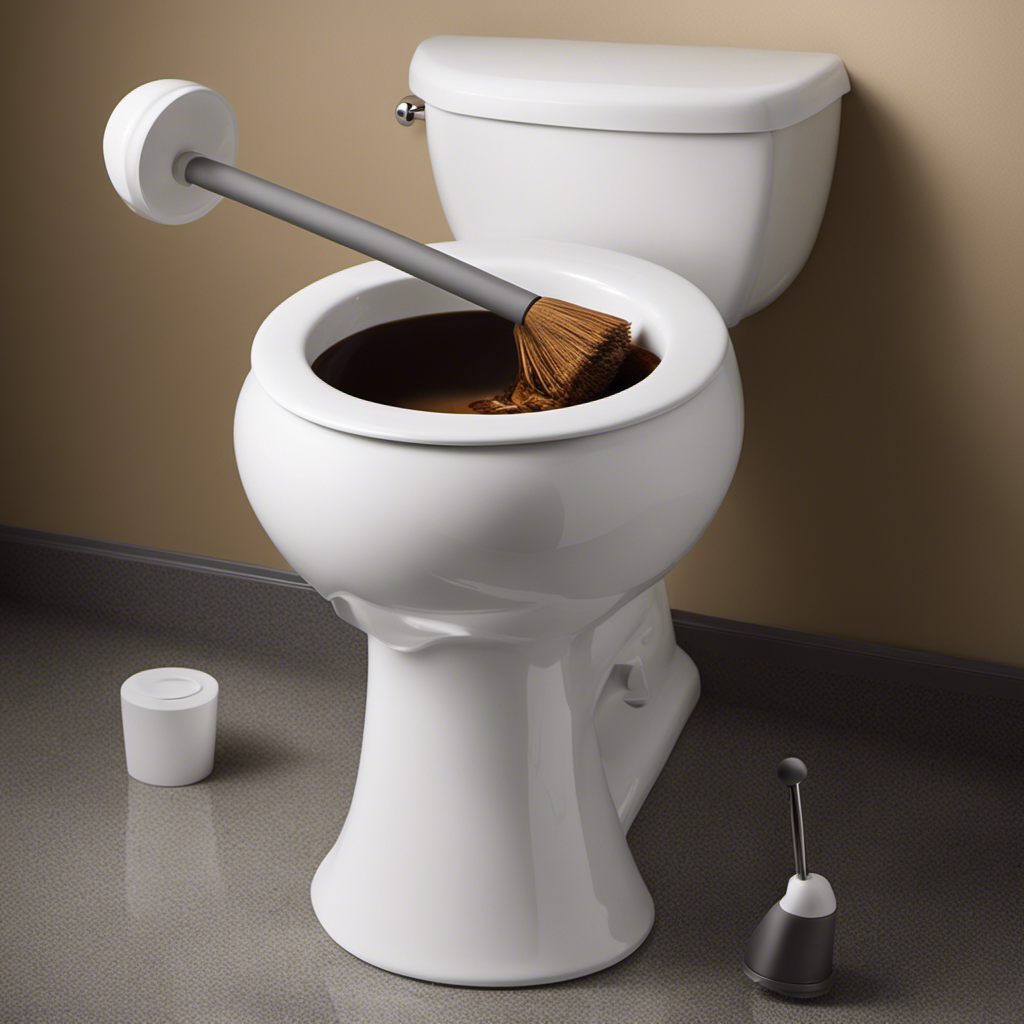
Removing the Old Seal
First, check underneath the toilet for any water leaks or signs of damage. It is important to address any toilet seal problems promptly to prevent further damage.
Here are the steps to remove the old seal and prepare for a replacement:
- Turn off the water supply to the toilet by locating the shut-off valve and turning it clockwise.
- Flush the toilet to drain the water from the tank and bowl.
- Use a wrench to disconnect the water supply line from the bottom of the tank.
Next, remove the nuts securing the toilet to the floor bolts. Gently rock the toilet back and forth to break the seal. Once the toilet is free, carefully lift it off the flange and set it aside. Be cautious, as the toilet can be heavy.
With the old seal removed, you can now proceed to the next step of replacing the seal and completing your DIY toilet repairs.
Korky 6000BP Universal Toilet WaxFree Seal with Hardware – Toilet Installation Made Easy – Made in USA , Red
NO WAX, NO MESS – The easiest way to install a toilet seal ring & fix leaks
As an affiliate, we earn on qualifying purchases.
As an affiliate, we earn on qualifying purchases.
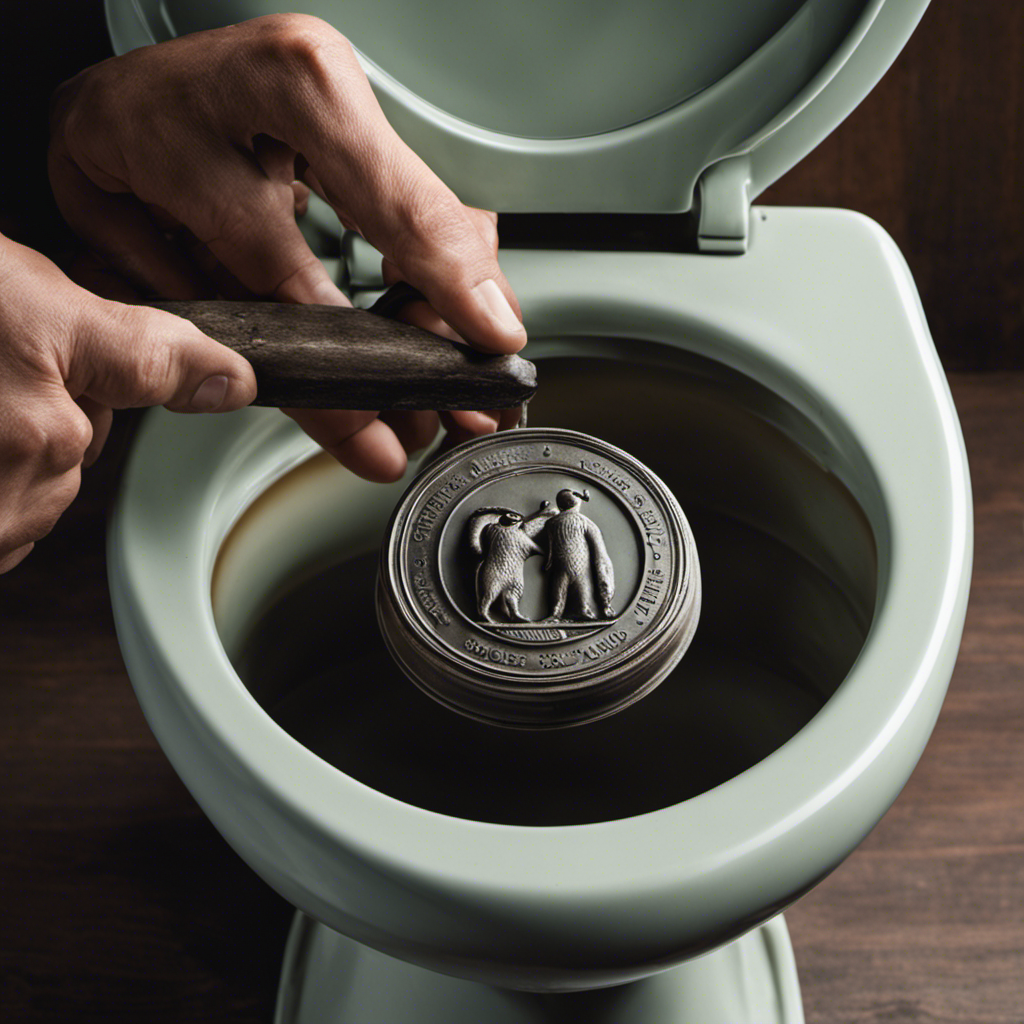
Installing the New Seal
To properly install the new seal, make sure to align it with the flange opening. Proper alignment is crucial to ensure a tight and effective seal.
Here’s a step-by-step guide on how to install the new seal:
-
Start by cleaning the flange opening and removing any debris or old wax residue.
-
Take the new wax seal and gently press it onto the flange, making sure it is centered and aligned properly.
-
Apply even pressure to the seal, ensuring a tight fit between the flange and the toilet base.
-
Once aligned, carefully lower the toilet bowl onto the seal, making sure it is level and sits flush on the floor.
-
Apply downward pressure on the toilet bowl to compress the seal and create a tight seal.

One N Done Toilet Flange Repair Kit – Toilet Kit For Low or Broken Flange. Toilet Wax Ring Replacement Kit W/Toilet Flange Extender Kit, Easy Toilet Bolts, & Toilet Caps For Bottom of Toilet. (1 Ea.)
Save Time & Money | No wax ring for toilet required. The One N Done toilet flange repair…
As an affiliate, we earn on qualifying purchases.
As an affiliate, we earn on qualifying purchases.
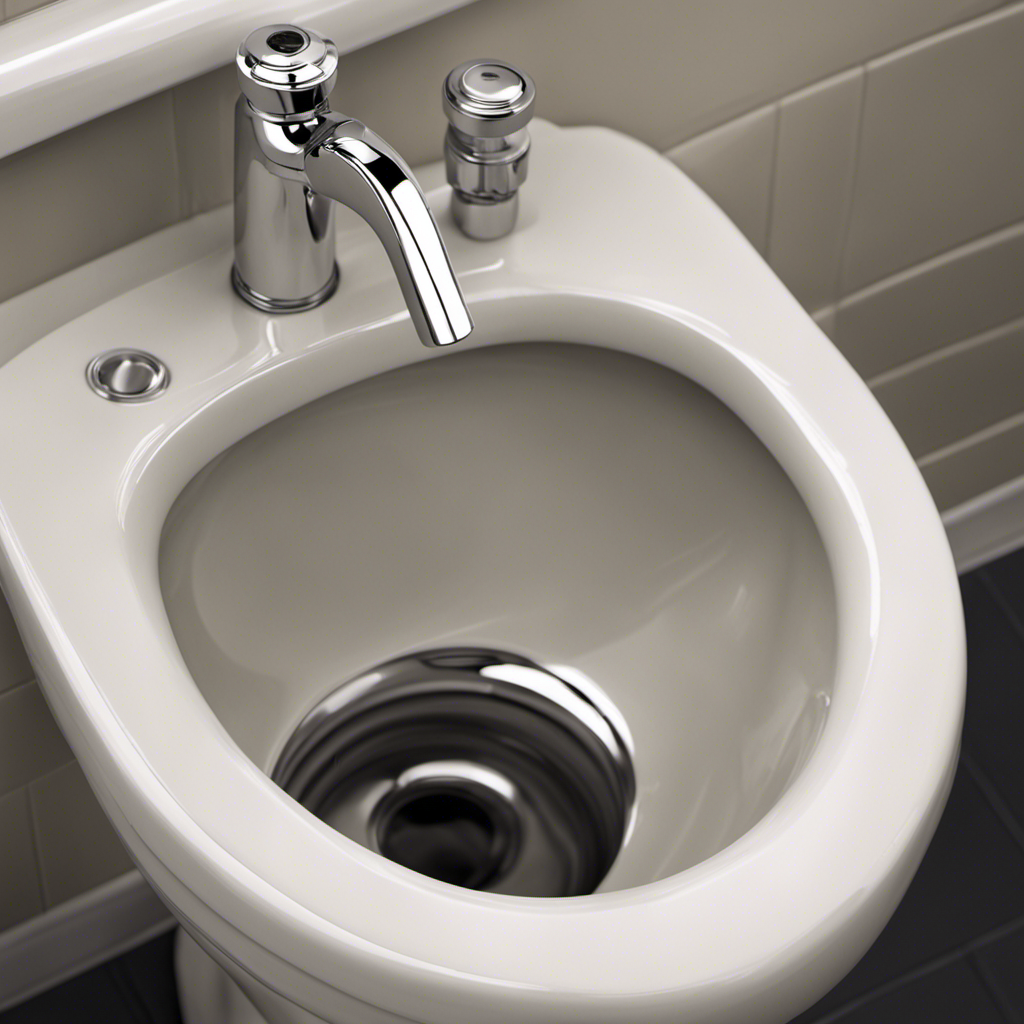
Testing for Leaks
Once the new wax seal is installed, it’s important to test for leaks to ensure that your toilet is functioning properly. Here’s how you can do it:
- Fill a bucket with water and pour it slowly into the toilet bowl until it reaches the rim.
- Observe the base of the toilet for any signs of water leakage. Look for water pooling around the toilet or dripping onto the floor.
- Check for water seepage around the bolts securing the toilet to the floor.
If you notice any leaks, it could indicate a problem with the toilet seal. In such cases, you may need to replace the wax seal again or call a professional plumber for assistance.
Regular toilet seal maintenance is crucial in detecting any damage early on and preventing water damage or unpleasant odors in your bathroom.
Troubleshooting Common Issues
If you notice any leaks, it’s important to address them promptly to prevent further damage. One common issue with toilet seals is a leak between the base of the toilet and the floor. This can be caused by an old or faulty seal, improper installation, or a shift in the toilet’s position.
To troubleshoot this issue, follow these steps:
-
Remove the toilet: Turn off the water supply, flush the toilet to empty the tank, and disconnect the water supply line. Unscrew the bolts holding the toilet to the floor and carefully lift it off.
-
Inspect the seal: Check the condition of the wax ring seal located at the base of the toilet. Look for any signs of damage, cracking, or wear.
-
Replace the seal: If the seal is damaged, remove it and replace it with a new wax ring seal. Make sure to position it correctly and press it firmly into place.
-
Reinstall the toilet: Carefully lower the toilet back onto the wax ring seal, aligning it with the bolts on the floor. Tighten the bolts evenly to secure the toilet in place.
Conclusion
In conclusion, replacing the seal on a toilet is a relatively simple task that can be done with just a few tools and materials.
By following the step-by-step instructions provided, you can ensure that your toilet is properly sealed and free from leaks.
One interesting statistic to consider is that a toilet leak can waste up to 200 gallons of water per day, which not only impacts the environment but also increases your water bill.
So, by replacing the seal, you can save both water and money.