
Are you tired of the constant running water and leaks coming from your toilet tank? It’s time to take matters into your own hands.
In this guide, we will walk you through the step-by-step process of replacing the insides of your toilet tank. With just a few tools and materials, you’ll be able to restore your toilet to its former glory.
So grab your wrench and let’s dive in!
Key Takeaways
- Shut off the water supply to the toilet before replacing the insides of the tank.
- Drain the water from the tank and remove the old components carefully.
- Install the new components securely and check for leaks.
- Upgrading the flushing mechanism can save water and reduce water bills.

Smart Toilet with Bidet Built In, Heated Seat, Warm Water Wash & Dryer, Tankless Bidet Toilet with Foot Sensor & Night Light, Auto Open/Close Lid & Flush, Wireless Remote, 1.26GPF Water-Saving Design
🛠️ Easy Installation & Reliable Support: This smart toilet with bidet built in includes all accessories, flange kit,...
As an affiliate, we earn on qualifying purchases.
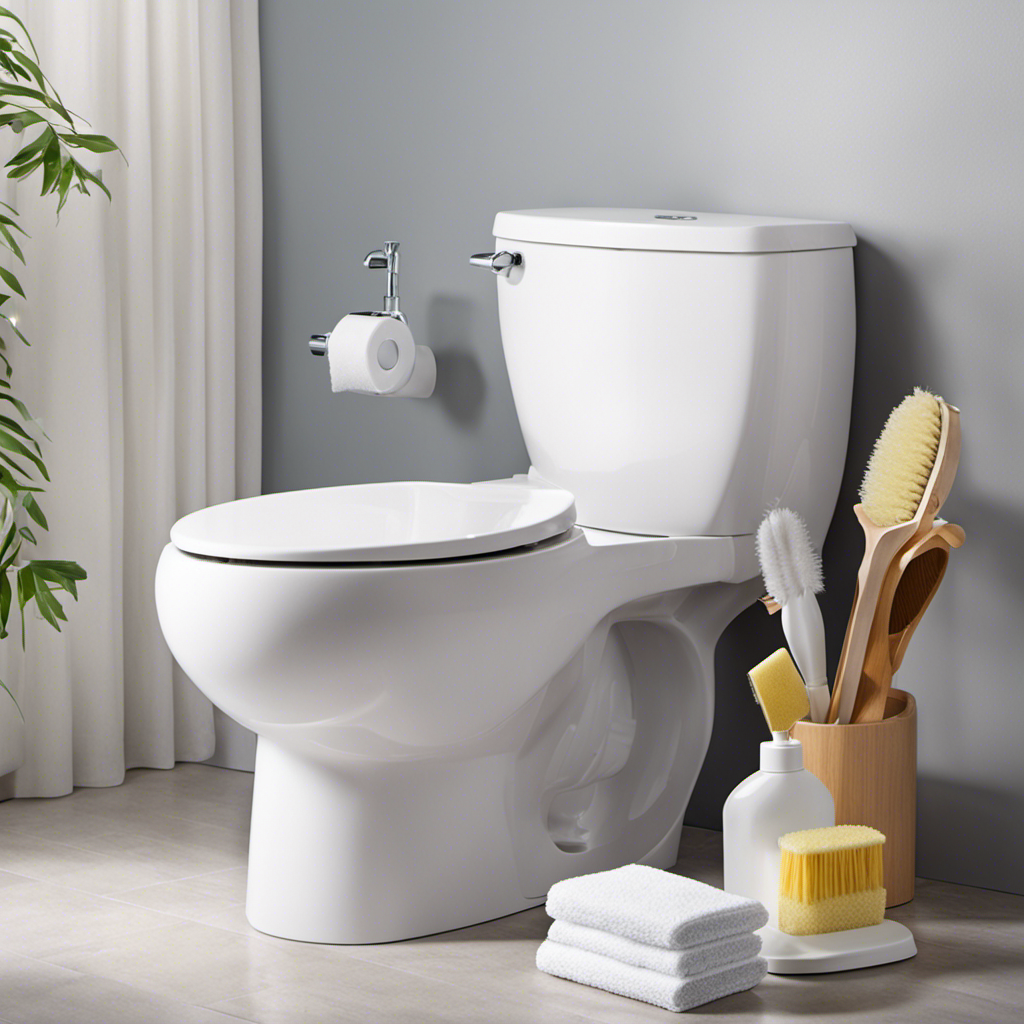
Gathering the Necessary Tools and Materials
You’ll need a few tools and materials to get started on replacing the insides of your toilet tank. Exploring alternative options can be helpful if you’re looking for a more efficient and eco-friendly solution. Troubleshooting common issues is also important to ensure that your toilet functions properly.
To begin, gather a pair of adjustable pliers, a bucket, a sponge, and a towel. These tools will assist you in removing the old parts and installing the new ones. Additionally, you’ll need replacement parts such as a fill valve, a flapper, and a flush valve. These components are essential for the proper functioning of your toilet.

WITMYA Smart Toilet with Bidet Built In, One Piece Bidet Toilet with Auto Dual Flush, Foam Shield, Modern Elongated Tankless Toilet with Foot Sensor, Heated Bidet Seat, Warm Water & Dryer,LED Display
【Efficient Flush & Energy-Saving Design】There smart toilets feature a highly efficient 1.28 GPF water-saving dual flush system with...
As an affiliate, we earn on qualifying purchases.
Shutting off the Water Supply to the Toilet
To prevent water flow, simply turn off the valve supplying water to the toilet. This valve is usually located behind or beside the toilet, near the floor. Turn the valve clockwise until it is fully closed.
By doing this, you will isolate the water supply to the toilet, ensuring that no water flows into the tank while you work on replacing the insides. It is important to shut off the water before proceeding to avoid any potential mess or damage.
Once you have completed the repair or replacement, you can then reconnect the water by turning the valve counterclockwise. This will allow water to flow back into the toilet tank.
With the water supply shut off, you are now ready to move on to the next step of draining the water from the tank.

LOUPUSUO Smart Toilet with Warm Water Sprayer and Dryer, One Piece Bidet Toilet with Auto Dual Flush Foot Sensor Operation,Heated Seat Smart with Built In Fahrenheit LED Display
Powerful Flushing System: Designed with low water consumption (1.26 gallons per flush), this system ensures efficient and thorough...
As an affiliate, we earn on qualifying purchases.
Draining the Water From the Tank
Once the water supply has been shut off, it’s time to drain the water from the tank. To prevent water damage and ensure a smooth replacement process, you need to follow proper draining techniques.
Start by locating the water supply valve, usually located near the bottom of the toilet tank. Turn it counterclockwise to release the water.
Next, flush the toilet to remove any remaining water in the tank. Use a sponge or towel to soak up any excess water. For stubborn water, you can use a wet/dry vacuum to suction it out. Remember to empty the vacuum regularly.
Once the tank is completely drained, you can proceed with replacing the insides of the toilet tank without worrying about any water leakage or damage.

Loniko Smart Toilet with Bidet Built In, Heated Seat & Dual Auto Flush, Foot Sensor, Tankless Modern Elongated Electric Toilet with Warm Water Wash, Air Dryer, LED Display & 1000g MaP Flush, 1.28 GPF
🧻 [Powerful & Water-Saving Dual Flush System] This one piece smart toilet with bidet built in uses an...
As an affiliate, we earn on qualifying purchases.
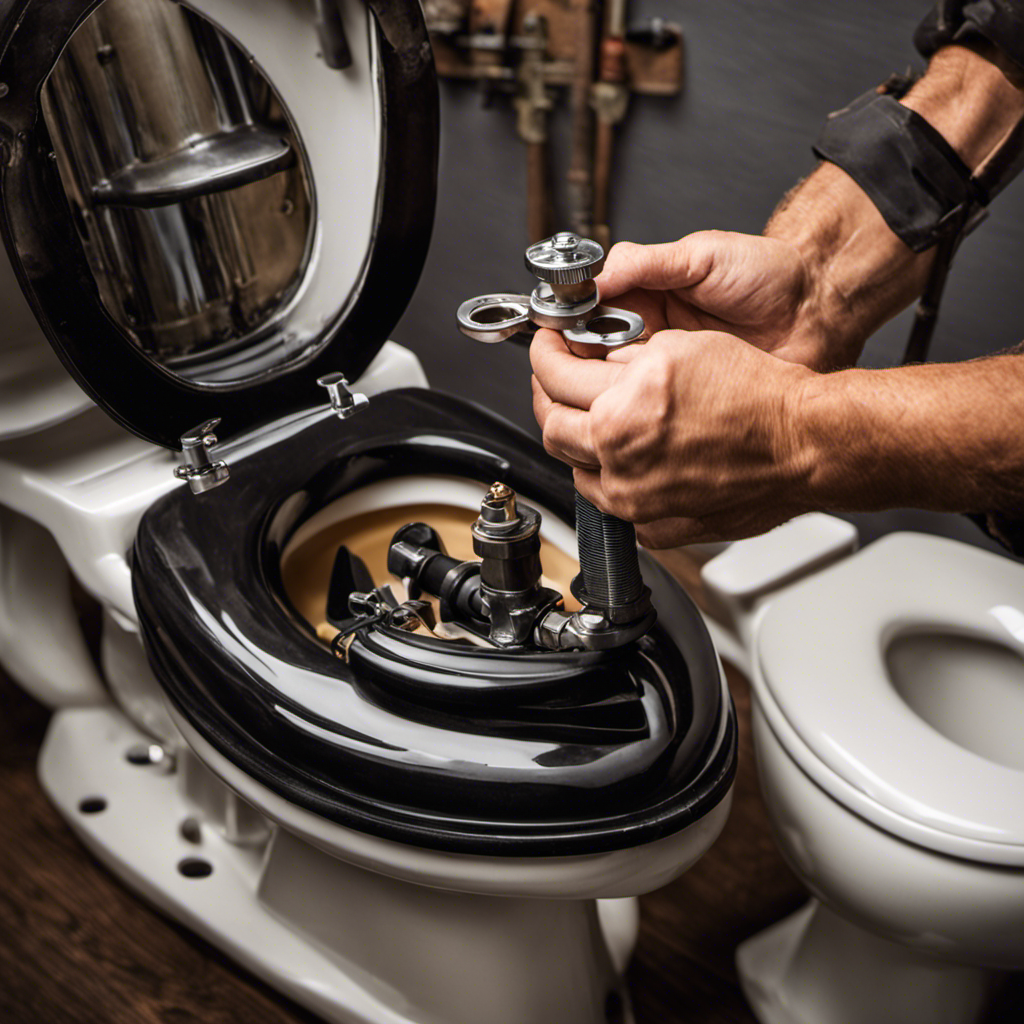
Removing the Old Components From the Toilet Tank
Now that the water has been drained from the tank, it’s time to remove the old components. Follow these steps to successfully disassemble your toilet tank and replace the insides:
-
Remove the Lid
-
Carefully lift the lid of the toilet tank and set it aside in a safe place.
-
Be cautious as the lid may be heavy and fragile.
-
Disconnect the Water Supply
-
Locate the water supply valve, usually located near the base of the toilet.
-
Turn the valve clockwise to shut off the water supply.
-
Flush the toilet to drain any remaining water.
-
Remove the Flapper
-
Locate the flapper, which is typically connected to the flush valve.
-
Disconnect the chain or rod that connects the flapper to the handle.
-
Lift the flapper upwards to detach it from the flush valve.
Troubleshooting Tips:
- If components are stuck, use a wrench or pliers to loosen them.
- Take pictures or make notes to ensure proper reassembly.
- Clean the tank thoroughly before installing new components.
Installing the New Components in the Toilet Tank
When installing the new components in the toilet tank, it’s important to ensure proper component alignment to avoid any issues with functionality.
Make sure that all the components are aligned correctly and securely attached to the tank before proceeding with the installation process.
Additionally, tightening water connections is crucial to prevent any leaks or water damage. Use the appropriate tools to tighten the water connections securely, ensuring a watertight seal.
Proper Component Alignment
To ensure proper component alignment, it’s important to securely fasten the parts inside the toilet tank. Here are some troubleshooting tips and component adjustment techniques to help you achieve optimal alignment:
-
Check for Leaks
Inspect all connections for any signs of leakage, such as water drips or puddles. Tighten any loose connections using a wrench or pliers. -
Adjust the Fill Valve
If the water level is too high or too low, adjust the fill valve by turning the adjustment screw clockwise or counterclockwise. Test the water level by flushing the toilet and observing the refill process.
By following these troubleshooting tips and properly adjusting the components, you can ensure that all parts inside the toilet tank are aligned correctly.
Once you have achieved proper alignment, you can move on to tightening the water connections, as discussed in the next section.
Tightening Water Connections
Make sure you tighten all water connections securely to prevent any leaks. Checking for water damage and troubleshooting common issues is an essential step in maintaining the functionality of your toilet tank. To help you understand the importance of tightening water connections, here is a visual representation of the components involved:
| Component | Connection | Potential Issues |
|---|---|---|
| Fill valve | Water supply | Loose connection |
| Flush valve | Toilet bowl | Leaking gasket |
| Flapper | Flush valve | Warped seal |
| Water supply line | Fill valve | Cracked tubing |
Testing for Leaks
Testing for leaks is an important step in ensuring the proper functionality of your toilet. Leaks can lead to water wastage, increased water bills, and potential damage to your bathroom.
To troubleshoot leaks, follow these steps:
-
Check the water supply line connections:
-
Ensure the connection between the water supply valve and the fill valve is tight.
-
Inspect the supply line for any visible signs of leakage, such as water droplets or wetness.
-
Examine the tank components:
-
Inspect the flush valve for any cracks or damage.
-
Check the flapper valve for proper sealing and replace if necessary.
Common causes of leaks include worn-out flapper valves, loose connections, or damaged flush valves. By conducting regular leak testing and addressing any issues promptly, you can prevent water wastage and maintain the efficiency of your toilet.
Testing the Toilet for Proper Functionality
To ensure that your toilet is functioning properly, it’s crucial to test the water flow and pressure, as well as the efficiency of the flushing mechanism.
Start by checking the water flow from the fill valve to the tank. Make sure it’s steady and strong.
Next, examine the pressure by flushing the toilet multiple times. Observe if the water is being expelled with sufficient force.
Water Flow and Pressure
Check if the water flow and pressure in your toilet tank are adequate by removing the tank lid and observing the rate at which water fills the bowl. This will give you an idea of whether your toilet is functioning optimally or if there might be some issues with water flow or pressure.
Here are some things to consider:
-
Water conservation methods:
-
Install a low-flow toilet to reduce water usage.
-
Consider using a dual flush system to control the amount of water used for liquid waste versus solid waste.
-
Troubleshooting common water pressure issues:
-
Check for any clogs or obstructions in the fill valve or supply line.
-
Adjust the water level in the tank to ensure proper pressure.
Flushing Mechanism Efficiency
Now that you understand the importance of water flow and pressure in your toilet, let’s discuss the efficiency of the flushing mechanism and how it can impact your water bills.
Upgrading your toilet’s flushing mechanism is one of the best water-saving options available to you. Older toilets often use a lot of water per flush, which can lead to higher water bills. By replacing the insides of your toilet tank with a more efficient flushing mechanism, you can significantly reduce the amount of water used with each flush. This can result in substantial savings on your monthly water bills.
Newer flushing mechanisms are designed to use less water while still providing a powerful flush, ensuring that waste is effectively removed from the bowl. So, if you’re looking for ways to save water and reduce your water bills, consider upgrading your toilet’s flushing mechanism.
Conclusion
Congratulations! You’ve successfully completed the task of replacing the insides of your toilet tank. Just like a skilled plumber, you gathered the necessary tools and materials, shut off the water supply, and drained the tank with precision.
With careful hands, you removed the old components and skillfully installed the new ones, ensuring a proper fit. Finally, you tested the toilet, ensuring it functions flawlessly like a well-oiled machine.
Your expertise in this technical endeavor shines brightly, transforming you into a master of toilet tank mechanics. Well done!