Hey there! Did you know that the average person spends about three years of their life on the toilet? That’s a lot of time!
So, when it comes to replacing a toilet bowl, it’s important to know how to do it right. In this article, I’ll guide you through the step-by-step process of replacing your toilet bowl.
From shutting off the water supply to testing and finishing touches, I’ll provide you with all the information you need to successfully tackle this DIY project.
Let’s get started!
Key Takeaways
- Measure the rough-in distance and dimensions of the current bowl to ensure proper fit and choose a replacement that matches the existing toilet.
- Turn off the main water supply and gather necessary tools before starting the connection process.
- Remove the old toilet bowl by disconnecting the water supply line and unscrewing the bolts, and clean the area around the flange for a proper seal.
- Wear protective gloves, use safety goggles, and practice proper lifting techniques when handling the toilet bowl, and dispose of the old bowl safely by checking with local waste management facilities or recycling centers.
Preparing for the Replacement
Now, you’ll need to start by turning off the water supply to the toilet bowl before you can begin the replacement process.
To select a replacement toilet bowl, consider the dimensions and style that will fit best in your bathroom. Measure the rough-in distance, which is the distance from the wall to the center of the toilet flange, to ensure the new bowl will fit properly.
Additionally, measure the width and depth of the current bowl to find a replacement with similar dimensions. Take note of the shape of the bowl as well, whether it is round or elongated.
This information will help you choose a replacement that matches your existing toilet and fits comfortably in your bathroom.
Shutting Off the Water Supply
Before proceeding with the replacement of a toilet bowl, it’s crucial to properly shut off the water supply. This ensures that there won’t be any water leakage during the process.
The shut-off valve, which controls the flow of water to the toilet, is usually located near the base of the toilet or on the wall behind it.
Proper Water Shut-Off
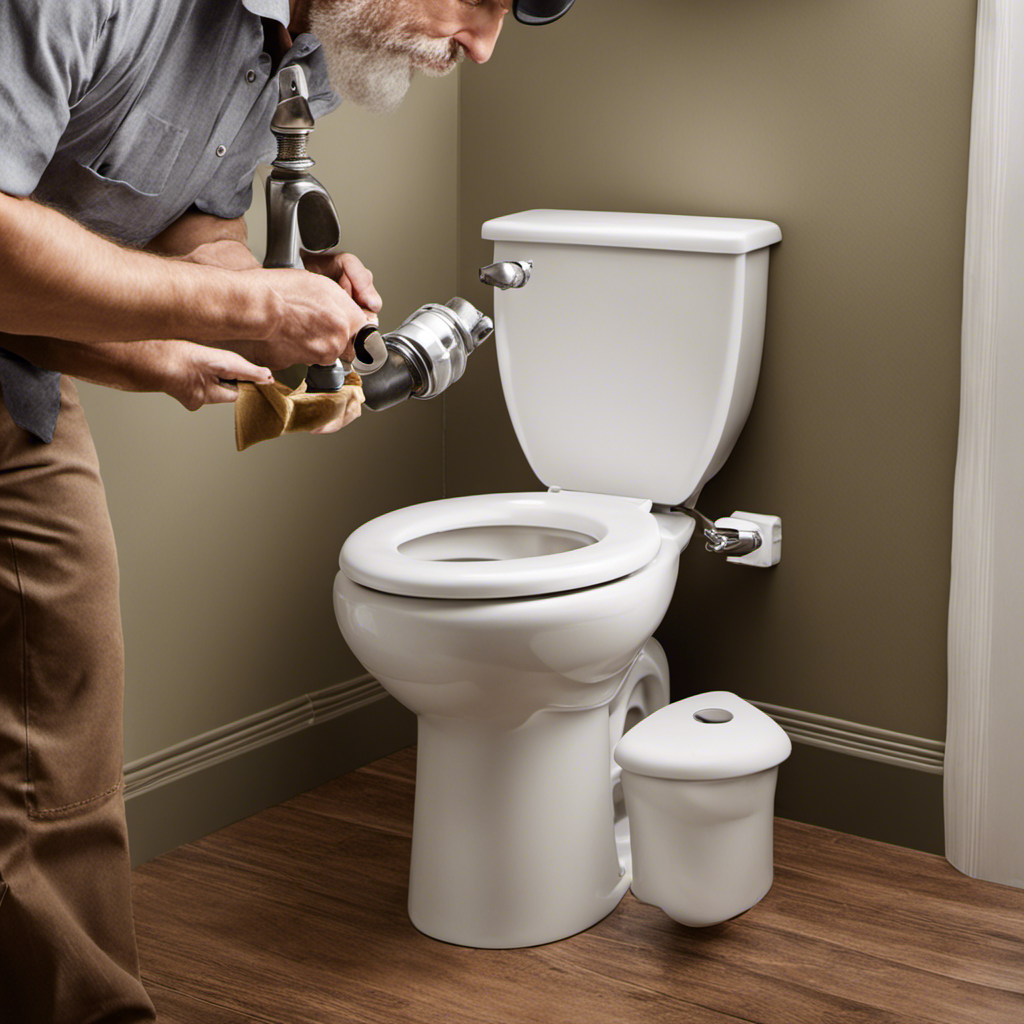
To properly shut off the water, you’ll need to locate the shut-off valve and turn it clockwise. This is an essential step before replacing a toilet bowl. Here’s how I do it:
-
First, find the shut-off valve. It is usually located near the base of the toilet or on the wall behind it. Look for a small lever or knob.
-
Once you’ve located the valve, turn it clockwise to shut off the water supply. You’ll hear the water stop flowing.
-
Make sure to flush the toilet after shutting off the water to drain any remaining water in the tank.
-
Now, you can safely proceed with replacing the toilet bowl without any water leakage or mess.
Finding replacement parts and dealing with common toilet bowl issues can be frustrating, but shutting off the water properly is the first step to a successful repair.
Shut-Off Valve Location
You’ll typically find the shut-off valve for the toilet near its base or on the wall behind it. This valve is crucial for shutting off the water supply to the toilet during repairs or emergencies.
When it comes to finding replacement parts or troubleshooting common issues with your toilet, locating the shut-off valve is the first step. If you’re unable to find the shut-off valve near the toilet’s base, try checking on the wall behind it.
It’s important to know the location of the shut-off valve so that you can quickly and easily turn off the water when needed. This will help prevent any water damage and make the repair process smoother.
Removing the Old Toilet Bowl
When it comes to removing the old toilet bowl, there are a few key points to keep in mind.
First, proper tool selection is crucial to ensure a smooth and efficient process. I will discuss the necessary tools and their functions in detail.
Additionally, it is important to know how to dispose of the old bowl safely and responsibly.
Lastly, I will address the safety precautions that should be taken to prevent any accidents or injuries during the removal process.
Proper Tool Selection
The right tool for the job is essential when replacing a toilet bowl. Having the proper tools not only ensures a smooth and efficient installation process but also helps prevent damage to the new bowl and surrounding fixtures. Here are some important tool maintenance and troubleshooting tips to keep in mind:
-
Tool Maintenance:
-
Regularly clean and lubricate wrenches and pliers to prevent rust and ensure smooth operation.
-
Store tools in a clean and dry environment to avoid moisture damage.
-
Replace worn-out or damaged tools promptly to avoid accidents and frustration.
-
Troubleshooting Tips:
-
Use a plunger or toilet auger to clear clogs before attempting to remove the old bowl.
-
If the bolts holding the bowl are rusted or corroded, apply penetrating oil and allow it to sit for a few minutes before attempting to loosen them.
Disposing of Old Bowl
To properly dispose of the old bowl, make sure to wear gloves and use a sturdy trash bag to prevent any mess or injury. Once you have removed the old toilet bowl, you need to follow proper disposal methods to ensure environmental safety. One option is to check with your local waste management facility to see if they accept porcelain toilets. If they do, you can arrange for a special pickup or drop-off. Another option is to contact a local recycling center that accepts porcelain. They may be able to recycle the bowl and use it for other purposes. Lastly, if neither of these options is available, you can consider breaking the bowl into smaller pieces to fit in regular trash bags. Just be careful when doing so to avoid injury.
| Disposal Method | Pros | Cons |
|---|---|---|
| Local Waste Management Facility | Convenient and safe | May require special pickup or drop-off |
| Recycling Center | Environmentally friendly | Limited availability |
| Breaking into smaller pieces | Easy to fit in regular trash bags | Risk of injury |
Now that we know how to properly dispose of the old bowl, let’s move on to the safety precautions that need to be taken when removing the old toilet and installing the new one.
Safety Precautions
Make sure you wear protective gloves and take necessary safety measures when removing and installing the new toilet. Safety should always be a priority when working with plumbing fixtures.
Here are some important precautions to keep in mind during toilet bowl installation and maintenance:
-
Personal Protective Equipment:
-
Wear gloves to protect your hands from any sharp edges or harmful substances.
-
Use safety goggles to shield your eyes from potential splashes or debris.
-
Proper Lifting Techniques:
-
Bend your knees and use your leg muscles to lift the toilet bowl, avoiding strain on your back.
-
Have someone assist you if the toilet bowl is heavy or awkwardly shaped.
Installing the New Toilet Bowl
Once you’ve removed the old toilet bowl, it’s time to install the new one. Proper alignment and sealing the toilet are crucial steps to ensure a secure and leak-free installation. To help you with this process, I’ve created a handy table with step-by-step instructions:
| Step | Instructions | Tools Required |
|---|---|---|
| 1 | Place a wax ring on the flange | Wax ring |
| 2 | Align the holes on the base of the toilet with the flange bolts | Wrench |
| 3 | Lower the toilet onto the wax ring and flange bolts | Rubber gloves |
| 4 | Tighten the nuts onto the flange bolts to secure the toilet in place | Screwdriver |
Connecting the Water Supply
When connecting the water supply, ensure that you have the necessary tools, such as a wrench and a flexible water supply line. This step is crucial to ensure a proper and leak-free connection.
Here are some important tips to consider during the water supply connection:
- Turn off the main water supply before starting the connection process.
- Use a wrench to securely tighten the water supply line onto the toilet’s fill valve.
- Make sure the connection is tight, but avoid overtightening to prevent damage.
- Once the connection is made, turn on the main water supply and check for any leaks.
- To detect leaks, listen for any hissing sounds or check for water drips around the connection.
- If there are any leaks, tighten the connection further or consider using plumber’s tape for added security.
Testing and Finishing Touches
After ensuring a tight connection, I turn on the main water supply to test for any leaks. This is a crucial step in replacing a toilet bowl. To ensure accuracy, I use testing equipment such as a water pressure gauge and a flashlight to inspect for any signs of leakage. If there are any leaks, I immediately address them by applying sealant to the affected areas. Applying sealant helps create a watertight seal, preventing any further leakage. It’s important to carefully follow the manufacturer’s instructions when applying the sealant to ensure proper adhesion and effectiveness. Once I’m confident that there are no leaks, I proceed with the finishing touches, such as securing the toilet bowl to the floor and attaching the tank lid. With these final steps, the replacement process is complete, and the toilet is ready for use.
| Testing Equipment | Applying Sealant |
|---|---|
| Water pressure gauge | Silicone sealant |
| Flashlight | |
Conclusion
In conclusion, replacing a toilet bowl may seem daunting, but it can be done successfully with the right preparation and tools. By following the steps outlined in this article, you can shut off the water supply, remove the old toilet bowl, install the new one, connect the water supply, and test for leaks.
Remember to take your time, follow the instructions carefully, and seek professional help if needed. With a little effort, you can have a functioning and updated toilet bowl in no time.
