
I’m no plumbing expert, but let me tell you, replacing a toilet fill valve is a game-changer. Say goodbye to that annoying running water sound and hello to a fully functioning toilet.
In this step-by-step guide, I’ll walk you through the process of understanding the fill valve, gathering the necessary tools, shutting off the water supply, removing the old valve, installing the new one, and finally, testing and adjusting it.
Trust me, you got this!
Key Takeaways
- The fill valve is an essential component of the toilet’s flushing mechanism.
- Troubleshooting and regular maintenance can prevent the need for a complete replacement.
- Gathering the required tools and materials, such as an adjustable wrench and screwdriver, is crucial for installation.
- Proper valve alignment, following manufacturer’s instructions, and testing for leaks ensure the new fill valve functions optimally.

LOUPUSUO Smart Toilet with Warm Water Sprayer and Dryer, One Piece Bidet Toilet with Auto Dual Flush Foot Sensor Operation,Heated Seat Smart with Built In Fahrenheit LED Display
Powerful Flushing System: Designed with low water consumption (1.26 gallons per flush), this system ensures efficient and thorough...
As an affiliate, we earn on qualifying purchases.
Understanding the Toilet Fill Valve
To understand the toilet fill valve, you need to know that it controls the water flow into the toilet tank. The fill valve is an essential component of the toilet’s flushing mechanism. It ensures that the tank fills up with water after each flush, allowing for the next use.
However, sometimes the fill valve may encounter issues, such as running water or inadequate filling. This is where toilet fill valve troubleshooting comes into play. By understanding the different types of fill valves, such as ballcock and float valve, you can identify the specific problem and take appropriate action.
Now that you have a basic understanding of the fill valve, let’s move on to the next step: gathering the required tools and materials for the replacement process.

TOTO® WASHLET® S2 Electronic Bidet Toilet Seat with Instantaneous Water Heating, PREMIST and EWATER+ Wand Cleaning, Elongated, Cotton White - SW3346#01
A REFRESHING CLEAN FOR EVERYONE - Instant and continuous warm water stream will last as long you need...
As an affiliate, we earn on qualifying purchases.
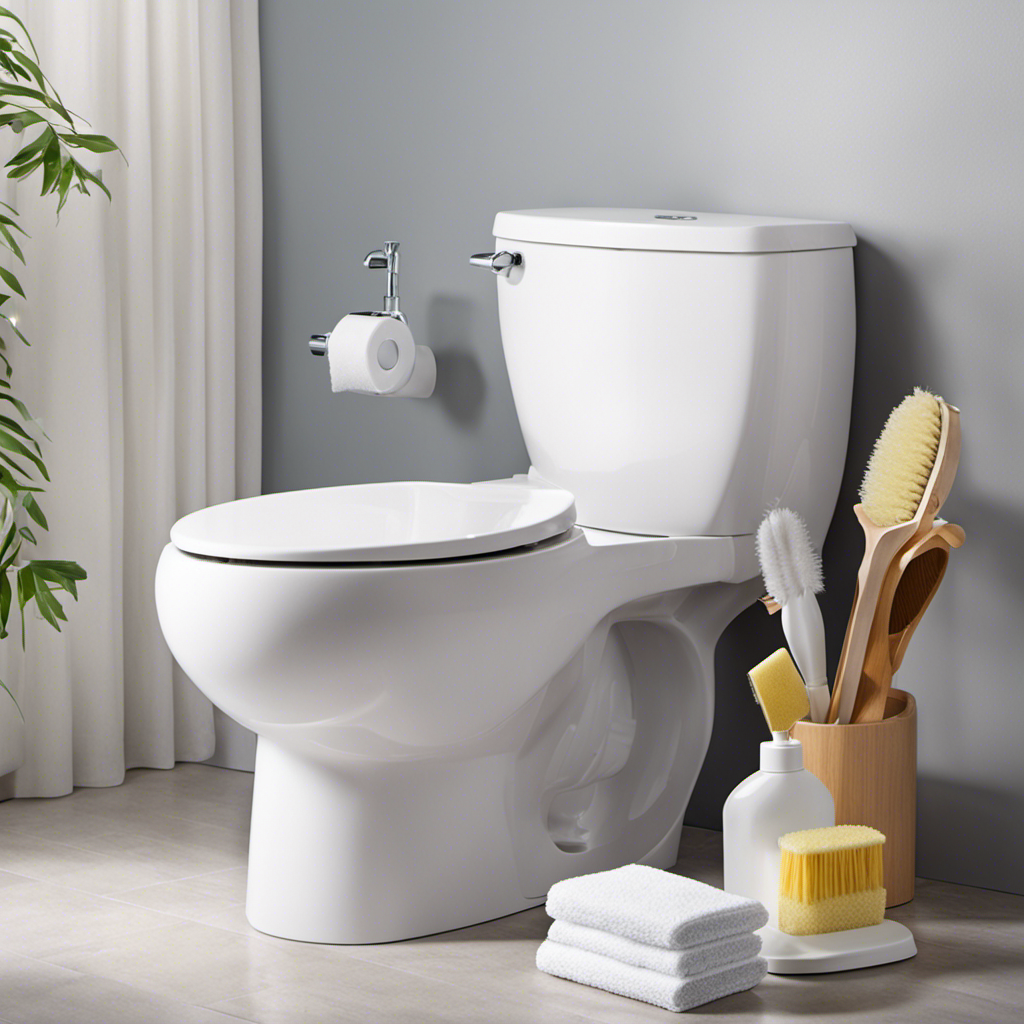
Gathering the Required Tools and Materials
Make sure you have all the necessary tools and materials ready before starting. Here is a checklist of the tools you will need for replacing a toilet fill valve:
- Adjustable wrench
- Screwdriver
- Bucket or towels
- New toilet fill valve
Having these tools on hand will ensure a smooth and efficient replacement process.
Now, let’s move on to some troubleshooting tips. If you notice that your toilet is constantly running or not filling properly, it may be time to replace the fill valve. Before doing so, check for any obstructions or sediment buildup in the fill valve assembly. Clearing these blockages may solve the problem without having to replace the entire valve. However, if the issue persists, it’s time to move on to replacing the fill valve.
Now that you have your tools ready, let’s move on to the next step: shutting off the water supply.
TOTO® WASHLET® C5 Electronic Bidet Toilet Seat with PREMIST and EWATER+ Wand Cleaning, Elongated, Cotton White - SW3084#01
A REFRESHING CLEAN FOR EVERYONE - Gentle yet powerful water spray provides an effective clean; Adjustable warm water...
As an affiliate, we earn on qualifying purchases.
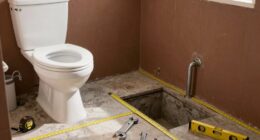
Shutting Off the Water Supply
Before diving into the task of replacing a toilet fill valve, it’s crucial to understand the importance of shutting off the water supply and properly identifying the water valve.
Shutting off the water supply prevents any potential leaks or accidents during the replacement process. To properly identify the water valve, locate the main shut-off valve. This valve is typically found near the water meter or inside the house.
Familiarize yourself with its operation to ensure a successful and hassle-free shut down.
Importance of Water Shutdown
First, you’ll need to shut off the water supply to the toilet before replacing the fill valve.
-
The importance of shutting off the water supply cannot be overstated. It prevents any potential flooding or water damage during the replacement process.
-
Identifying the water valve is crucial. It is typically located on the wall behind the toilet or near the floor. Look for a round or oval-shaped handle.
-
Turning off the water valve will stop the flow of water to the toilet. This step ensures a dry and safe working environment.
-
Remember to test the water supply before starting the replacement process. This ensures that the valve is fully closed and no water is flowing.
Proper water valve identification and shutdown are essential prerequisites for replacing the toilet fill valve. By following these steps, you can ensure a smooth and hassle-free replacement process.
Now, let’s move on to the next section about properly identifying the water valve.
Proper Water Valve Identification
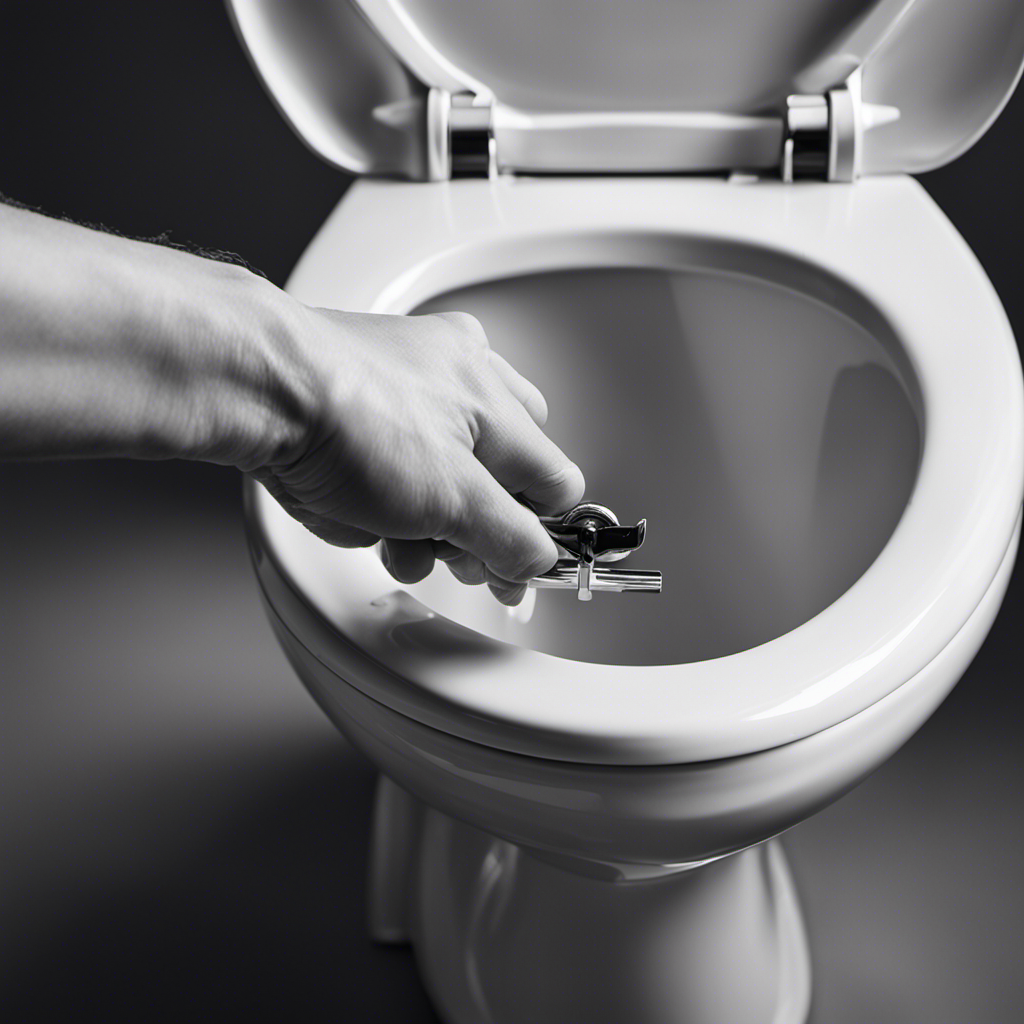
Identifying the water valve is essential in order to proceed with the replacement process. To begin, locate the shut-off valve near the base of the toilet. This valve controls the water flow to the toilet tank. Turn the valve clockwise to shut off the water supply.
Once the water is shut off, flush the toilet to drain any remaining water from the tank. Next, disconnect the water supply line from the bottom of the tank using an adjustable wrench.
Now, it’s time to remove the old fill valve. Unscrew the nut securing the fill valve to the bottom of the tank and lift it out. To troubleshoot any issues with the fill valve, consult the manufacturer’s instructions.
Once the old fill valve is removed, it’s time to install the new one.

Smart Toilet with Bidet Built In, Heated Seat, Warm Water Wash & Dryer, Tankless Bidet Toilet with Foot Sensor & Night Light, Auto Open/Close Lid & Flush, Wireless Remote, 1.26GPF Water-Saving Design
🛠️ Easy Installation & Reliable Support: This smart toilet with bidet built in includes all accessories, flange kit,...
As an affiliate, we earn on qualifying purchases.
Removing the Old Fill Valve
To remove the old fill valve, you’ll need to disconnect the water supply line. Here’s a step-by-step guide on how to properly remove the old fill valve:
-
Turn off the water supply: Locate the shut-off valve near the base of the toilet and turn it clockwise to shut off the water supply.
-
Flush the toilet: This will empty the tank and remove any remaining water.
-
Disconnect the water supply line: Use an adjustable wrench to loosen and disconnect the nut connecting the supply line to the fill valve.
-
Remove the old fill valve: Unscrew the lock nut on the bottom of the tank and lift the old fill valve out.
By following these steps, you can ensure a proper removal of the old fill valve.
Now, let’s move on to installing the new fill valve.
Installing the New Fill Valve
When it comes to installing a new fill valve, there are a few key points to keep in mind.
First and foremost, proper valve alignment is crucial for optimal functioning and water control.
Secondly, having the right tools on hand is essential for a smooth installation process.
Finally, it is important to be aware of common installation mistakes in order to avoid any potential issues down the line.
Proper Valve Alignment
Make sure you’re aligning the valve properly before securing it in place. Proper valve alignment is crucial for the smooth operation of your toilet and to prevent any leaks or malfunctions.
Here are some key steps to follow when aligning your toilet fill valve:
-
Inspect the valve: Before aligning the valve, make sure to check for any visible damage or wear. If you notice any issues, it may be necessary to replace the valve altogether.
-
Position the valve: Place the valve in the designated opening at the bottom of the toilet tank. Ensure that it is centered and level to prevent any misalignment.
-
Check the alignment: Look at the valve from different angles and make sure it is straight and properly aligned with the water supply line.
-
Secure the valve: Once you are satisfied with the alignment, use the appropriate tools to securely tighten the valve in place.
Proper valve maintenance and troubleshooting valve issues can greatly extend the lifespan of your toilet and ensure its efficient performance.
Tools Needed for Installation
You’ll need a few basic tools for the installation, such as an adjustable wrench and a screwdriver.
Before we dive into the steps of replacing a toilet fill valve, it’s important to mention some troubleshooting and maintenance tips.
If you’re experiencing issues with your toilet fill valve, such as a continuously running toilet or inconsistent water levels, you may need to troubleshoot the valve. This can involve checking for any clogs or leaks, adjusting the float, or cleaning the valve assembly. Regular maintenance of the fill valve is also crucial to ensure its proper functioning. This includes periodically inspecting and cleaning the valve, checking for any worn-out parts, and replacing them if necessary.
Now that we have covered the troubleshooting and maintenance aspects of the toilet fill valve, let’s move on to some common installation mistakes.
Common Installation Mistakes
When replacing a toilet fill valve, it’s important to avoid some common mistakes that can lead to problems down the line. Here are a few troubleshooting tips to help you avoid these issues:
-
Incorrect installation of the fill valve can lead to leaks and poor performance. Make sure to follow the manufacturer’s instructions carefully and double-check your work.
-
Using the wrong size or type of fill valve can cause compatibility issues and may not fit properly in your toilet tank. Always check the specifications of your toilet and choose a fill valve that is suitable.
-
Failing to properly adjust the water level can result in either a weak flush or water overflowing from the tank. Take the time to adjust the fill valve to the correct water level for optimal performance.
-
Neglecting to check for leaks after installation can lead to wasted water and potential damage to your bathroom. Always test for leaks by flushing the toilet several times and inspecting for any signs of water leakage.
Testing and Adjusting the New Fill Valve
To ensure proper functioning, it’s important to test and adjust the new fill valve in your toilet. Here are some testing techniques and troubleshooting tips to help you with this process.
-
Start by turning off the water supply to the toilet. Locate the shut-off valve, usually located behind the toilet near the floor, and turn it clockwise to shut off the water flow.
-
Remove the lid from the toilet tank and locate the fill valve. This is usually a tall tube-like structure in the center of the tank.
-
Slowly turn on the water supply and observe the fill valve. It should start filling the tank with water. If the water level rises above the overflow tube, adjust the float arm or float cup to lower the water level.
-
Check for any leaks around the fill valve or at the base of the tank. If there are any leaks, tighten the connections or replace any faulty parts.
-
Flush the toilet and observe the fill valve to ensure it stops filling the tank when the water reaches the appropriate level.
Frequently Asked Questions
How Often Should the Toilet Fill Valve Be Replaced?
The toilet fill valve should be replaced when it starts to malfunction or leak. It has a lifespan of about 5-7 years. Regular maintenance and inspections can help determine when to replace the toilet fill valve.
What Are the Signs That Indicate a Faulty or Worn-Out Toilet Fill Valve?
When my toilet fill valve starts acting up, I notice common problems like constant running, weak flushes, or water leakage. To troubleshoot, I turn off the water supply, inspect the valve, and replace it if necessary.
Can I Replace the Toilet Fill Valve Myself, or Should I Hire a Professional Plumber?
I can definitely replace the toilet fill valve myself. DIY toilet repairs can save money and give a sense of accomplishment. However, if you’re not confident, hiring a professional plumber has the benefits of expertise and guarantee.
Are There Any Specific Brands or Types of Fill Valves That Are Recommended for Replacement?
There are recommended brands and types of fill valves for replacing a toilet fill valve. It is important to choose a reliable brand that fits your toilet model and a fill valve that is compatible with your plumbing system.
Is It Necessary to Replace Other Components of the Toilet, Such as the Flapper, When Replacing the Fill Valve?
When replacing the toilet fill valve, it is often necessary to replace other components like the flapper. This ensures proper functioning and prevents common mistakes during the replacement process.
Conclusion
In conclusion, replacing a toilet fill valve is a simple and straightforward process. By understanding the basics of the fill valve and gathering the necessary tools and materials, you can ensure a smooth and efficient toilet operation.
To start, shut off the water supply and remove the old valve. Then, install the new one and make sure to test and adjust it properly.
Remember to follow each step carefully to avoid any complications. By doing so, you’ll be able to enjoy a fully functioning toilet in no time.