
Hey there! So you’ve found yourself with a pesky toilet flapper that needs replacing, huh? Well, fear not my friend, because I’ve got just the guide for you.
In this article, I’m going to walk you through the step-by-step process of replacing your American Standard toilet flapper. Trust me, it’s not as daunting as it may seem. With a few simple tools and a little know-how, you’ll have that flapper swapped out and your toilet back in tip-top shape in no time.
Let’s get started, shall we?
Key Takeaways
- The toilet flapper regulates the flow of water in the toilet bowl.
- Signs of a faulty flapper include constant running water, weak flushes, or a toilet that won’t flush.
- Proper maintenance is crucial to keep the flapper working efficiently.
- To replace the flapper, gather the necessary tools and materials, shut off the water supply, remove the old flapper, and properly install the new flapper.

Korky Ultra Standard 2-Inch Universal Toilet Flapper – Long Lasting Rubber – Easy to Install – Made in USA, 100BP
TOILET FLAPPER VALVE FITS MOST POPULAR 2 inch toilet brands including, but not limited to: American Standard, Kohler,…
As an affiliate, we earn on qualifying purchases.
As an affiliate, we earn on qualifying purchases.
Understanding the Toilet Flapper
The toilet flapper helps regulate the flow of water in the toilet bowl. It is an essential component of the flushing mechanism, ensuring that the right amount of water is released when you flush.
Proper toilet flapper maintenance is crucial to keep your toilet working efficiently. Over time, the flapper can become worn out or damaged, leading to water leaks and inefficient flushing. Signs of a faulty flapper include constant running water in the toilet tank, weak flushes, or a toilet that won’t flush at all.
If you notice any of these signs, it’s time to replace the flapper. To do so, you will need to gather the necessary tools and materials, ensuring a smooth replacement process.
Korky Ultra Standard 2-Inch Universal Toilet Flapper – Long Lasting Rubber – Easy to Install – Made in USA, 100BP
TOILET FLAPPER VALVE FITS MOST POPULAR 2 inch toilet brands including, but not limited to: American Standard, Kohler,…
As an affiliate, we earn on qualifying purchases.
As an affiliate, we earn on qualifying purchases.
Gathering the Necessary Tools and Materials
First, you’ll need a few tools and materials to get started. When it comes to replacing a toilet flapper, it’s important to have the right equipment. The type of flapper you choose will depend on your toilet model, so make sure to research and purchase the correct one.
Additionally, you’ll need a pair of pliers, a bucket, and possibly a towel to catch any water that may spill during the process.
Before installing the new flapper, it’s a good idea to clean the flush valve seat to ensure a proper seal. Regular maintenance is also crucial to keep your flapper working efficiently. Check for any mineral deposits or debris and clean them if necessary.
Once you have all the necessary tools and materials, you can move on to shutting off the water supply and getting ready to replace the flapper.

American Standard 7381657-200.0070A Vormax Toilet Flapper Assembly
BEST-IN-CLASS: The American Standard Vormax toilet flapper provides optimal performance ideal for vormax toilets
As an affiliate, we earn on qualifying purchases.
As an affiliate, we earn on qualifying purchases.
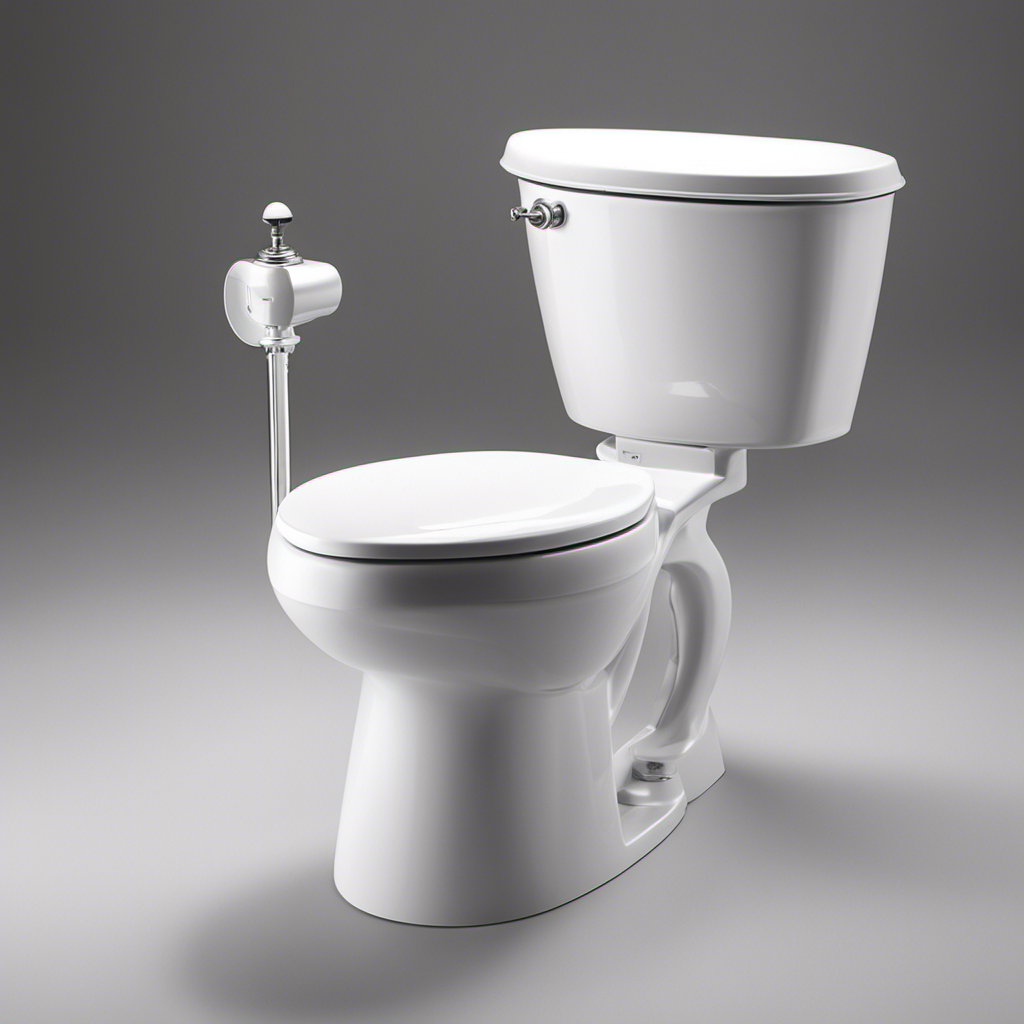
Shutting off the Water Supply
To successfully replace the toilet flapper on an American Standard toilet, the first step is to shut off the water supply. Start by locating the shut-off valve, which is usually behind the toilet or in the basement. Once you’ve found it, turn the valve clockwise to shut off the water flow.
To confirm that the water is completely off, flush the toilet and wait for the tank to empty.
Locate Shut-Off Valve
Start by checking if you’ve already located the shut-off valve for your American Standard toilet flapper. This valve is essential for turning off the water supply to the toilet, making it safe to replace the flapper and perform other necessary toilet maintenance tasks. Here’s how you can locate the shut-off valve:
-
Look behind the toilet: The shut-off valve is usually located on the wall behind the toilet bowl.
-
Follow the water supply line: The shut-off valve is often connected to the water supply line that runs from the wall to the bottom of the toilet tank.
-
Check near the floor: In some cases, the shut-off valve may be located near the floor, especially in older homes.
-
Look for a round or oval handle: The shut-off valve is typically operated by turning a handle or lever.
Once you have located the shut-off valve, you can proceed to the next step of turning off the water supply.
Now that you’ve located the shut-off valve, it’s time to turn off the water supply to your American Standard toilet flapper.
Turn off Water
Now that you’ve found it, go ahead and shut off the water supply to your toilet. The water shut-off valve is typically located behind or near the toilet, either on the wall or the floor. It’s important to turn off the water before replacing the toilet flapper to prevent any water damage or flooding.
To turn off the water, simply turn the valve clockwise until it is fully closed. You may need to use a wrench or pliers if the valve is stuck or difficult to turn.
Once the water is shut off, you can proceed with replacing the toilet flapper. Remember to turn the water back on after completing the replacement to ensure proper functioning of your toilet.
Confirm Water Is off
Make sure you’ve double-checked that the water supply to your toilet is completely shut off, as it’s crucial to prevent any potential water damage or flooding. Here’s a step-by-step guide to confirm that the water is off and prepare for replacing the flapper:
-
Turn off the water valve: Locate the water valve behind the toilet and turn it clockwise until it stops. This will shut off the water supply to the toilet.
-
Flush the toilet: Flush the toilet to drain any water in the tank and bowl. This will ensure that no water is left in the system.
-
Check for leaks: After the toilet is flushed, inspect the area around the base of the toilet and the water valve for any signs of water leakage. If you notice any leaks, tighten the connections or replace the faulty parts.
-
Adjust water flow: If the water level in the tank is too high or too low, adjust the float or fill valve to achieve the recommended water level.

Fluidmaster K-400H-039 High Performance Toilet Fill Valve with 2-Inch Adjustable Toilet Flapper Kit
The PerforMAX fill valve and 2 in. Flapper Kit is the premium solution to make your 2 in….
As an affiliate, we earn on qualifying purchases.
As an affiliate, we earn on qualifying purchases.
Removing the Old Flapper
When it comes to replacing a toilet flapper, it is important to start with proper flapper removal. This involves turning off the water supply, disconnecting the flapper chain, and then removing the flapper from the flush valve.
Once the old flapper is removed, you can proceed with the flapper replacement steps, which include selecting the right replacement flapper and installing it correctly.
However, if you encounter any common issues during the process, such as a flapper that won’t stay down or a leaking flapper, troubleshooting techniques will be necessary to ensure a successful replacement.
Proper Flapper Removal
First, you’ll need to turn off the water supply to the toilet before attempting to remove the flapper. Here’s a step-by-step guide on how to properly remove the flapper:
-
Locate the water shut-off valve usually located behind or near the toilet. Turn it clockwise to shut off the water supply.
-
Flush the toilet to drain any remaining water from the tank.
-
Lift the toilet tank lid and locate the flapper. It is usually connected to the flush valve at the bottom of the tank.
-
Gently disconnect the flapper from the flush valve. Some flappers may have a chain or clip that needs to be detached.
By following these steps, you can safely remove the old flapper and prepare for the installation of a new one.
Regular maintenance of the flapper is essential to ensure proper functioning of your toilet.
Flapper Replacement Steps
To properly replace the flapper, you’ll need to carefully detach the chain or clip that connects it to the flush valve. This can be done by gently pulling the chain or unclipping the clip with a pair of pliers. Once the chain or clip is detached, you can remove the old flapper by lifting it out of the flush valve. Flapper replacement tips include ensuring that the new flapper is compatible with your toilet model and size, as well as making sure it is properly aligned and seated in the flush valve. Common flapper problems include leaks, improper sealing, and sticking. By following these steps and tips, you can easily replace your toilet flapper and resolve any flapper-related issues.
| Flapper Replacement Steps | Flapper Replacement Tips |
|---|---|
| 1. Detach chain or clip | – Ensure compatibility with toilet model |
| 2. Remove old flapper | – Properly align and seat the new flapper |
| 3. Install new flapper | – Check for leaks and proper sealing |
| 4. Test flush | – Address any sticking issues |
| 5. Adjust chain length if necessary | – Regularly inspect and maintain the flapper |
Troubleshooting Common Issues
Check if there are any visible leaks around the base of your toilet, as this could be a common issue that needs troubleshooting. If you notice any leaks, it is likely that your toilet flapper is not sealing properly. Here are some steps you can take to troubleshoot this problem:
-
Inspect the flapper: Lift the tank lid and examine the flapper. Look for any signs of wear and tear, such as cracks or discoloration. If you see any damage, it may be time to replace the flapper.
-
Clean the flapper and valve seat: Over time, mineral deposits can build up on the flapper and valve seat, preventing a tight seal. Use a mild cleaner and a soft brush to clean both surfaces thoroughly.
-
Adjust the chain length: The chain connecting the flapper to the flush handle should have a little bit of slack. If it is too tight, it can prevent the flapper from sealing properly. Adjust the chain length as needed.
-
Replace the flapper: If all else fails, it may be necessary to replace the flapper altogether. Make sure to choose a flapper that is compatible with your toilet model.
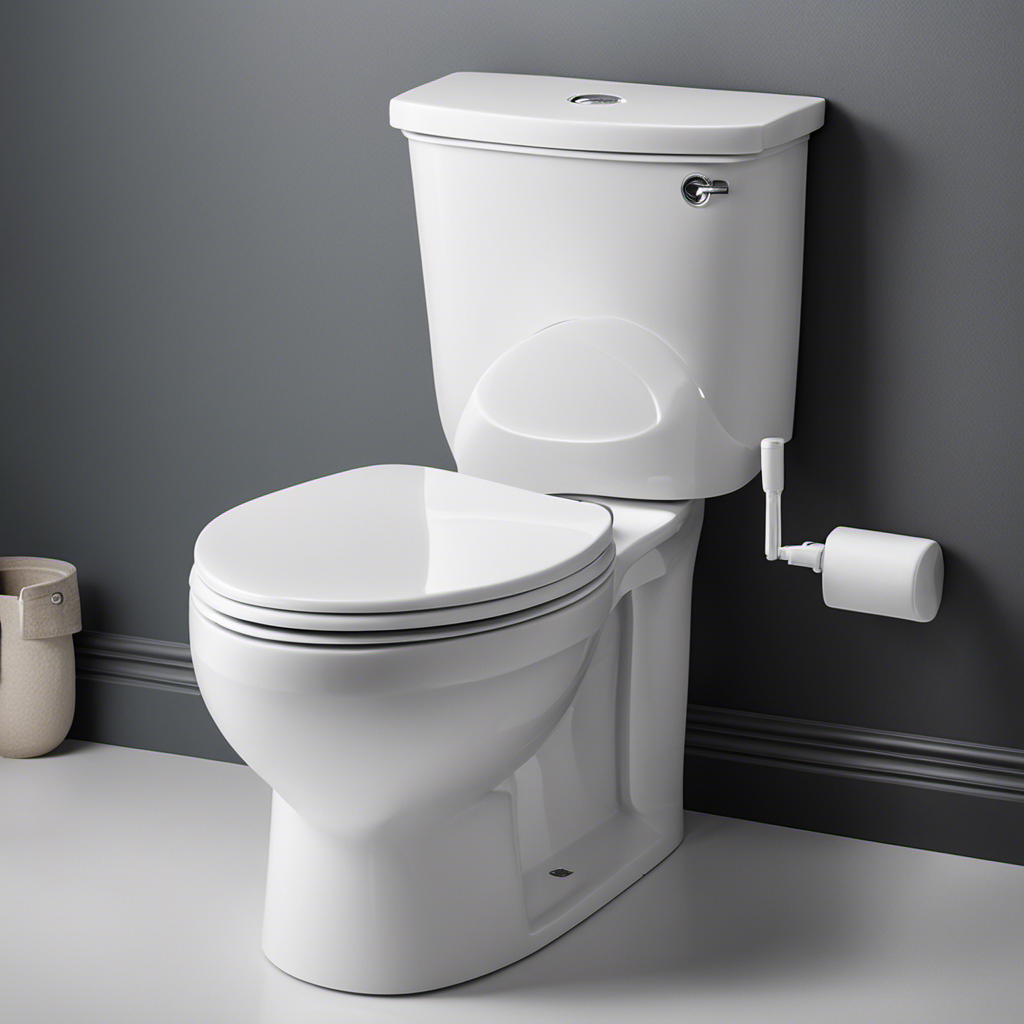
Installing the New American Standard Flapper
Now you can easily install the new American Standard flapper by following these simple steps. First, make sure to turn off the water supply to your toilet. Next, remove the old flapper by disconnecting the chain from the flush lever. Take note of how the chain is adjusted, as you will need to replicate this with the new flapper. Now, take the new flapper and place it over the flush valve opening. Ensure that it is properly aligned and securely attached. Then, reconnect the chain to the flush lever, making any necessary adjustments to ensure proper functioning. Once everything is in place, turn the water supply back on and test the flapper for proper functioning.
| Step | Instructions |
|---|---|
| 1 | Turn off water supply |
| 2 | Disconnect chain from flush lever |
| 3 | Remove old flapper |
| 4 | Place new flapper over flush valve opening |
| 5 | Reconnect chain to flush lever, adjusting as needed |
Testing the Flapper for Proper Functioning
Make sure you turn on the water supply and test the new flapper to ensure it’s working properly. Here are some testing techniques and maintenance tips for your flapper:
-
Flush the toilet: After installing the new flapper, flush the toilet to see if it properly seals and holds the water. If there is any leakage, adjustments might be needed.
-
Listen for water running: If you hear water running continuously after flushing, it could indicate a faulty flapper. Check if the flapper is closing completely or if it’s worn out and needs replacement.
-
Check for proper water level: Ensure that the water level in the toilet tank is at the recommended level. If the flapper is not functioning correctly, it may cause an improper water level, leading to issues with flushing.
-
Regular maintenance: Inspect the flapper periodically for any signs of wear or damage. Clean it gently with a soft cloth to remove any debris that may affect its performance.
Troubleshooting Common Issues
To troubleshoot common issues with your toilet, start by ensuring that the water level is at the recommended height in the tank. If the water level is too low, it can cause weak flushes or incomplete flushing. On the other hand, if the water level is too high, it can lead to constant water running and potential leaks.
One common issue that can arise with toilets is leaks. Leaks can occur around the base of the toilet or from the tank. To troubleshoot leaks, check the bolts at the base of the toilet to ensure they are securely tightened. If there are no visible leaks, you may need to inspect the flapper and its chain length. Adjusting the flapper chain length can help ensure a proper seal and prevent water from continuously running into the bowl.
Here is a helpful table to guide you through troubleshooting common toilet issues:
| Issue | Possible Cause | Solution |
|---|---|---|
| Weak flushes | Low water level | Adjust water level to recommended height |
| Leaks | Loose bolts at base | Tighten bolts securely |
| Flapper not sealing properly | Adjust flapper chain length |
Frequently Asked Questions
Can I Use a Different Brand of Flapper Instead of an American Standard Flapper?
Yes, you can use a different brand of flapper instead of an American Standard flapper. However, it’s important to check for compatibility issues to ensure proper fit and function with your toilet.
How Often Should I Replace the Toilet Flapper?
To ensure optimal toilet functioning, it’s important to replace the flapper periodically. Flappers generally last around 5 years, but signs of wear, like water leaks or inconsistent flushing, indicate it’s time for a replacement.
Can I Replace the Toilet Flapper Without Shutting off the Water Supply?
No, you cannot replace the toilet flapper without shutting off the water supply. Doing so would result in water leakage and potential damage. It’s important to turn off the water before replacing the flapper.
What Should I Do if the New Flapper Is Not Sealing Properly?
If the new flapper isn’t sealing properly, I would adjust it to ensure a tight fit. If that doesn’t work, troubleshooting might be necessary to identify any other issues causing the poor seal.
Is It Necessary to Clean the Flapper Before Installing the New One?
It’s important to clean the flapper before installing a new one. Cleaning helps ensure a proper seal and prevents any debris from interfering with its function.
Conclusion
In conclusion, replacing a toilet flapper in an American Standard toilet is a relatively simple task that can be accomplished with a few basic tools and materials. By following the steps outlined in this article, you can ensure that your toilet is functioning properly and efficiently.
Interestingly, did you know that a leaky toilet flapper can waste up to 200 gallons of water per day? Taking the time to replace your flapper can help save both water and money in the long run.