Having a faulty toilet can be a frustrating experience. But fear not! In this article, I will guide you through the process of replacing your toilet guts.
From understanding the components to troubleshooting common issues, I’ve got you covered.
With this detailed walkthrough, you’ll be equipped with the knowledge and tools needed to tackle this task with confidence.
So, let’s dive in and get your toilet back in working order!
Key Takeaways
- Understanding the components of a toilet: flush valve, fill valve, flapper, and overflow tube.
- Tools and materials needed for toilet guts replacement: adjustable wrench, flathead screwdriver, new fill valve, flush valve, and flapper, gloves.
- Step-by-step guide to removing old toilet guts: gather tools, shut off water supply, flush and disconnect water supply, remove tank lid, unscrew and lift old flush valve.
- Installing new toilet guts: clean inside of tank, empty tank completely, wipe down walls and bottom of tank, inspect flapper valve and flush valve seat for damage.
Understanding the Components of a Toilet
To understand how to replace toilet guts, it’s important to familiarize yourself with the components of a toilet.
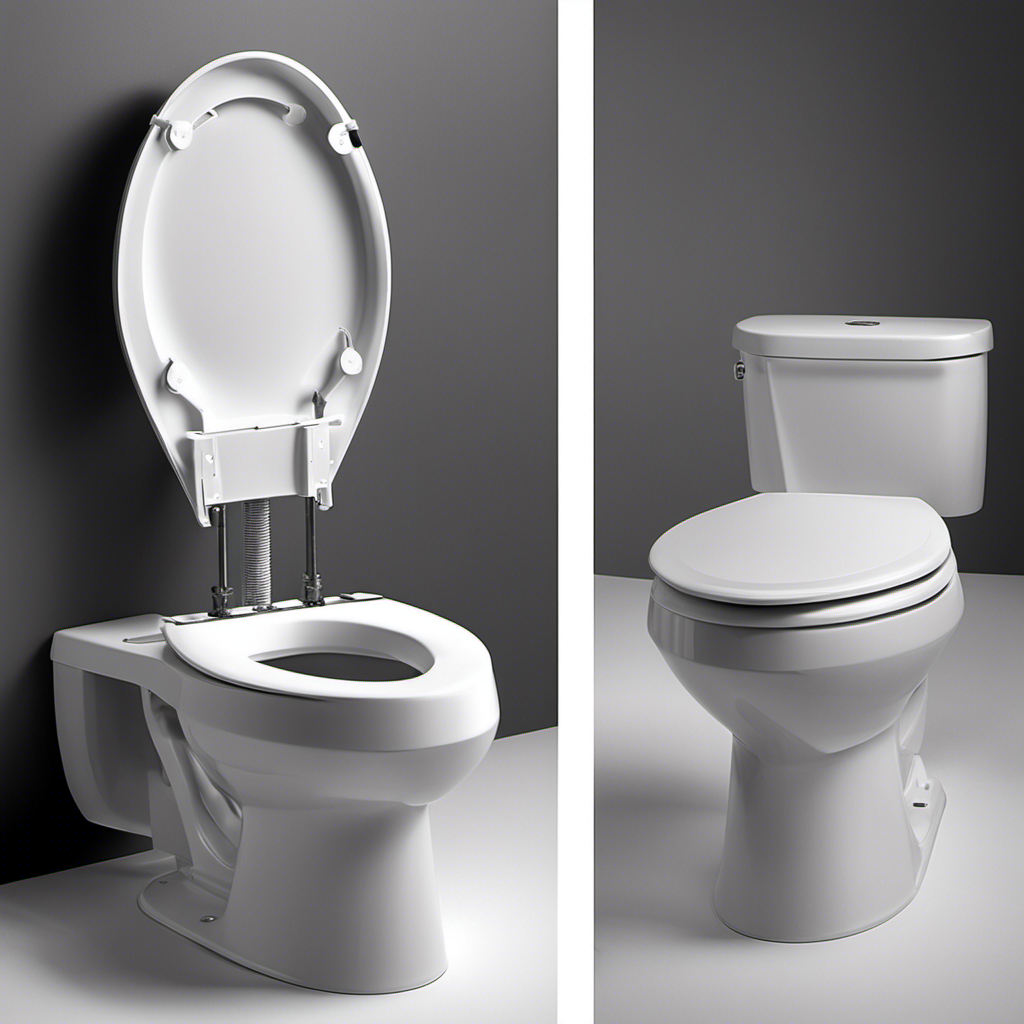
The anatomy of toilet guts consists of several key parts, including the flush valve, fill valve, flapper, and overflow tube.
The flush valve is responsible for releasing the water into the toilet bowl when you flush, while the fill valve regulates the water flow and refills the tank.
The flapper controls the water flow from the tank to the bowl and ensures a proper seal.
Common toilet gut problems include a running toilet, a leaky tank, or a weak flush.
Tools and Materials Needed for Toilet Guts Replacement
You’ll need a few tools and materials to successfully replace the inner workings of your toilet.
When it comes to toilet gut problems, a DIY toilet repair can save you time and money.
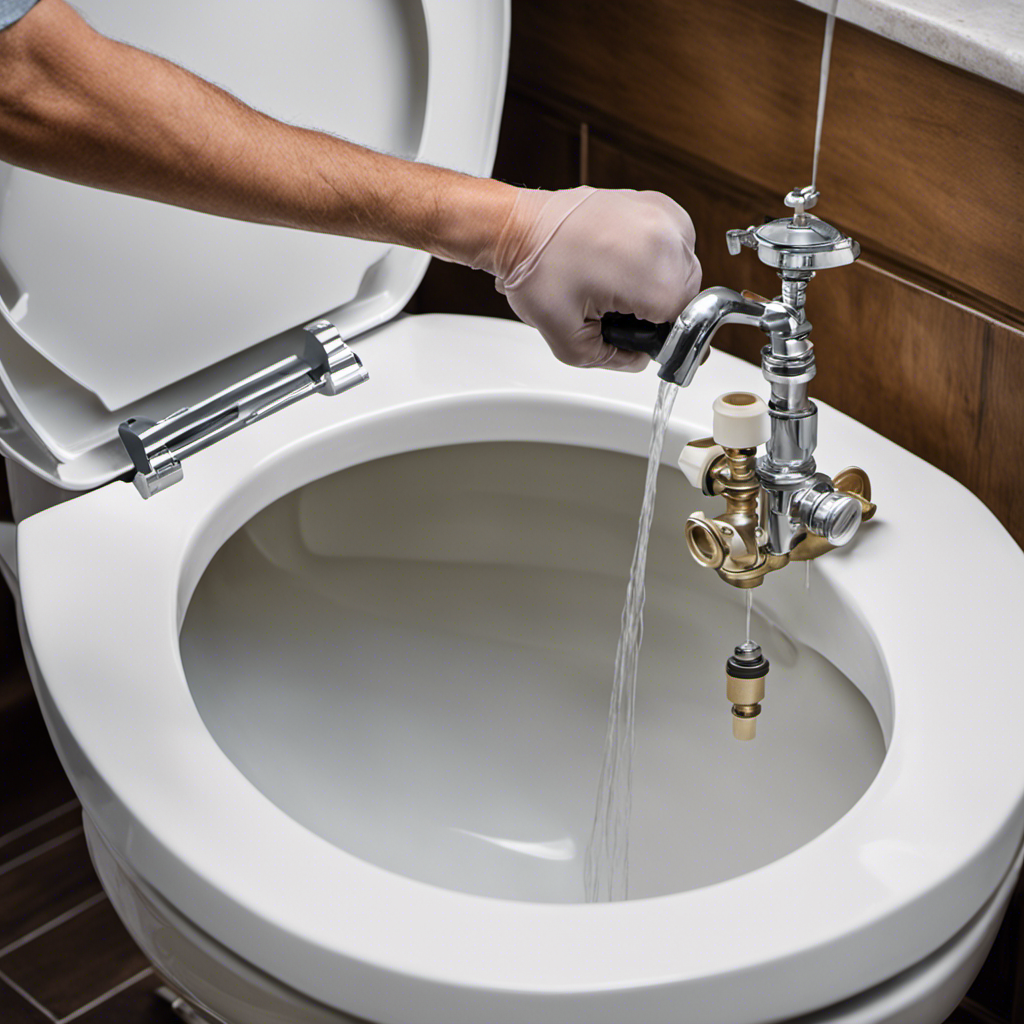
To start, gather the following items: an adjustable wrench, a flathead screwdriver, a new fill valve, a new flush valve, a replacement flapper, and a pair of gloves. These tools and materials will ensure that you have everything you need to tackle the task at hand.
The adjustable wrench will help you loosen and tighten nuts, while the screwdriver will assist in removing screws.
The new fill valve, flush valve, and flapper are key components that may need replacing if you are experiencing issues with your toilet’s flushing mechanism.
Lastly, don’t forget to wear gloves to protect your hands from any potential mess.
With these tools and materials in hand, you’ll be well-equipped to tackle your toilet gut problems and complete a successful DIY toilet repair.
Step-by-Step Guide to Removing Old Toilet Guts
First, gather an adjustable wrench, a flathead screwdriver, and a pair of gloves for removing the old toilet guts.
Toilet gut problems are common and require regular maintenance.
To remove the old toilet guts, start by shutting off the water supply valve located behind the toilet.
Flush the toilet to drain the water, then use the adjustable wrench to disconnect the water supply line from the bottom of the tank.
Next, remove the tank lid and locate the flush valve assembly.
Use the flathead screwdriver to unscrew the locking nut holding the flush valve in place.
Once the nut is removed, lift the old flush valve out of the tank.
Dispose of the old parts responsibly and clean the inside of the tank before installing the new toilet guts.
Installing New Toilet Guts: A Detailed Walkthrough
Once the water supply valve is shut off and the old parts are removed, it’s time to clean the inside of the tank before installing the new toilet guts.
Cleaning the tank ensures that the new components will function properly and avoid any potential issues.
Here is a step-by-step guide to help you through the process:
-
Empty the tank completely by flushing the toilet and holding down the handle to drain all the water.
-
Use a sponge or cloth to wipe down the walls and bottom of the tank, removing any dirt, grime, or mineral deposits.
-
Pay special attention to the flush valve and overflow tube, as these areas are prone to buildup.
-
Inspect the flapper valve and flush valve seat for any damage or wear. Replace if necessary.
-
Once the tank is clean and dry, you can proceed with installing the new toilet guts according to the manufacturer’s instructions.
Troubleshooting Common Issues With Toilet Guts Replacement
To troubleshoot common issues with the replacement of toilet guts, start by checking the connections and ensuring they are properly tightened. This is often the cause of leaks or malfunctions after a replacement.
Here are some tips to help ensure a successful toilet guts replacement:
-
Avoid overtightening: Over-tightening the connections can cause damage to the parts or even crack the toilet tank. Use just enough pressure to create a secure seal.
-
Check for leaks: After completing the replacement, run a test flush and carefully inspect for any leaks. Pay attention to the connections, seals, and supply line.
-
Use the right tools: Make sure you have the correct tools, such as an adjustable wrench, pliers, and a screwdriver, to properly install the new toilet guts.
-
Follow the instructions: Read the manufacturer’s instructions carefully and follow them step-by-step. This will help ensure that you install the toilet guts correctly and avoid any mistakes.
Conclusion
In conclusion, replacing toilet guts may seem like a daunting task, but with the right tools and a little know-how, it can be as smooth as a gentle flush.
Just like a skilled plumber, I have guided you through the process step-by-step, ensuring that you understand each component and its function.
Remember, troubleshooting common issues is part of the journey, but with patience and perseverance, you’ll have a fully functional toilet that runs like a well-oiled machine.
Happy plumbing!
