
Hey there!
So, you’re having a little trouble with your toilet lever, huh? No worries, I’ve got you covered.
In this article, I’m going to walk you through the process of replacing that pesky lever. Trust me, it’s not as daunting as it may seem.
With a few simple tools and some easy-to-follow steps, you’ll have a brand new, fully functioning toilet lever in no time.
So let’s get started, shall we?
Key Takeaways
- The toilet lever can experience problems such as being loose, broken, stuck, or jammed.
- There are different types of toilet levers including traditional side-mounted levers, front-mounted levers, and dual-flush levers.
- To replace a toilet lever, you need to remove the old lever by unscrewing the small nut on the backside of the toilet tank and install the new lever by aligning it with the flush valve inside the tank.
- Troubleshooting and adjusting the toilet lever involves aligning it properly, performing maintenance and repairs, checking for debris or obstructions, and considering replacement if necessary.

TOTO Drake Two-Piece Elongated 1.28 GPF TORNADO FLUSH Toilet with CEFIONTECT and SoftClose Seat, WASHLET+ Ready, Cotton White - MS776124CEG#01
POWERFUL PERFORMANCE WITH LESS FREQUENT CLEANING - TORNADO FLUSH swirls water in a circular pattern to fully wash...
As an affiliate, we earn on qualifying purchases.
Tools and Materials Needed
To replace the toilet lever, you’ll need a pair of pliers, a new lever, and a screwdriver.
When it comes to common toilet lever problems, there are a few issues that homeowners often encounter. One of the most common problems is a loose or broken lever. This can make it difficult to flush the toilet properly.
Another issue is a stuck or jammed lever, which prevents the toilet from flushing altogether.
It’s important to note that there are different types of toilet levers available. The most common type is the traditional lever, which is located on the side of the toilet tank. However, there are also front-mounted levers and dual-flush levers, which offer different flush options.

TOTO® WASHLET® S2 Electronic Bidet Toilet Seat with Instantaneous Water Heating, PREMIST and EWATER+ Wand Cleaning, Elongated, Cotton White - SW3346#01
A REFRESHING CLEAN FOR EVERYONE - Instant and continuous warm water stream will last as long you need...
As an affiliate, we earn on qualifying purchases.
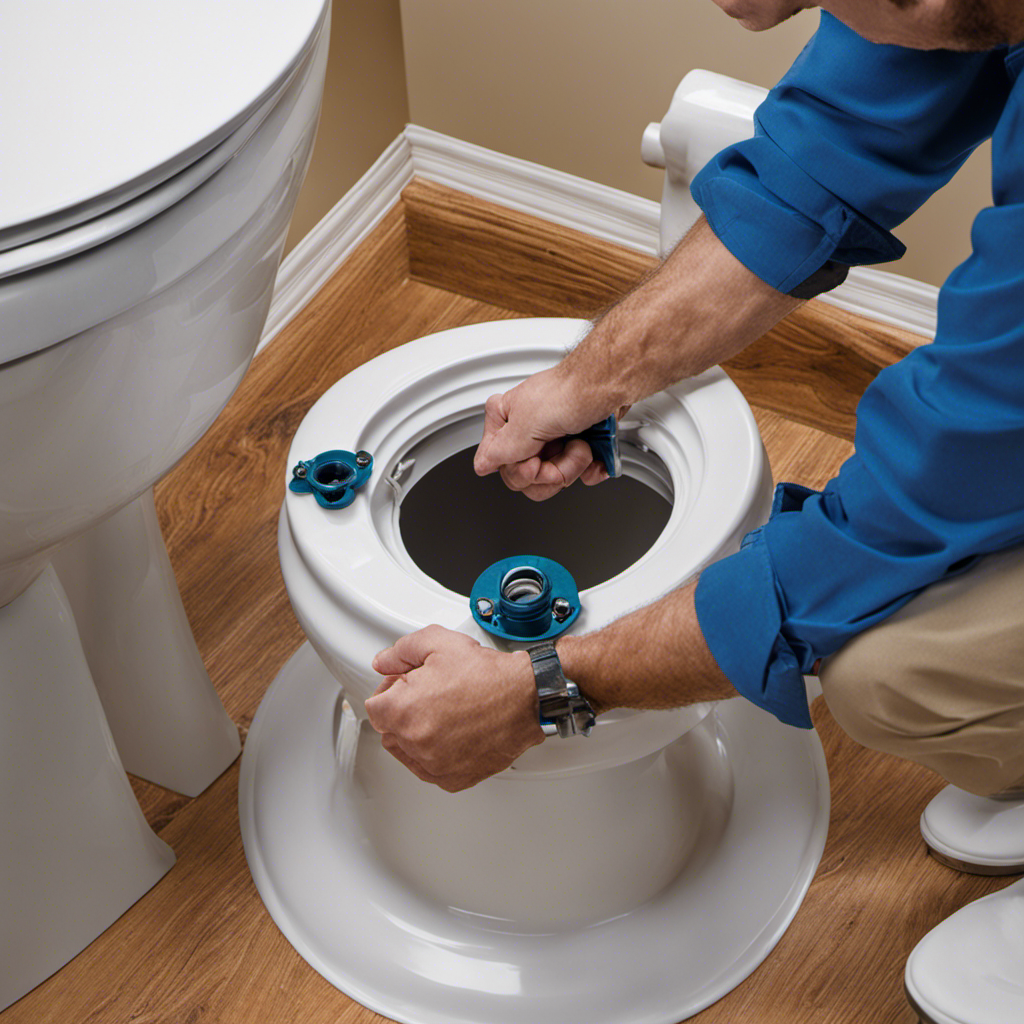
Removing the Old Toilet Lever
First, you’ll need to unscrew the small nut located on the backside of the toilet tank. This nut is what holds the old toilet lever in place. Once the nut is loosened, you can easily remove the old lever by pulling it out from the front of the tank.
Here are some common toilet lever problems you may encounter:
- Loose or wobbly lever
- Stuck or non-responsive lever
- Broken or damaged lever
These issues can be resolved by replacing the old lever with a new one. By removing the old lever, you’re one step closer to solving these problems and ensuring your toilet functions properly.
Now, let’s move on to installing the new toilet lever and fixing these issues once and for all.
TOTO® WASHLET® C5 Electronic Bidet Toilet Seat with PREMIST and EWATER+ Wand Cleaning, Elongated, Cotton White - SW3084#01
A REFRESHING CLEAN FOR EVERYONE - Gentle yet powerful water spray provides an effective clean; Adjustable warm water...
As an affiliate, we earn on qualifying purchases.
Installing the New Toilet Lever
Once the old lever is removed, you’ll be able to easily install the new one. When installing a new toilet lever, it’s important to avoid common mistakes to ensure a smooth and successful installation. Here are some common mistakes to avoid:
-
Not aligning the lever properly: Make sure the lever is aligned with the flush valve inside the tank to ensure proper flushing.
-
Over-tightening the lever: Be careful not to over-tighten the lever, as this can cause damage to the tank or the lever itself.
-
Using the wrong type of lever: Different toilets require different types of levers. Make sure to choose the right type for your toilet to ensure compatibility.
Here’s a table showcasing different types of toilet levers and their pros and cons:
| Type of Lever | Pros | Cons |
|---|---|---|
| Traditional Lever | Simple and easy to use | Limited design options |
| Dual Flush Lever | Water-saving option with dual flush | More complex installation |
| Push Button Lever | Modern and sleek design | Can be more expensive |
| Foot Pedal Lever | Hands-free operation | Requires additional floor space |
| Decorative Lever | Adds a stylish touch to the bathroom | May be more expensive |

TOTO Aquia IV Two-Piece Elongated Dual Flush 1.28 and 0.9 GPF Skirted Toilet with CEFIONTECT, Cotton White - CST446CEMGN#01
DYNAMAX TORNADO FLUSH utilizes 360 degree cleaning power to reach every part of the bowl
As an affiliate, we earn on qualifying purchases.
Adjusting the Toilet Lever
When adjusting the lever, make sure it is properly aligned with the flush valve for optimal flushing. This step is crucial in maintaining your toilet lever and ensuring it functions properly.
To effectively perform toilet lever maintenance or repair, follow these steps:
- Start by locating the lever and identifying any issues, such as loose or stuck parts.
- Use a screwdriver to tighten any loose screws or bolts that connect the lever to the toilet tank.
- If the lever is stuck or not working, check for any debris or obstructions that may be hindering its movement.
Regular maintenance and repair of your toilet lever can prevent future problems and ensure your toilet functions smoothly. By following these steps, you can keep your toilet lever in good condition and avoid any unnecessary plumbing issues.
Troubleshooting Tips
To troubleshoot any issues with your toilet lever, start by checking for loose or stuck parts. One common mistake people make is assuming that a faulty lever automatically means it needs to be replaced. However, many times the problem can be easily fixed without having to buy a new lever.
First, check if the lever is properly connected to the flush valve. It should be snug and secure. If it’s loose, try tightening the nut that holds it in place.
Another alternative solution is to check for any debris or buildup around the lever mechanism. Sometimes, a simple cleaning can solve the problem.
If the lever is still not functioning properly, it may be time to consider replacing it.
Frequently Asked Questions
Can I Use Any Toilet Lever to Replace the Old One?
Yes, you can use any toilet lever to replace the old one. When troubleshooting toilet lever issues, it’s important to follow proper toilet lever installation steps to ensure a secure and functional replacement.
How Do I Know if the Toilet Lever Is Compatible With My Toilet Model?
To determine if a toilet lever is compatible with your toilet model, check the manufacturer’s specifications or consult a professional plumber. They can guide you in choosing the right lever for a successful toilet lever installation.
What Should I Do if the New Toilet Lever Is Too Loose After Installation?
If the new toilet lever is too loose after installation, I would start by adjusting the tension. It’s important to avoid common mistakes during installation, such as not tightening the screws enough.
Can I Replace the Toilet Lever Without Turning off the Water Supply?
No, it is not possible to replace the toilet lever without turning off the water supply. This is because the water supply needs to be shut off to prevent any water leakage during the replacement process.
Is It Necessary to Hire a Professional Plumber to Replace the Toilet Lever?
Hiring a professional plumber to replace a toilet lever has its pros and cons. They have expertise and can ensure a proper installation, but it can be costly. With the right tips, replacing the lever yourself can be done efficiently and correctly.
Conclusion
In conclusion, replacing a toilet lever is a simple task that can be done with just a few tools and materials. By following the steps outlined in this article, you can easily remove the old lever and install a new one in no time.
Remember to adjust the lever properly to ensure smooth operation of your toilet. Did you know that a faulty toilet lever can waste up to 200 gallons of water per day? So, don’t delay in replacing it and start saving water today!