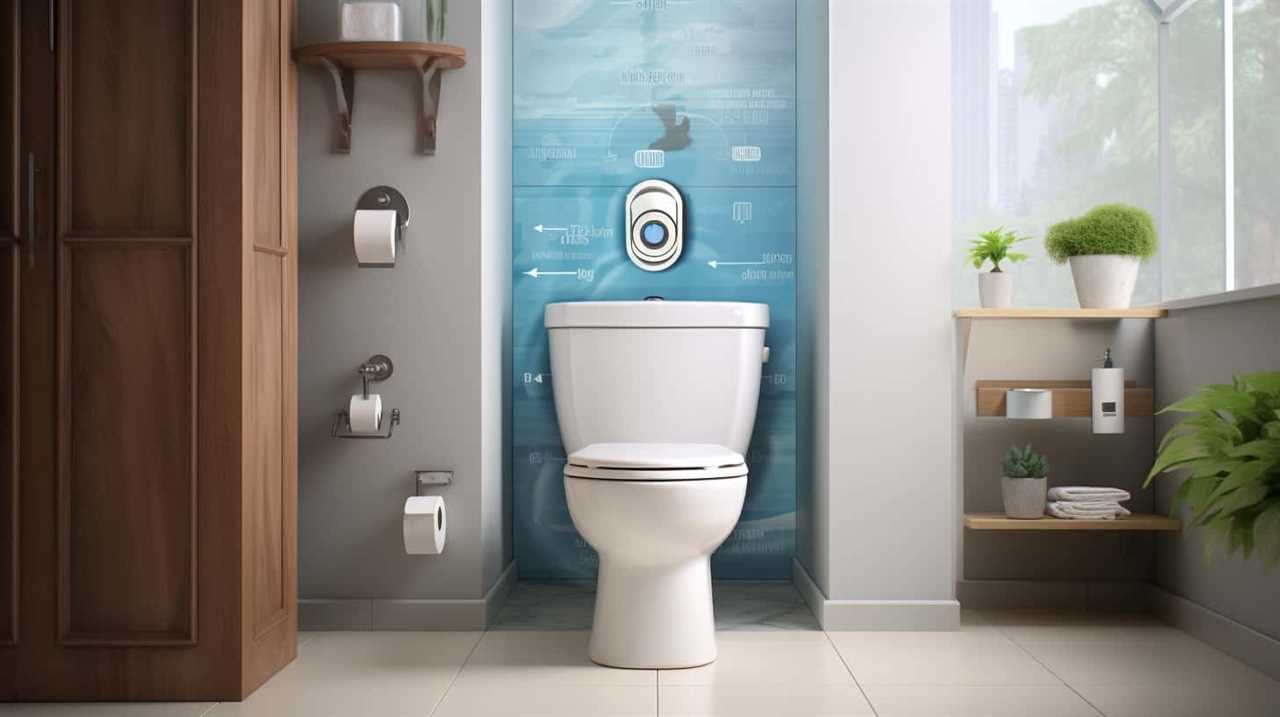
Hey there, fellow DIY enthusiasts! Ever had the unfortunate experience of a leaky toilet? Trust me, it’s a nightmare you want to avoid.
But fear not, because today I’m going to show you how to replace that pesky toilet ring and put an end to those messy leaks once and for all. In just a few simple steps, we’ll have your toilet good as new, and you feeling like a true handyman (or handywoman!).
So let’s roll up our sleeves and get down to business!
Key Takeaways
- Shut off the water supply to the toilet before starting the replacement process to prevent leaks and water damage.
- Use a sponge or towel to completely empty the toilet tank and bowl before removing the old toilet ring.
- Choose the right type of toilet ring and make sure to clean the toilet flange before installing the new ring.
- Ensure a tight seal, align the toilet properly, and securely fasten it to the floor for a successful installation.
Step 1: Gather Necessary Tools and Materials
First, gather all the necessary tools and materials for replacing the toilet ring. This step is crucial to ensure a smooth and efficient replacement process. You’ll need a pair of gloves, a wrench, a putty knife, a new toilet ring, and a bucket.
It is essential to have these items on hand before beginning the replacement.
Additionally, considering toilet ring alternatives can help prevent future leaks. One alternative is using a wax-free toilet ring, which is made of rubber and creates a watertight seal. Another option is a foam toilet ring, which provides a flexible and durable seal.
Step 2: Shut Off the Water Supply
Next, you’ll need to shut off the water supply before proceeding with the replacement. To do this, locate the shut-off valve, usually located near the base of the toilet or on the wall behind it. Turn the valve clockwise until it is fully closed. This will stop the water flow to the toilet and prevent any water from entering the tank or bowl during the replacement process.
Shutting off the water supply is essential to avoid any potential leaks or water damage while working on the toilet ring. Once the water supply is turned off, you can proceed to the next step, which is emptying the toilet tank and bowl.
Step 3: Empty the Toilet Tank and Bowl
To begin, make sure to fully empty both the toilet tank and bowl before continuing with the replacement process. This step is crucial for proper toilet ring maintenance and preventing toilet leaks.
Here are three important things to keep in mind during this process:
- Turn off the water supply to the toilet by locating the shut-off valve and turning it clockwise.
- Flush the toilet to drain as much water as possible from the tank and bowl.
- Use a sponge or towel to soak up any remaining water in the tank and bowl.
By following these steps, you can ensure that there is no water left in the toilet before moving on to the next step.
Now that the toilet is empty, we can proceed to step 4: remove the old toilet ring.
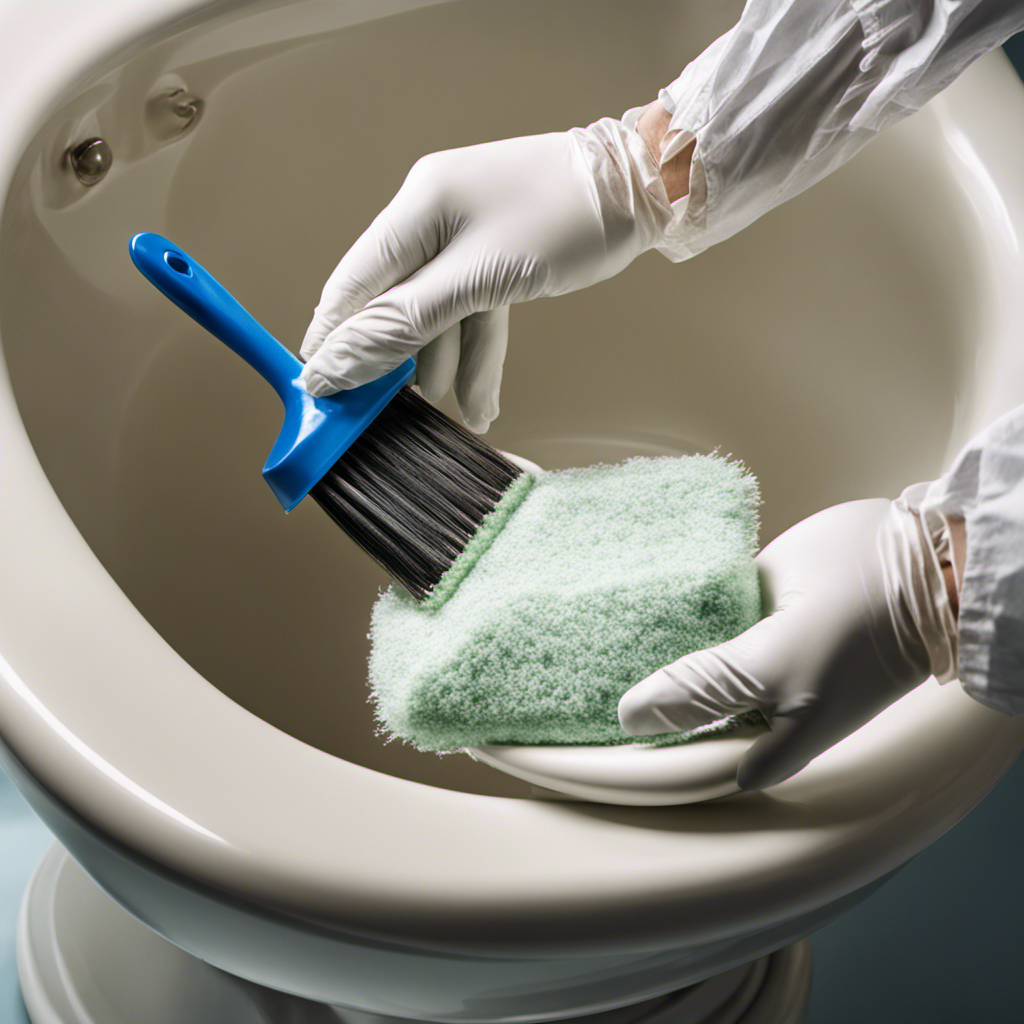
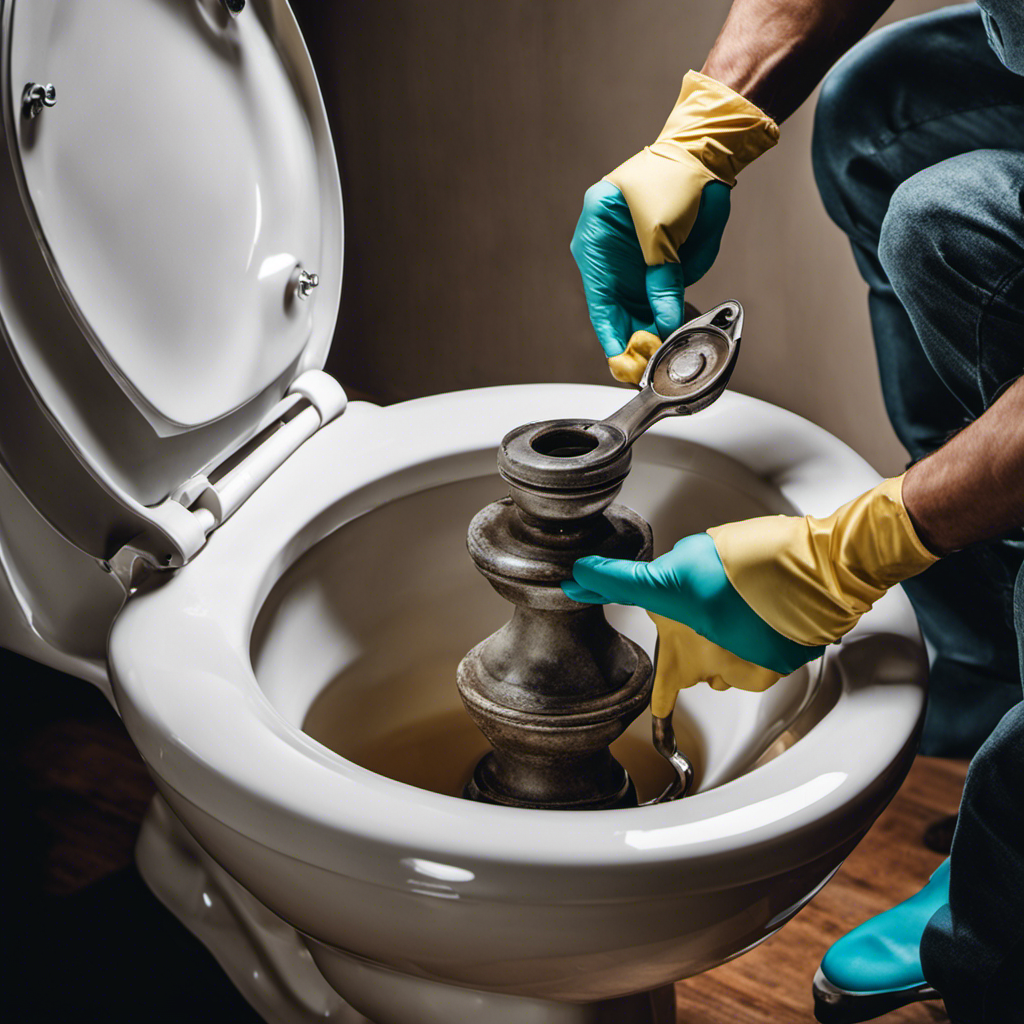
Step 4: Remove the Old Toilet Ring
Once the old toilet ring has been removed, you can proceed to the next step of the replacement process.
When it comes to installing a new toilet ring, there are a few tips to keep in mind. Firstly, make sure to choose the right type of toilet ring for your toilet. There are wax rings and wax-free rings available, so choose the one that suits your needs.
Secondly, ensure that the toilet flange is clean and free from any debris before installing the new ring. This will help create a proper seal.
Lastly, be careful not to overtighten the bolts when securing the toilet back in place, as this can damage the ring.
Common mistakes when removing toilet rings include using excessive force, which can lead to broken flanges or damage to the toilet base. It’s important to be gentle and take your time during this step.
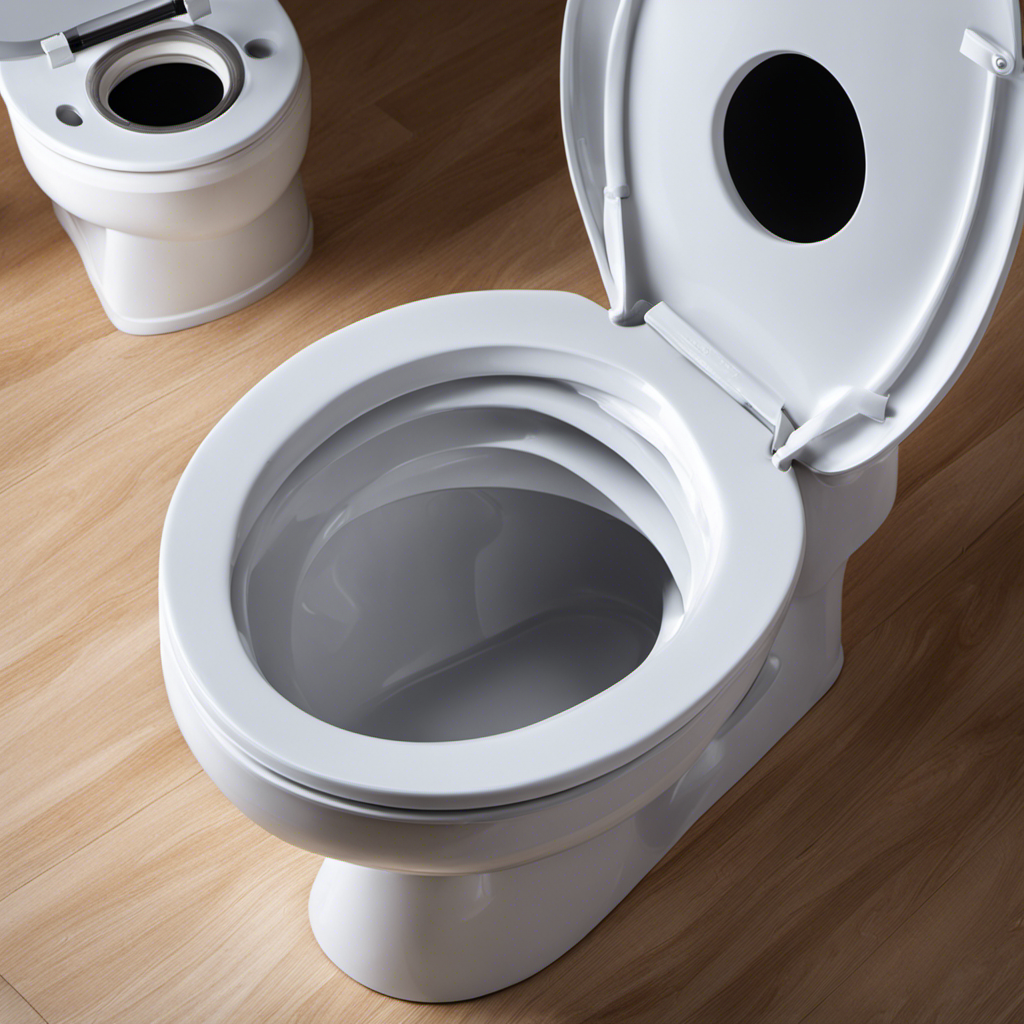
Step 5: Install the New Toilet Ring
Now, you’re ready to install the new toilet ring in order to complete the replacement process.
Here are some tips for installing a toilet ring:
-
Ensure a tight seal: Make sure to position the new toilet ring properly on the flange and press it down firmly. This will create a tight seal and prevent any leaks.
-
Align the toilet: When placing the toilet back onto the flange, ensure that it is aligned properly with the bolts. This will allow for a secure fit and prevent any wobbling or movement.
-
Tighten the bolts: Once the toilet is in place, tighten the bolts evenly to secure it to the floor. Be careful not to overtighten, as this could crack the toilet.
Step 6: Test and Check for Leaks
In this discussion, I will be focusing on two key points: leak detection methods and troubleshooting leak issues.
When it comes to leak detection, there are several methods that can be used. These include visual inspection, pressure testing, and using specialized equipment like leak detectors.
Once a leak is detected, it is important to troubleshoot the issue to determine the cause and find a solution. This may involve checking for loose connections, damaged seals, or faulty components that need to be repaired or replaced.
Leak Detection Methods
To detect leaks in your toilet, you can try using dye tablets or listening for hissing sounds.
Dye tablets are a simple and effective method for identifying leaks. You simply drop a tablet into the toilet tank and wait for a few minutes. If the water in the bowl changes color, it indicates a leak.
Listening for hissing sounds is another method to detect leaks. If you hear a continuous hissing sound coming from the toilet, it could mean that water is constantly flowing and there is a leak.
-
Dye tablets: Drop a tablet into the tank and check for color change in the bowl.
-
Listening for hissing sounds: Pay attention to any continuous hissing noises coming from the toilet.
-
Visual inspection: Look for any visible signs of water pooling or dripping around the base of the toilet.
Troubleshooting Leak Issues
If you’re experiencing a leak in your toilet, one possible cause could be a worn-out flapper that needs replacing. Troubleshooting common toilet issues can be a frustrating task, but there are a few steps you can take to identify and fix the problem.
First, check the water level in the tank to ensure it is not too high or too low. Adjust the float if necessary.
Next, inspect the flapper for any signs of wear or damage. If it is worn out, replacing it is a simple fix.
Finally, check the connections between the tank and the bowl for any leaks. Tighten any loose bolts or replace damaged gaskets to prevent future leaks.
Frequently Asked Questions
How Often Should the Toilet Ring Be Replaced?
The toilet ring should be replaced every 5-10 years depending on usage. Signs of a worn out toilet ring include water leaks and a foul odor. Regular inspection and maintenance can prevent issues.
Can I Use Any Type of Toilet Ring for Replacement?
I researched toilet ring alternatives and found that not all types can be used for replacement. It’s important to consider the pros and cons of different materials, like wax or rubber, to ensure a proper fit and prevent leaks.
Is It Necessary to Remove the Entire Toilet When Replacing the Ring?
No, it is not necessary to remove the entire toilet when replacing the ring. You will need a few tools, such as a wrench and a new wax ring. Here is a step-by-step guide on how to replace the toilet ring.
Can I Use Silicone Instead of a Wax Ring for Sealing?
I’ve heard some people say they’ve used silicone instead of a wax ring to seal their toilet. It can work, but there are pros and cons. Proper installation is key. It’s important to follow the instructions carefully to ensure a watertight seal.
Are There Any Alternative Methods for Replacing a Toilet Ring?
There are alternative methods for replacing a toilet ring, such as using a rubber gasket or a wax-free ring. Rubber gaskets are easier to install but may not provide as secure a seal. Wax-free rings are mess-free but may require readjustment over time.
Conclusion
In conclusion, replacing a toilet ring is a simple yet crucial task that ensures the smooth functioning of your bathroom. By following the steps outlined above, you can prevent leaks and maintain a clean and hygienic environment.
Remember, like a knight protecting a castle, a new toilet ring safeguards your home from the unwanted invasion of water. So don’t hesitate to take action and bid farewell to any potential leakage woes.
Keep your throne secure and your bathroom serene!

Mateo’s flair for writing is matched only by his keen eye for design. As an interior designer turned writer, Mateo brings a unique perspective. He blends aesthetics with functionality in every piece he pens, providing readers with beautifully crafted content that’s also supremely useful.
Mateo loves exploring the latest bathroom tech trends and is our expert on smart toilets. When he’s not writing or designing, Mateo can be found sketching ideas for his next big project at local coffee shops.