As a homeowner, I’ve faced my fair share of plumbing challenges. One particularly pesky problem is a faulty toilet seal ring. If you’re tired of dealing with leaks and unpleasant odors, it’s time to take action.
In this article, I’ll guide you through the steps of replacing your toilet seal ring, ensuring a proper and watertight seal. With a few tools and a little know-how, you’ll have your toilet functioning flawlessly in no time.
Let’s get started!
Key Takeaways
- Look for visible water stains or dampness around the base of the toilet.
- Gather the necessary tools and materials for a successful replacement.
- Ensure proper tool selection and safety precautions.
- Properly remove the old toilet seal ring and install the new one, testing for a proper seal.

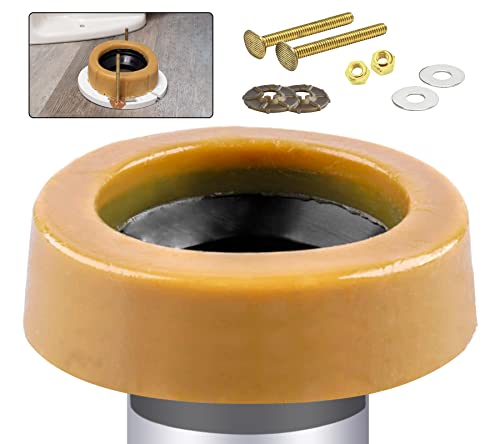
Korky 6000BP Universal Toilet WaxFree Seal with Hardware – Toilet Installation Made Easy – Made in USA , Red
NO WAX, NO MESS – The easiest way to install a toilet seal ring & fix leaks
As an affiliate, we earn on qualifying purchases.
As an affiliate, we earn on qualifying purchases.
Assessing the Need for a Toilet Seal Replacement
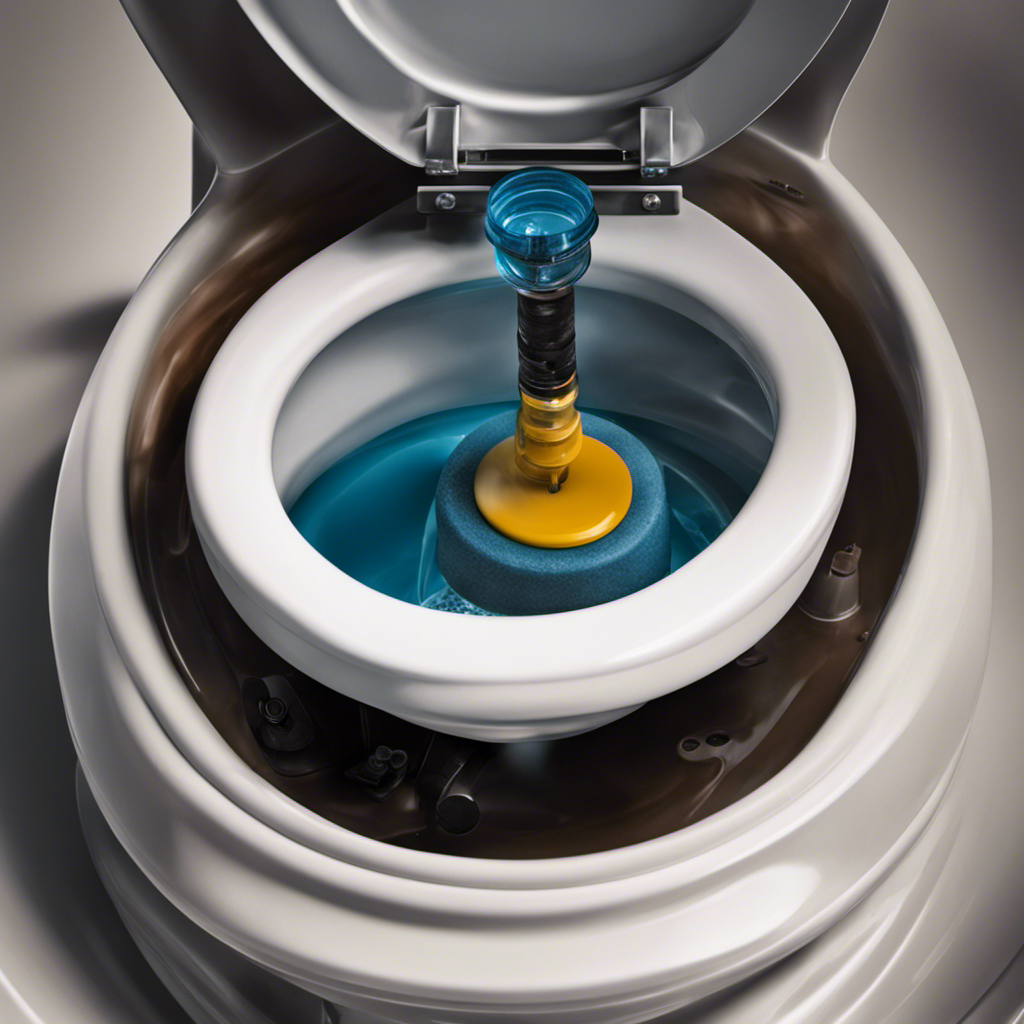
You should check if the toilet seal ring needs to be replaced by looking for any signs of water leakage or a foul odor coming from your toilet. Assessing the severity of the issue is crucial to determine if a replacement is necessary.
Start by inspecting the area around the base of the toilet for any visible water stains or dampness. A damaged seal ring can cause water to seep out, leading to these signs. Additionally, pay attention to any unpleasant odors coming from the toilet, as this could indicate a faulty seal.
If you notice any of these signs, it is likely that the seal ring needs to be replaced.
Now that you have assessed the need for a replacement, it’s time to gather the necessary tools and materials for the task at hand.
Extra Thick Toilet Wax Ring Kit with Flange and Bolts for Floor Outlet Toilets New Install or Re-seat, Fits 3-inch or 4-inch Waste Lines
Signs of a Bad Toilet Wax Ring?: If you can smell a sewer-like smell coming from your toilet,…
As an affiliate, we earn on qualifying purchases.
As an affiliate, we earn on qualifying purchases.
Gathering the Necessary Tools and Materials
When it comes to a toilet seal replacement, having the essential tools and materials is crucial for a successful job.
Proper tool selection is important to ensure efficiency and accuracy in the replacement process.
Additionally, it is crucial to consider safety precautions in order to prevent accidents or injuries while working with tools and materials.
Essential Tools and Materials
To replace the toilet seal ring, gather the essential tools and materials needed for the job. Having the right tools ensures a successful and efficient replacement process. Here are the necessary items you will need:
| Tools | Materials |
|---|---|
| Wrench | Toilet seal ring |
| Screwdriver | Wax ring |
| Adjustable pliers | Toilet bolts |
| Putty knife | Rubber gloves |
| Bucket | Disposable rags |
These tools and materials are readily available at your local hardware store. It’s important to note that there are alternative options to the traditional wax ring, such as rubber or foam rings. However, it is recommended to consult a professional or refer to the manufacturer’s instructions before using any alternatives. Common mistakes during replacement include improper installation of the seal ring, using the wrong size or type of ring, and not properly cleaning the area before installation. Taking the time to gather the necessary tools and materials and avoiding these common mistakes will ensure a successful toilet seal ring replacement.
Proper Tool Selection
Having the right tools is crucial for selecting the proper tool for the job. When it comes to tool maintenance and troubleshooting tips, there are a few key factors to consider.
First and foremost, it is important to keep your tools clean and well-maintained. Regularly inspect them for any signs of damage or wear and tear. This will ensure that they are in good working condition and ready to use when needed.
Additionally, knowing how to troubleshoot common issues with your tools can save you time and frustration. Familiarize yourself with the user manual and online resources for troubleshooting tips specific to your tools.
Safety Precautions to Consider
It’s important to always consider safety precautions when using tools. Here are three key safety measures to keep in mind when replacing a toilet seal ring:
-
Wear protective gear: Before starting any work, ensure you are wearing the appropriate protective gear, such as gloves, safety glasses, and a mask. This will protect you from any potential injuries or exposure to toxic materials.
-
Preventing leaks: Before removing the old seal ring, shut off the water supply to the toilet. This will prevent any water from leaking out during the replacement process. Additionally, place towels or a bucket beneath the toilet to catch any water that may still be present.
-
Handling toxic materials: Toilet seal rings may contain harmful substances such as wax or PVC. Take care when handling these materials, and be sure to dispose of them properly to prevent any contamination or harm to the environment.

Fluidmaster K-400H-021-P8 PerforMAX 2-Inch Everything Toilet Repair Kit, Multicolor
The Everything Kit includes everything you need to fix your toilet in one trip and one purchase
As an affiliate, we earn on qualifying purchases.
As an affiliate, we earn on qualifying purchases.
Shutting off the Water Supply to the Toilet
First, you’ll need to locate the water shut-off valve near the back of the toilet. This valve controls the water supply to the toilet and is usually located on the wall or floor behind the toilet. Turn the valve clockwise to shut off the water supply. This step is crucial to prevent any water leakage during the replacement process.
It is important to note that shutting off the water supply is a DIY technique that can be easily done by homeowners. By doing this, you can ensure a safe and dry environment while working on replacing the toilet seal ring.
Once you have successfully shut off the water supply, you can proceed to the next step of removing the old toilet seal ring. This will involve carefully detaching the toilet bowl from the floor and exposing the seal ring for replacement.

One N Done Toilet Flange Repair Kit – Toilet Kit For Low or Broken Flange. Toilet Wax Ring Replacement Kit W/Toilet Flange Extender Kit, Easy Toilet Bolts, & Toilet Caps For Bottom of Toilet. (1 Ea.)
Save Time & Money | No wax ring for toilet required. The One N Done toilet flange repair…
As an affiliate, we earn on qualifying purchases.
As an affiliate, we earn on qualifying purchases.
Removing the Old Toilet Seal Ring
When it comes to removing the old toilet seal ring, there are a few key points to keep in mind.
First and foremost, it’s important to ensure proper seal ring removal to avoid any potential damage.
Secondly, having the right tools for the job is crucial in making the removal process easier and more efficient.
Lastly, taking precautions to avoid any potential damage to the toilet or surrounding areas is essential for a successful removal.
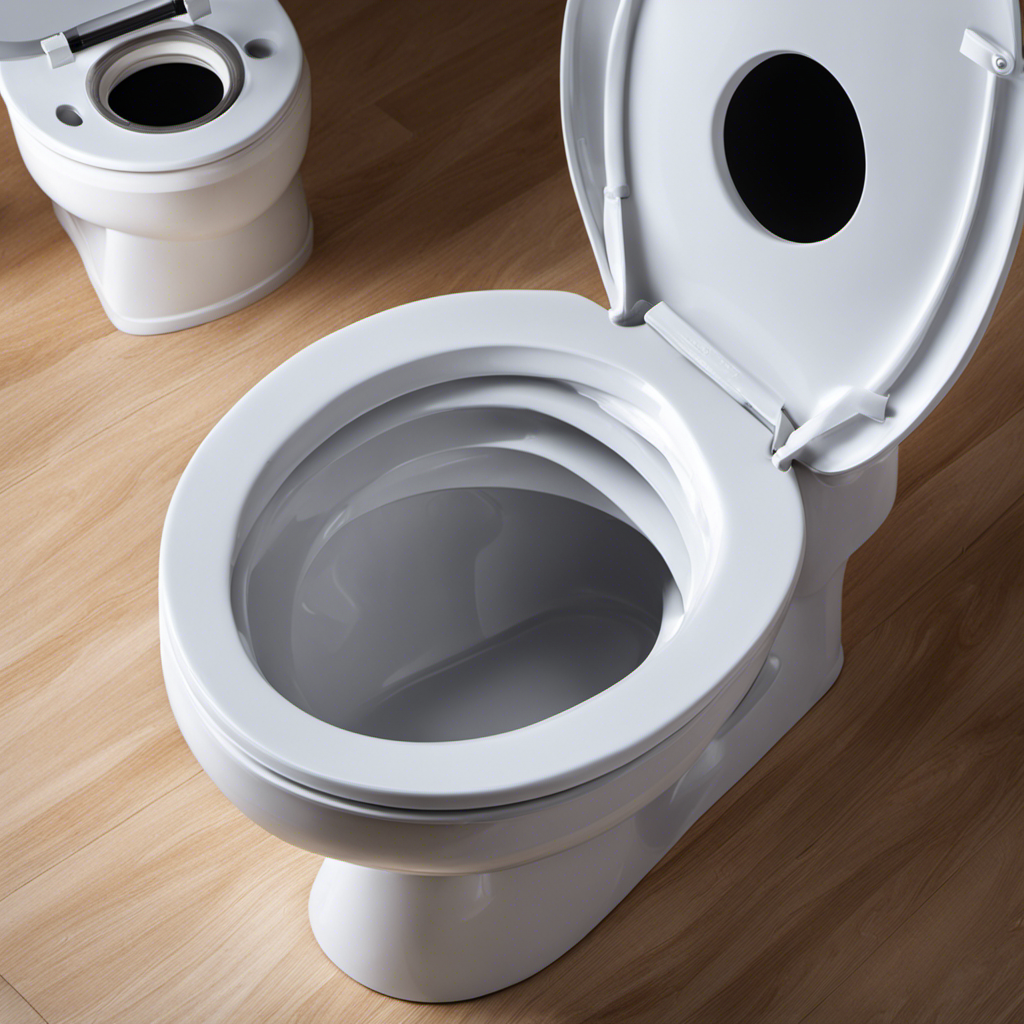
Proper Seal Ring Removal
To properly remove the seal ring, you’ll need to turn off the water supply and unscrew the bolts securing the toilet to the floor.
Here is the proper technique for removing the seal ring:
-
Start by turning off the water supply valve located behind the toilet. This will prevent any water from flowing while you work.
-
Next, use a wrench to loosen and unscrew the bolts that secure the toilet to the floor. These bolts are usually located at the base of the toilet.
-
Once the bolts are removed, carefully lift the toilet straight up and away from the floor. Be cautious not to tip the toilet over and spill any remaining water.
Common mistakes to avoid during seal ring removal include not turning off the water supply, not properly loosening the bolts, and not lifting the toilet straight up. By following these steps and avoiding these common mistakes, you can successfully remove the seal ring and proceed with replacing it.
Tools Needed for Removal
You’ll need a wrench to loosen and unscrew the bolts securing the toilet to the floor. This tool is essential for proper seal ring removal during toilet maintenance.
Before beginning the process, it’s important to ensure that your wrench is in good condition. Check for any signs of wear or damage, such as rust or stripped teeth, and replace if necessary. Maintaining your tools is crucial for efficient and safe repairs.
Additionally, when replacing the seal ring, consider alternative options such as wax-free or rubber seal rings. These alternatives provide a reliable and long-lasting seal, reducing the risk of leaks and water damage.
Take the time to research and choose the best seal ring option for your specific needs and preferences.
Avoiding Potential Damage
It’s crucial to be mindful of potential damage during the removal process. Here are three important points to keep in mind to prevent leaks and avoid common mistakes:
-
Turn off the water supply: Before starting the removal process, locate the shut-off valve behind the toilet and turn it off. This will prevent water from flowing into the toilet bowl and causing a mess.
-
Empty the tank and bowl: To avoid any accidental spills or leaks, flush the toilet and hold down the handle to completely empty the tank and bowl. This will make it easier to remove the toilet and minimize the risk of water damage.
-
Use caution when removing the toilet: When taking off the toilet, be gentle to prevent any cracks or damage to the porcelain. It’s important to lift the toilet straight up and avoid any twisting or jerking movements that could cause the wax ring to break or the toilet to crack.
Cleaning and Preparing the Toilet Flange
Start by removing any debris or residue from the toilet flange using a putty knife or scraper. This step is crucial for proper toilet flange maintenance and preventing leaks. The flange is the connection point between the toilet and the sewer pipe, so any debris or residue can disrupt the seal and lead to leaks.
Carefully scrape off any old wax or adhesive that may be stuck to the flange. Make sure to clean the entire surface, including the bolt holes and the outer edges. Once the flange is clean, inspect it for any cracks or damage. If you notice any issues, it is important to address them before proceeding with the toilet seal ring replacement.
Taking the time to properly clean and prepare the toilet flange will ensure a secure and leak-free installation.
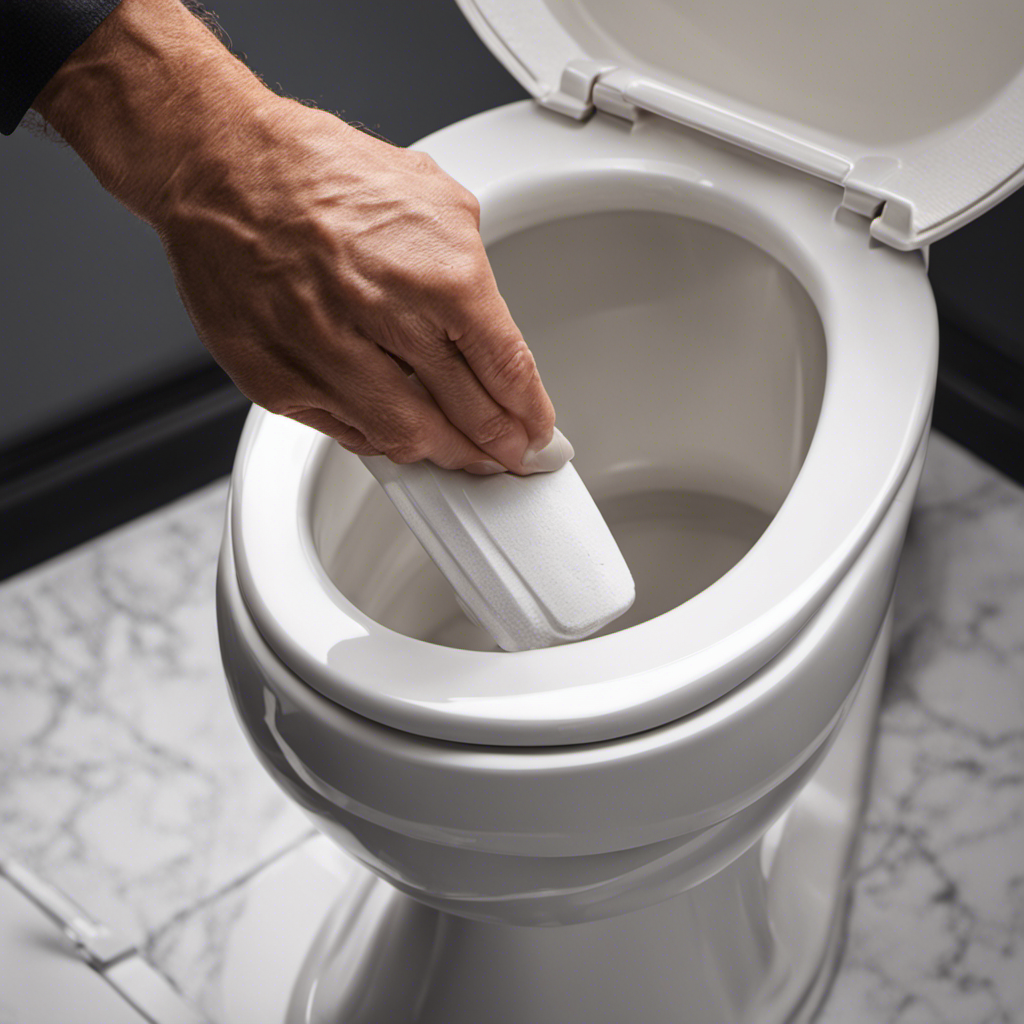
Installing the New Toilet Seal Ring
Once the old wax or adhesive has been scraped off the toilet flange, carefully position and secure the new seal ring in place.
Here are the steps to properly install the new toilet seal ring:
-
Align the seal ring: Ensure that the seal ring is centered over the toilet flange opening. This will ensure a proper seal and prevent leaks.
-
Apply pressure: Gently press down on the toilet bowl to compress the seal ring. This will create a tight seal between the toilet and the flange.
-
Secure the bolts: Place the bolts in the designated slots on the flange and tighten them securely. This will hold the toilet in place and prevent it from shifting.
By following these installing techniques, you can ensure a proper seal and prevent any future issues.
Once the new seal ring is securely in place, it is time to move on to testing and checking for a proper seal.
Testing and Checking for Proper Seal
To check if the seal is properly secured, press down on the toilet bowl and see if there is any movement or shifting. This is an important step in ensuring that your toilet is functioning properly and that there are no leaks. There are a few testing methods and troubleshooting tips you can follow to ensure a proper seal.
First, visually inspect the seal for any signs of damage or wear. Look for cracks, gaps, or any other visible issues. Next, perform a water test by flushing the toilet and checking for leaks around the base. If there are any leaks, tighten the bolts or replace the seal if necessary.
Here is a table summarizing some common troubleshooting tips for checking the toilet seal:
| Testing Method | Troubleshooting Tips |
|---|---|
| Pressing down on the toilet bowl | Check for movement or shifting |
| Visual inspection | Look for cracks or gaps |
| Water test | Flush toilet and check for leaks |
Conclusion
In conclusion, replacing a toilet seal ring is a relatively straightforward task that can be done with the right tools and materials. By following the steps outlined in this article, one can ensure a proper seal and prevent any future leaks or damage.
It’s important to note that according to a study conducted by the Environmental Protection Agency, a leaking toilet can waste up to 200 gallons of water per day. This emphasizes the significance of promptly replacing a faulty seal to conserve water and prevent unnecessary expenses.