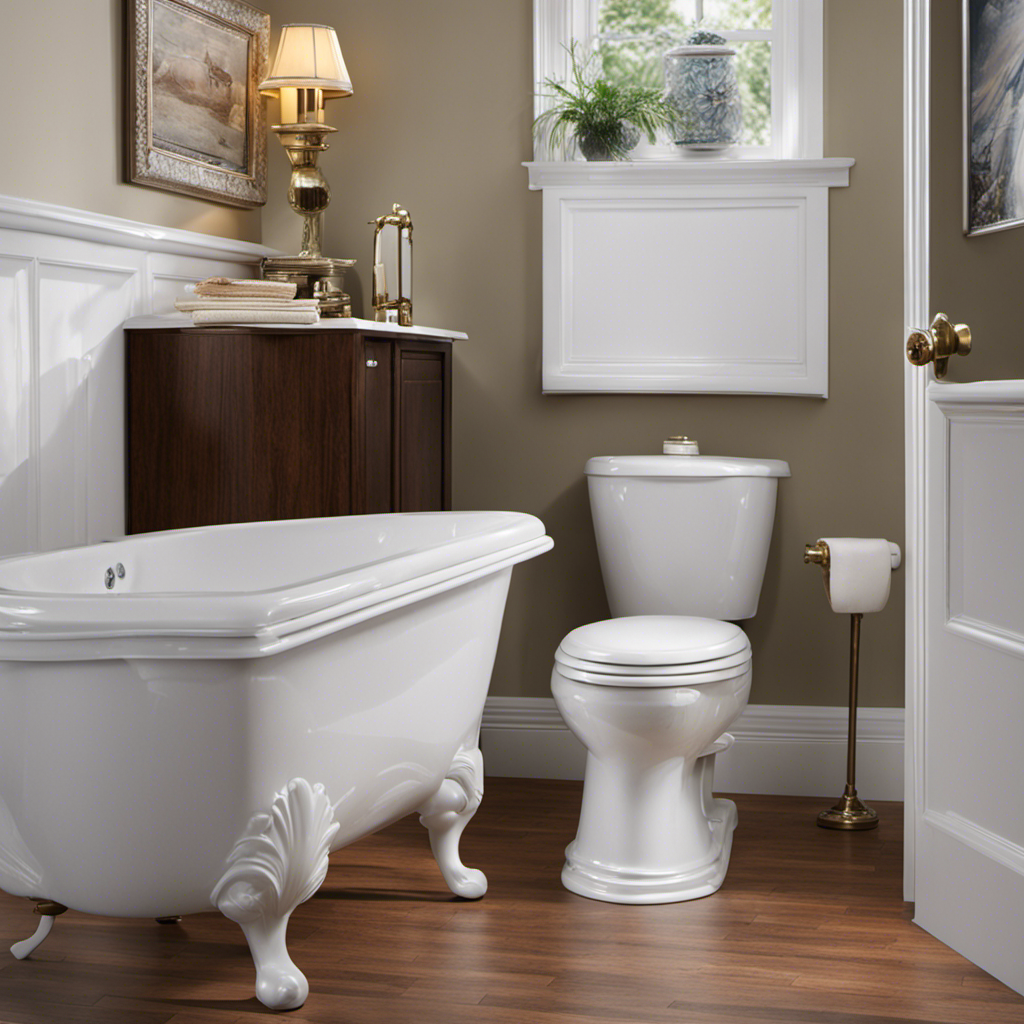
As I stood in my bathroom, a faint smell of sewage lingered in the air. It was clear that the time had come to replace the toilet seal.
With the right tools and a bit of know-how, this was a task I knew I could tackle. In this article, I will guide you through the process of assessing the condition of the seal, gathering the necessary materials, removing the toilet, and installing a new seal.
Let’s get started and bring back the freshness to your bathroom!
Key Takeaways
- Inspect the area around the base of the toilet for signs of water leakage or dampness.
- Gather the necessary tools and materials, including a wrench, pliers, putty knife, and screwdriver.
- Have all materials ready before starting the installation process, including a new wax ring, toilet bolts, and a wax ring reinforcement kit.
- Properly clean and prepare the area for installation, ensuring the complete removal of the old wax ring.

Instant Pot 4QT RIO Mini 7-in-1 Multi-Cooker, Pressure Cooker, Slow cook, Sauté, Steam, Rice Maker, Yogurt, & Warmer, Black, 4 Quarts
- 7-in-1 Multi-Cooker Functions: Pressure, slow, sauté, steam, rice, yogurt, warm
- Compact and Space-Saving: Mini size with full cooking surface
- Ideal for Small Meals: 4-quart capacity for up to 4 servings
As an affiliate, we earn on qualifying purchases.
Assessing the Condition of the Toilet Seal
First, you’ll want to take a close look at the condition of your toilet seal. Evaluating seal damage is crucial in determining whether a replacement is necessary.
Start by inspecting the area around the base of the toilet for any signs of water leakage or dampness. This could indicate a faulty seal. Additionally, check for discoloration or mold growth, as these are also signs of a damaged seal.
Next, examine the seal itself for any physical wear and tear, such as cracks, gaps, or shrinkage. A thorough evaluation of the seal will help you determine if it needs to be replaced.
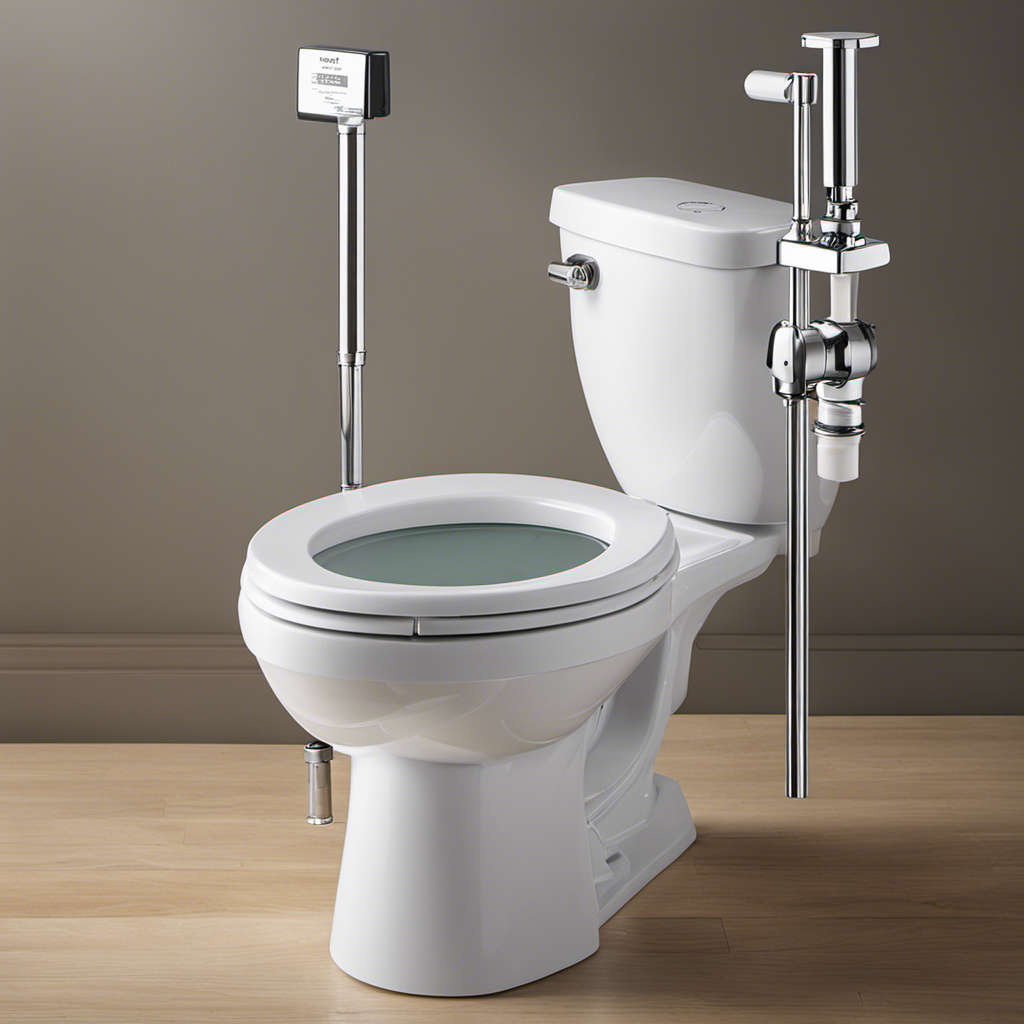
Gathering the Necessary Tools and Materials
When it comes to replacing a toilet seal, it is essential to have the right tools and materials on hand.
The essential tools for this task include a wrench, pliers, a putty knife, and a screwdriver.
Additionally, you will need a new wax ring, toilet bolts, and possibly a new flange if the old one is damaged.
Essential Tools for Replacement
To replace the toilet seal, you’ll need a few essential tools. Here are the items you’ll need for a successful replacement:
- Adjustable wrench – This tool will help you loosen and tighten the bolts that secure the toilet to the floor.
- Putty knife – You’ll use this tool to remove the old wax seal and any residue that may be left behind.
- Plunger – Sometimes, the toilet seal issues can be resolved by using a plunger to unclog any blockages.
When it comes to troubleshooting common seal issues, it’s important to check for signs of leakage around the base of the toilet. If you notice water pooling or a foul odor, it’s likely that the seal needs to be replaced.
By following the toilet seal replacement process and using the right tools, you can ensure a tight and secure seal for your toilet.
Now, let’s move on to the required materials for installation.
Required Materials for Installation
The materials you’ll need for installation include a new wax ring, toilet bolts, and a wax ring reinforcement kit. When it comes to replacing a toilet seal, it is important to have all the necessary materials ready before starting the installation process.
The first step in the step-by-step guide for replacing a toilet seal is to turn off the water supply and drain the toilet tank and bowl. Then, remove the old wax ring and clean the flange thoroughly.
Next, place the new wax ring onto the flange, making sure it is centered properly. After that, carefully lower the toilet bowl onto the wax ring, aligning it with the bolts.
Lastly, tighten the toilet bolts evenly and reconnect the water supply. Following these steps will ensure a successful toilet seal replacement.
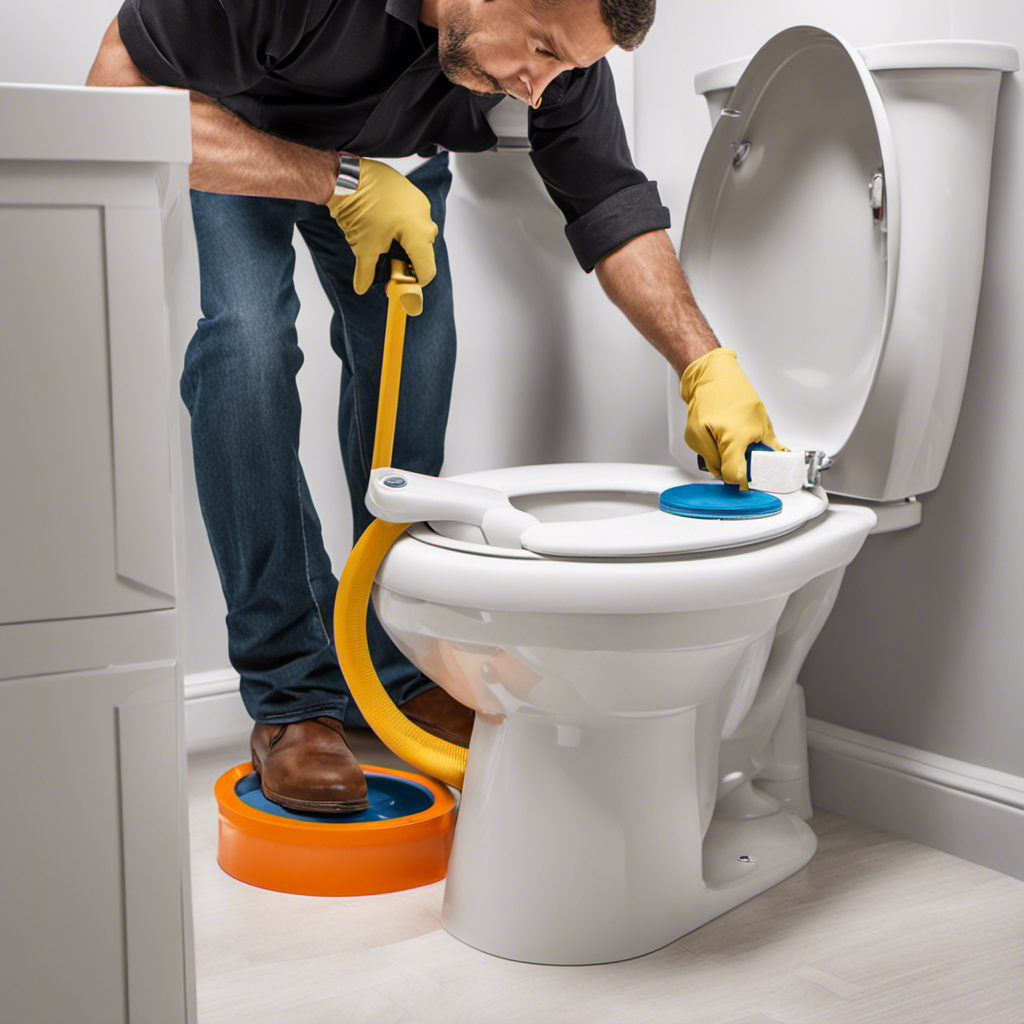
Removing the Toilet and Old Seal
After you’ve shut off the water supply and disconnected the water line, you can begin removing the toilet and old seal. It is important to understand the significance of the toilet seal in maintaining a leak-free and hygienic bathroom environment.
Here are some common problems associated with toilet seals:
-
Leakage: A worn-out or damaged seal can lead to water leakage around the base of the toilet, causing water damage to the floor and potentially leading to mold growth.
-
Odor: A faulty seal can allow sewer gases to escape, resulting in unpleasant odors in the bathroom.
-
Instability: If the seal is not properly installed or has deteriorated over time, it can cause the toilet to become unstable and wobble, which can be both inconvenient and potentially dangerous.
To remove the toilet and old seal, follow these steps:
-
Empty the bowl and tank by flushing and using a sponge or towel to soak up any remaining water.
-
Loosen the bolts securing the toilet to the floor using a wrench.
-
Carefully lift the toilet straight up and remove it from the area, taking care not to damage the surrounding floor or plumbing.
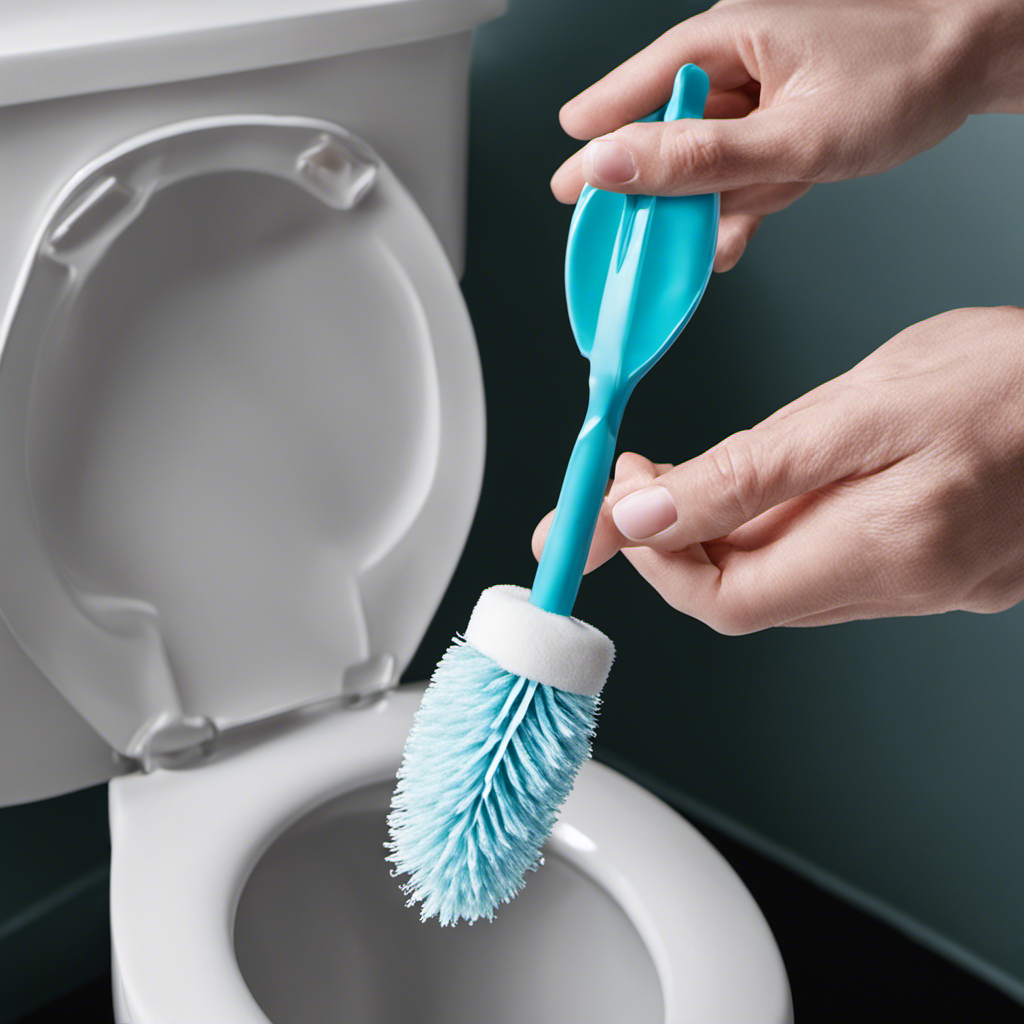
Cleaning and Preparing the Area for Installation
Now that I’ve successfully removed the toilet and old seal, it’s time to focus on cleaning and preparing the area for installation. This step is crucial as a clean surface is essential for a proper seal and long-lasting performance.
I start by using a disinfectant cleaner to thoroughly clean the toilet base and the floor around it. This not only removes any dirt or grime but also eliminates any bacteria or odor-causing germs.
Next, I inspect the flange and the wax ring for any debris or residue. If necessary, I carefully scrape off any build-up using a plastic scraper. I also make sure to remove the old wax ring completely.
Installing the New Toilet Seal
When it comes to installing a new toilet seal, two key points to consider are proper seal alignment and seal material options.
Proper seal alignment ensures a tight and secure fit, preventing any leaks or odors from escaping.
As for seal material options, there are various choices available, such as rubber, wax, or foam, each with its own advantages and disadvantages.
It is important to choose the right seal material based on factors like durability, flexibility, and compatibility with the toilet and floor materials.
Proper Seal Alignment
To ensure a proper seal, make sure the toilet is aligned correctly. Here are three steps to troubleshoot seal issues and maintain your toilet seal:
-
Check the alignment: Ensure that the toilet is placed evenly on the floor. If it wobbles or rocks, it may lead to a faulty seal. Adjust the toilet by tightening or loosening the bolts until it sits firmly.
-
Inspect the wax ring: Lift the toilet and examine the wax ring. Look for any signs of damage, such as cracks or breaks. Replace the wax ring if necessary, as a damaged ring can cause leaks and poor sealing.
-
Apply even pressure: When reinstalling the toilet, make sure to apply even pressure. Slowly lower the toilet onto the wax ring, ensuring it is aligned with the bolts. Press down firmly to create a proper seal.
Seal Material Options
One option for seal material is a wax ring. It provides a reliable and watertight connection between the toilet and the drain pipe.
When choosing the right toilet seal material, it’s important to consider the pros and cons of different options. Wax rings are a popular choice due to their effectiveness in creating a tight seal and preventing leaks. They are also easy to install and relatively inexpensive. However, wax rings can be messy to work with and may require replacement over time.
Another option is a rubber gasket seal. It offers a durable and flexible solution. Rubber gaskets are resistant to chemicals and can withstand temperature variations. However, they may be more expensive and require careful alignment during installation.
Ultimately, it’s important to select a seal material that suits your specific needs and preferences. With the seal material chosen, it’s time to move on to testing for leaks and ensuring a proper seal.
Testing for Leaks and Ensuring a Proper Seal
Check if there are any leaks or a proper seal by adding water to the toilet bowl and observing if it remains in place or if it starts to leak. To troubleshoot common toilet seal problems and ensure a proper seal, follow these steps:
-
Inspect the wax ring: Remove the toilet and inspect the wax ring for any signs of damage or deterioration. A damaged wax ring can lead to leaks.
-
Check the flange: Ensure that the flange is securely fastened to the floor and is level. A loose or improperly installed flange can cause leaks.
-
Test for leaks: After reseating the toilet with a new wax ring, add water to the bowl and observe if it remains in place or if there are any signs of leakage around the base.
To prevent future toilet seal leaks, consider these tips:
-
Regular maintenance: Inspect the wax ring and flange periodically to catch any issues early on.
-
Proper installation: Follow the manufacturer’s instructions and use quality materials when installing or replacing a toilet seal.
-
Avoid excessive force: Be careful not to overtighten the bolts that secure the toilet to the flange, as this can damage the seal.
Conclusion
In conclusion, replacing a toilet seal may seem like a daunting task, but it can be done easily with the right tools and materials. I remember the first time I attempted it myself, feeling a mixture of nervousness and excitement.
Just like a tightrope walker balancing on a thin line, I carefully removed the old seal and installed the new one. This ensured a proper seal to prevent any leaks. And just like that, my bathroom was back in perfect working order.
Remember, with a little patience and attention to detail, anyone can tackle this project successfully.