
I’ve been there – struggling to remove an old toilet seat with hidden bolts. It can be frustrating, but fear not!
In this step-by-step guide, I’ll show you how to replace a toilet seat with hidden bolts like a pro. Armed with just a few tools and a little patience, you’ll have a shiny new seat in no time.
So, let’s dive in and bid farewell to that wobbly, worn-out seat that’s been giving you grief.
Key Takeaways
- Hidden bolts provide a sleek and seamless appearance
- Hidden bolts make cleaning easier and give a modern look to the bathroom
- Hidden bolts offer increased stability and durability
- Different types of hidden bolts are available, such as expanding anchor bolts or snap-on caps

Smart Toilet with Warm Water Sprayer and Dryer, One Piece Bidet Toilet with Auto Dual Flush Foot Sensor Operation,Heated Seat Smart with Built In Fahrenheit LED Display
Powerful Flushing System: Designed with low water consumption (1.26 gallons per flush), this system ensures efficient and thorough...
As an affiliate, we earn on qualifying purchases.
Understanding Hidden Bolts
Hidden bolts are used to secure the toilet seat in place without visible screws. They offer several advantages over traditional toilet seat installation methods.
Firstly, they provide a sleek and seamless appearance, as there are no unsightly screws or bolts visible on the surface. This makes cleaning easier and gives the bathroom a more modern and streamlined look.
Secondly, hidden bolts offer increased stability and durability. They securely hold the toilet seat in place, preventing any wobbling or shifting over time.
There are different types of hidden bolts available, such as expanding anchor bolts or snap-on caps. The installation process varies depending on the type of hidden bolt, but generally involves removing the old seat, aligning the new seat with the bolt holes, and securing the bolts in place.

WITMYA Smart Toilet with Bidet Built In, One Piece Bidet Toilet with Auto Dual Flush, Foam Shield, Modern Elongated Tankless Toilet with Foot Sensor, Heated Bidet Seat, Warm Water & Dryer,LED Display
【Efficient Flush & Energy-Saving Design】There smart toilets feature a highly efficient 1.28 GPF water-saving dual flush system with...
As an affiliate, we earn on qualifying purchases.
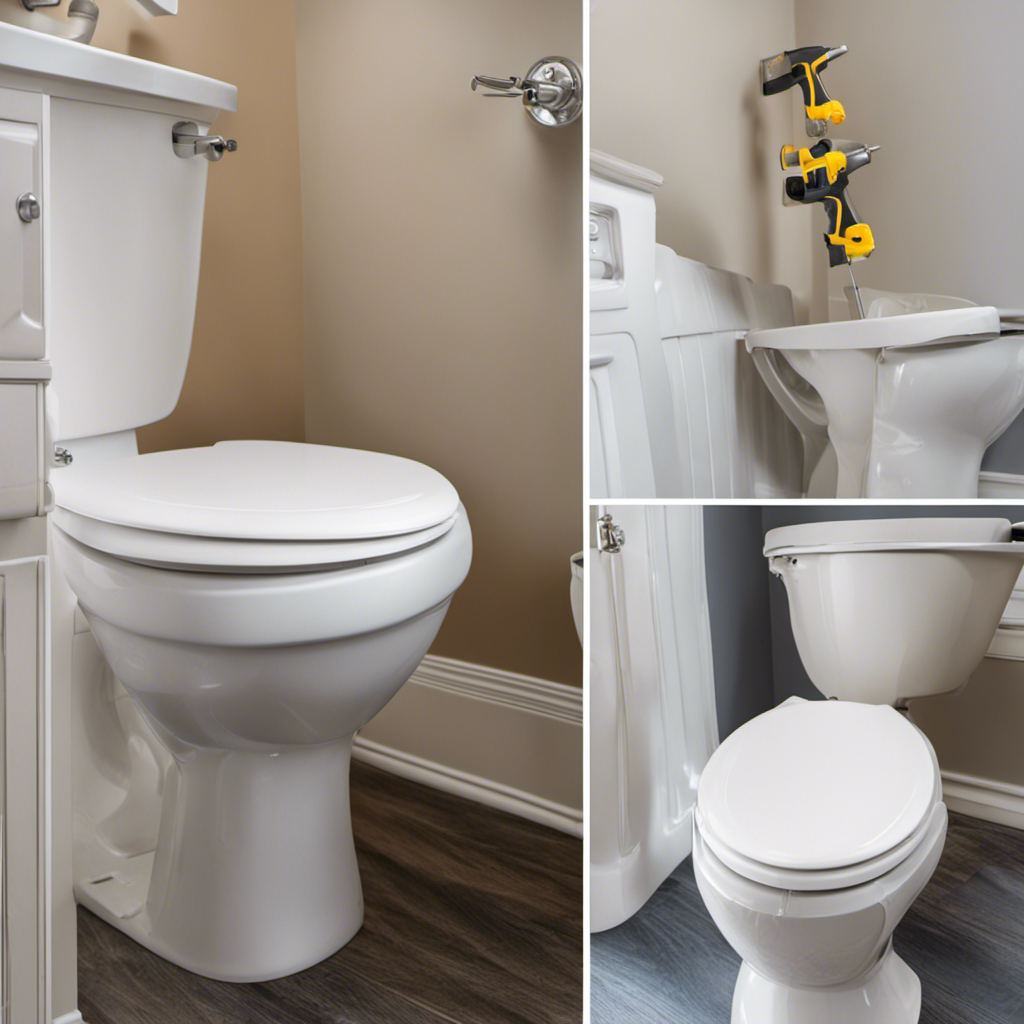
Gathering the Necessary Tools
Once you’ve got all the tools you need, it’s time to start replacing the toilet seat with those tricky bolts.
Before diving into the process, it’s important to choose the right toilet seat that fits your bathroom and personal preference. Make sure to measure the distance between the bolt holes on your toilet bowl to ensure a proper fit.
To ensure proper alignment during the installation process, follow these steps:
-
Start by removing the old toilet seat. Use a wrench or pliers to unscrew the nuts on the underside of the bowl.
-
Clean the area thoroughly to remove any debris or residue.
-
Place the new toilet seat over the bowl, lining up the bolt holes with the holes on the toilet bowl.
-
Insert the bolts into the holes and tighten the nuts by hand until they are snug, being careful not to overtighten and risk cracking the porcelain.

Loniko Smart Toilet with Bidet Built In, Heated Seat & Dual Auto Flush, Foot Sensor, Tankless Modern Elongated Electric Toilet with Warm Water Wash, Air Dryer, LED Display & 1000g MaP Flush, 1.28 GPF
🧻 [Powerful & Water-Saving Dual Flush System] This one piece smart toilet with bidet built in uses an...
As an affiliate, we earn on qualifying purchases.
Removing the Old Toilet Seat
Before you start, make sure to gather all the necessary tools for removing the old toilet seat. Once you have everything you need, it’s time to begin the process of replacing the hardware and cleaning the toilet.
First, locate the two bolts that secure the toilet seat to the bowl. These bolts are usually covered by plastic caps that can be popped off with a screwdriver. Once the caps are removed, use a wrench or pliers to loosen and remove the nuts on the bolts.
Once the nuts are off, you can lift the old seat off the bowl. Take this opportunity to clean the area thoroughly with a disinfectant cleaner. Be sure to remove any residue or buildup that may have accumulated over time.

HOROW T38 Artistic Smart Toilet, Bidet Toilet with Powerful Flush, Auto Open/Close Lid, Instant Warm Water, Elongated Heated Seat, Dryer, Night Light, Deodorization
For Low Water Pressure: Smart toilet built-in water tank and pump bring efficient and powerful flushing performance. The...
As an affiliate, we earn on qualifying purchases.
Installing the New Toilet Seat
Now it’s time to attach the new toilet seat by securing the bolts with the nuts provided. To ensure proper alignment and a secure attachment, follow these steps:
-
Start by placing the toilet seat onto the toilet bowl, aligning the holes on the seat with the mounting holes on the bowl.
-
Take the bolts and insert them through the mounting holes from the underside of the toilet bowl.
-
Thread the nuts onto the bolts and tighten them by hand until they are snug.
-
Use a wrench to further tighten the nuts, being careful not to overtighten and risk damaging the toilet bowl.
-
Once the nuts are securely tightened, check the alignment of the toilet seat. Adjust if necessary by loosening the nuts and repositioning the seat.
-
Finally, give the seat a firm press to ensure it is securely attached.
Troubleshooting Common Issues
If you’re experiencing any problems, here are some common troubleshooting tips for your toilet seat:
-
Dealing with loose toilet seat hinges: If your toilet seat hinges are loose, start by tightening the bolts underneath the seat. Use a screwdriver to turn the bolts clockwise until they are snug. If the hinges are still loose, you may need to replace them with new ones.
-
Fixing a cracked toilet seat: If you have a cracked toilet seat, the best solution is to replace it. Remove the old seat by unscrewing the bolts underneath the hinges. Then, take the new seat and align it with the holes on the toilet bowl. Insert the bolts through the holes and tighten them using a screwdriver. Make sure the seat is secure and doesn’t wobble.
-
Replacing worn-out rubber bumpers: Over time, the rubber bumpers on your toilet seat may wear out. To replace them, remove the seat by unscrewing the bolts underneath. Then, remove the old bumpers and replace them with new ones. Finally, reattach the seat by inserting the bolts through the hinge holes and tightening them.
-
Adjusting the seat alignment: If your toilet seat is not aligned properly, you can adjust it by loosening the bolts underneath. Move the seat to the desired position and tighten the bolts to secure it.
Frequently Asked Questions
How Do Hidden Bolts Work in Securing a Toilet Seat?
Hidden bolts securely fasten a toilet seat and provide long-lasting security. They offer benefits over traditional fasteners, such as a sleeker appearance and easier cleaning. Proper maintenance ensures their effectiveness and durability.
Can I Use Regular Tools to Remove and Install a Toilet Seat With Hidden Bolts?
I can use regular tools to replace a toilet seat with hidden bolts. First, locate and remove the old seat. Then, install the new seat by aligning it with the hidden bolts and tightening them using a wrench.
Are There Any Special Precautions to Take When Removing the Old Toilet Seat With Hidden Bolts?
When removing the old toilet seat with hidden bolts, it’s important to take certain precautions. By following these steps, you can ensure a safe and hassle-free process without damaging any parts.
What Are Some Common Mistakes to Avoid When Installing a New Toilet Seat With Hidden Bolts?
When installing a new toilet seat with hidden bolts, it’s important to avoid common mistakes. Here are some tips: 1) Ensure the bolts are properly aligned, 2) Use the right tools, 3) Tighten the bolts evenly, 4) Double-check for stability.
What Should I Do if the Hidden Bolts on My Toilet Seat Become Loose or Start to Wobble?
If my toilet seat with hidden bolts becomes loose or wobbles, I would first check for any visible damage or loose screws. Then, I would tighten the bolts using a wrench or screwdriver until secure.
Conclusion
Well, there you have it! You’re now a pro at replacing toilet seats with hidden bolts.
With just a few simple steps and the right tools, you can transform your bathroom in no time.
Whether you’re a DIY enthusiast or just looking to save some money on a plumber, this guide has got you covered.
So go ahead and give it a try – you’ll be amazed at how easy it is to upgrade your toilet seat.
Happy replacing!