As a seasoned plumber, I understand the frustration that comes with a malfunctioning toilet supply line. But fear not, because in this article, I will guide you step-by-step through the process of replacing it.
From gathering the necessary tools and materials to shutting off the water supply, I will provide detailed instructions and thorough explanations to ensure a successful replacement.
So grab your wrench and let’s get started on this plumbing adventure!
Key Takeaways
- Types of toilet supply lines include braided stainless steel, copper, and plastic.
- Common issues with toilet supply lines include leaks, kinks, and blockages.
- Troubleshooting steps for toilet supply line issues include checking for loose connections, straightening kinks, and removing obstructions.
- When replacing a toilet supply line, gather the necessary tools and materials such as an adjustable wrench, bucket, new supply line, and Teflon tape.

ALPHA BIDET JX2 Elongated Bidet Toilet Seat, White, Endless Warm Water, *NEW* Bowl Mist, LED Light, Quiet Operation, Wireless Remote, Stainless Steel Nozzle, Sittable Lid, 3 Year Warranty
WARM AND SOOTHING - Tankless on-demand water heating for endless warm water
As an affiliate, we earn on qualifying purchases.
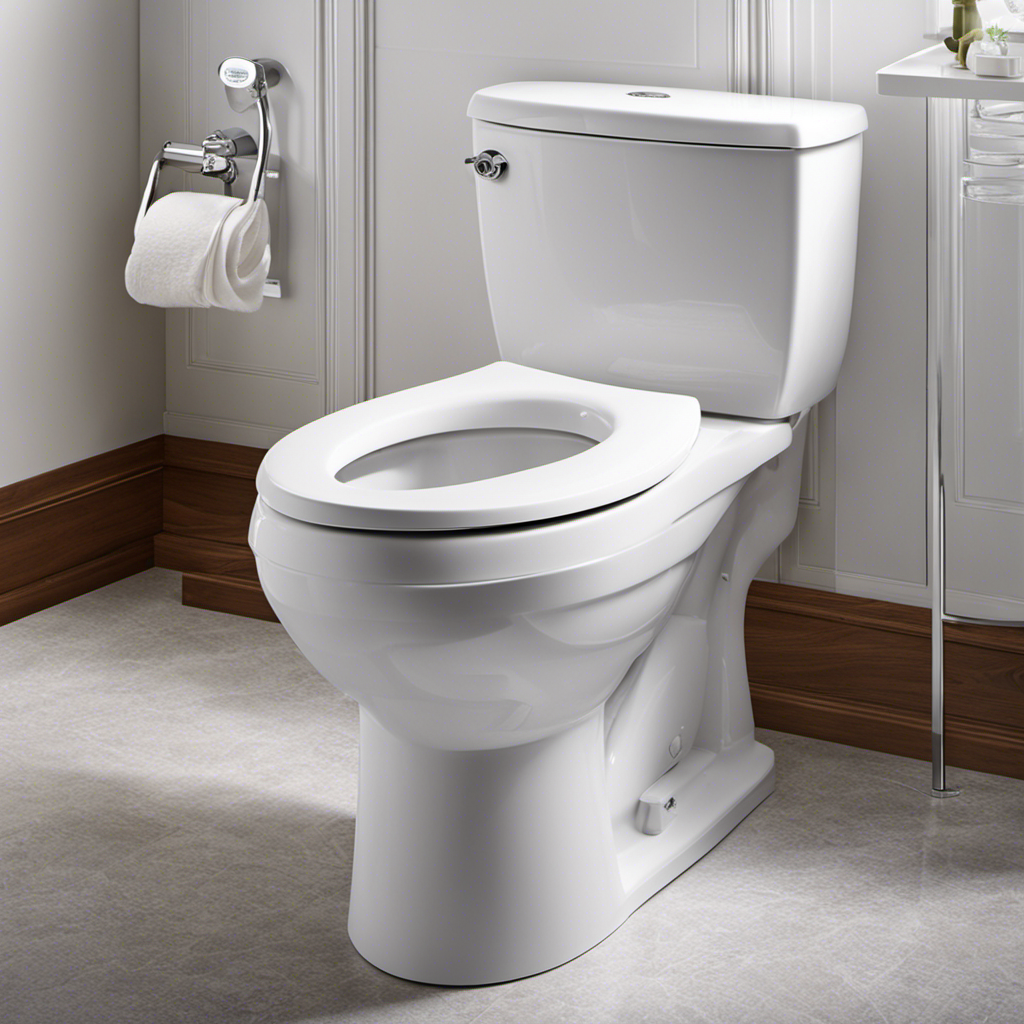
Understanding the Toilet Supply Line
The toilet supply line connects the toilet tank to the water supply. It is essential for the proper functioning of the toilet. There are different types of toilet supply lines available, including braided stainless steel, copper, and plastic. Each type has its own advantages and considerations.
When replacing a toilet supply line, it is important to first turn off the water supply and drain the toilet tank. Then, disconnect the old supply line from the toilet tank and the water supply valve. Next, attach the new supply line to the toilet tank and the water supply valve, ensuring a secure connection. Finally, turn on the water supply and check for any leaks.
Common issues with toilet supply lines include leaks, kinks, or blockages. Troubleshooting these problems may involve checking for loose connections, straightening out any kinks, or removing any obstructions.
mijashy Electric Bidet Toilet Seat, Elongated, Warm Water with Air Dryer, Heated Seat and Slow Close Lid, Front and Rear Wash, LED Nightlight, Wireless Remote, White, 101
ADJUSTABLE WATER PRESSURE - Enjoy a customized clean with stainless steel nozzles that offer adjustable water pressure and...
As an affiliate, we earn on qualifying purchases.
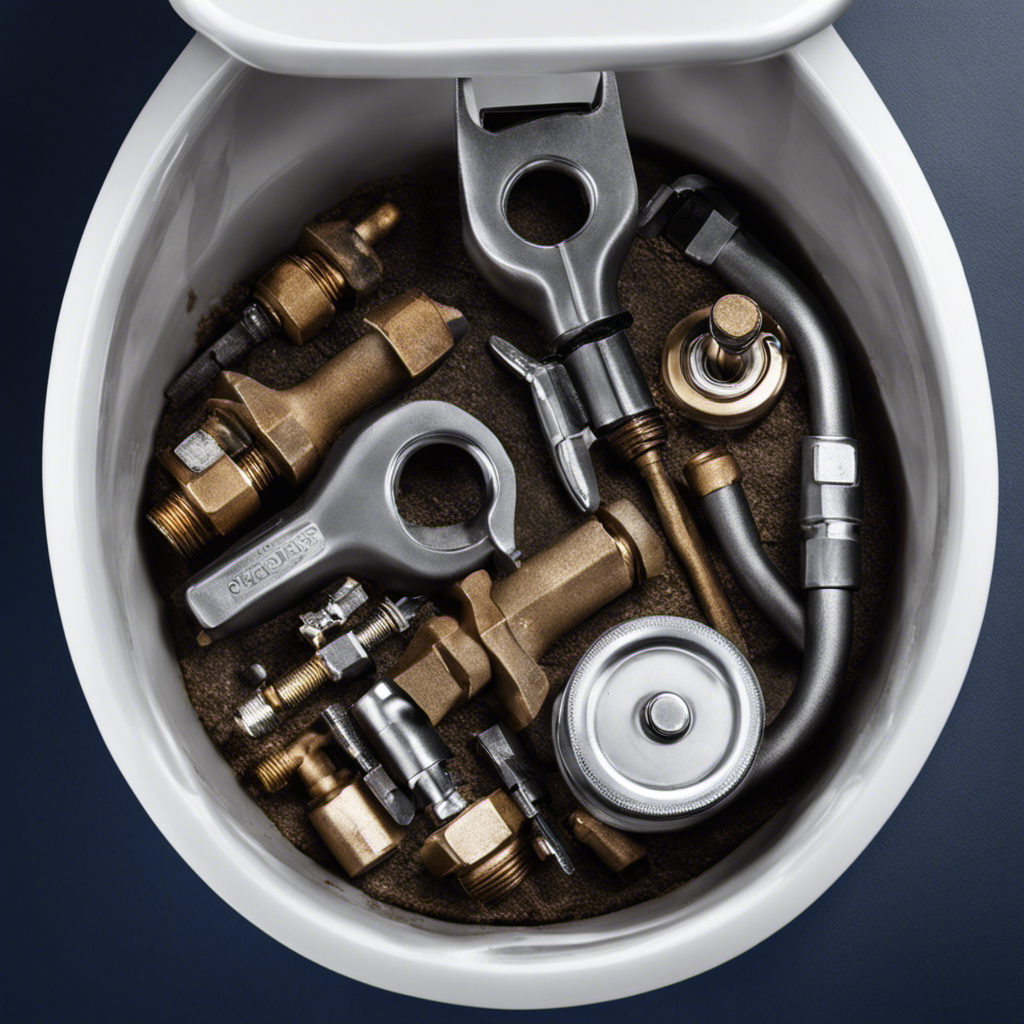
Gathering the Necessary Tools and Materials
First, you’ll need a few tools and materials to get started on replacing that toilet supply line. For buying options, your local hardware store should have everything you need. Here’s a list of what you’ll need:
- An adjustable wrench
- A bucket
- A new toilet supply line
- Teflon tape
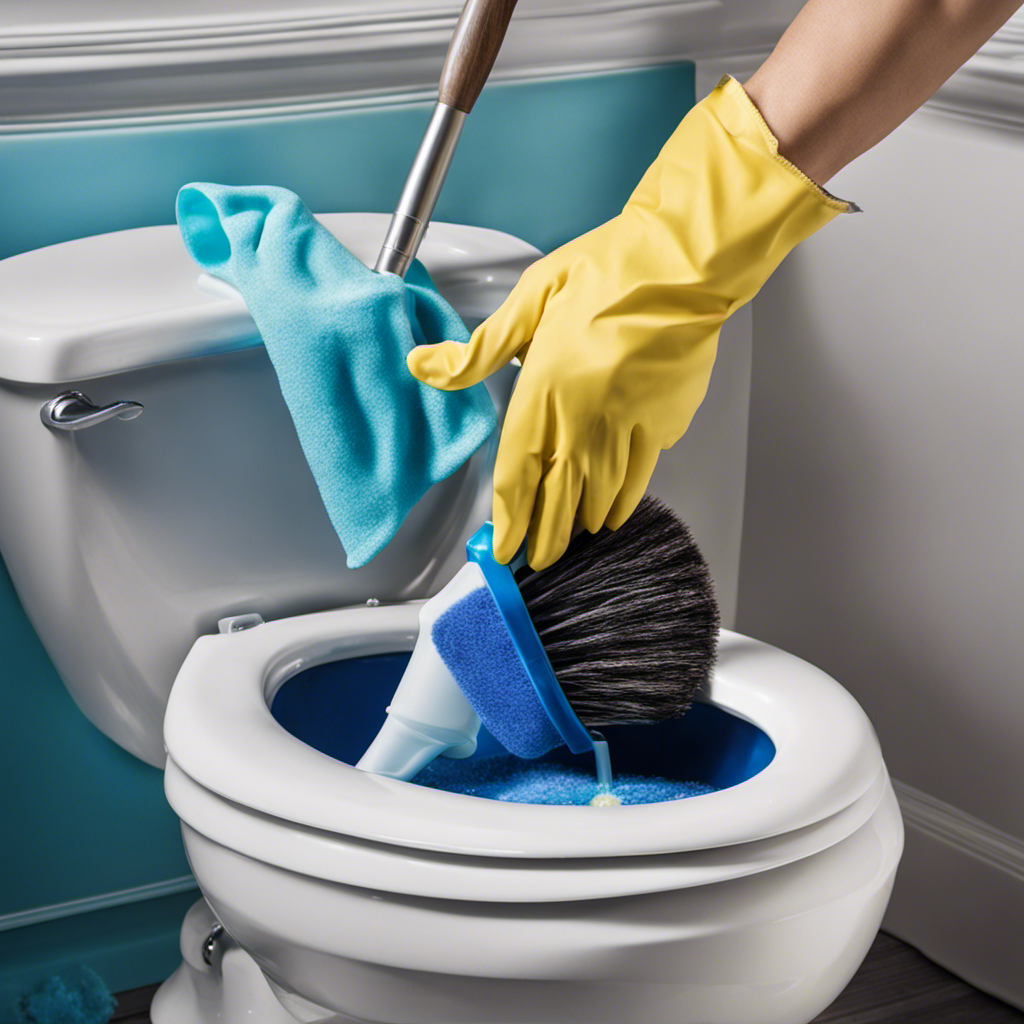
Safety precautions are important, so make sure to wear gloves and safety goggles to protect yourself.
Now, let’s talk about the function and purpose of each component. The adjustable wrench is used to loosen and tighten the fittings. The bucket is for catching any water that may spill during the process. The new toilet supply line is the replacement for the old one and should be the correct length to reach from the shut-off valve to the toilet tank. Teflon tape is used to create a watertight seal between the fittings.
With these tools and materials in hand, you’re ready to start replacing your toilet supply line.
Now, let’s move on to the next step: shutting off the water supply.
Amazon Product B0GMY4B6YR
As an affiliate, we earn on qualifying purchases.
Shutting Off the Water Supply
To begin, you’ll want to shut off the water supply before proceeding with any further steps. Locate the water valve, which is typically located behind the toilet near the wall. Turn the handle clockwise until it is fully closed. This will stop the flow of water to the toilet and prevent any leaks or spills during the replacement process.
Once the water supply is shut off, it’s important to drain the remaining water in the toilet tank. To do this, simply flush the toilet once and hold down the handle to allow the water to fully drain. You can also use a sponge or towel to soak up any excess water.

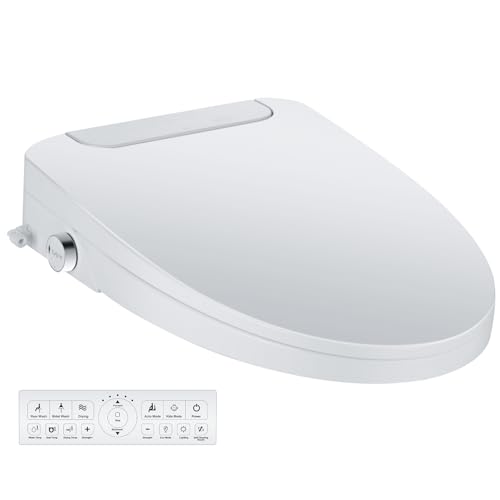
Electric Bidet Toilet Seat, Heated Toilet Seat Elongated with Instant Warm Water & Dryer, Feminine & Front Rear Wash, Wireless Remote, Self-Clean Nozzle, Slow Close Lid, Upgraded Silent ECO Child Mode
Instant Water Heating: Enjoy instant and unlimited warm water, and 3-level adjustable warm air drying of this toilet...
As an affiliate, we earn on qualifying purchases.
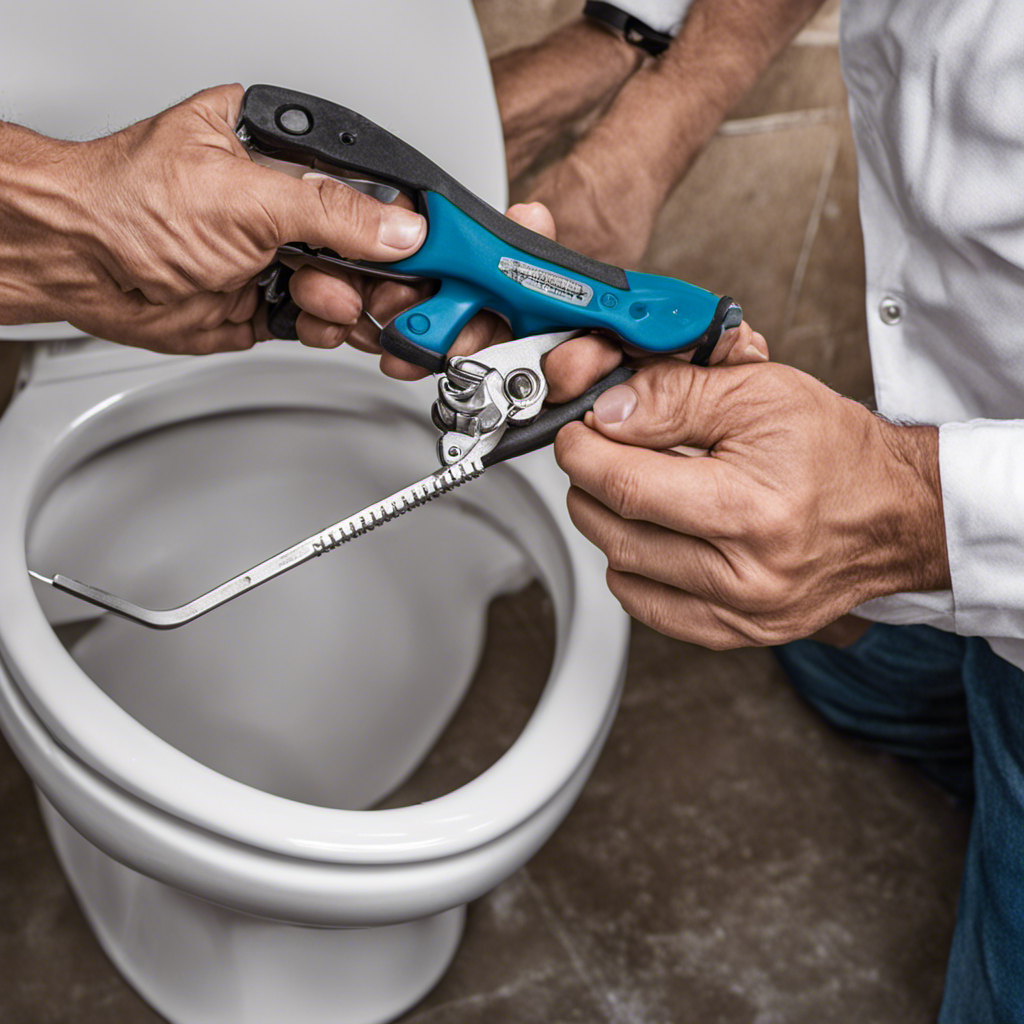
Removing the Old Supply Line
Now, you’ll want to disconnect the old supply line by unscrewing it from the toilet tank using a wrench.
To remove the old supply line, follow these steps:
- Locate the supply line connection at the bottom of the toilet tank.
- Place a wrench on the connection and turn it counterclockwise to loosen it.
- Once the connection is loose, continue unscrewing it by hand until it is completely detached.
When removing the old supply line, be cautious of any water that may still be in the line or tank. Have a towel or bucket ready to catch any water that may spill.
Installing the New Toilet Supply Line
Once you have disconnected the old supply line, it’s time to install the new one. Here are the step-by-step instructions for replacing a toilet supply line:
-
Start by gathering the necessary tools and materials: an adjustable wrench, Teflon tape, and a new toilet supply line. Make sure to choose the right size and type of supply line for your toilet.
-
Position the new supply line between the shut-off valve and the toilet tank inlet. Use the adjustable wrench to tighten the connections, ensuring they are secure but not over-tightened.
-
Wrap Teflon tape around the threads of the connections to create a watertight seal. This will help prevent leaks.
-
Turn on the shut-off valve and check for any leaks. If you notice any, tighten the connections or apply more Teflon tape as needed.
By following these steps, you can successfully replace your toilet supply line. Now, let’s discuss some tips for choosing the right supply line and common problems you may encounter.
| Tips for Choosing the Right Toilet Supply Line | Common Problems with Toilet Supply Lines | Troubleshooting Tips |
|---|---|---|
| Consider the material: stainless steel or braided | Leaks at the connections | Tighten connections |
| Determine the length needed | Clogs in the supply line | Clear any clogs |
| Check for any specific requirements | Bursting due to high water pressure | Install a pressure regulator |
Conclusion
Well, there you have it folks! You’re now officially equipped to tackle the daring task of replacing your toilet supply line.
With the precision and finesse of a seasoned plumber, you can confidently shut off that water supply, bid farewell to the old supply line, and welcome the new one with open arms.
Armed with the necessary tools and materials, you’ll conquer any potential challenges that may arise, all while exuding an air of expertise and authority.
So go forth, my fellow DIY enthusiasts, and may your toilets always be supplied!